There was a time early in the development of the Super Nintendo (SNES) where the new console was to feature backwards compatibility with NES games. The solution would have required a cumbersome cartridge adapter and a hard switch on every console to flip the CPU into 8-bit mode. Unfortunately, it was not meant to be — outside of the first public demo of the console, little evidence exists to suggest the gamers would have been able to supercharge their old NES carts on their Super Nintendo.
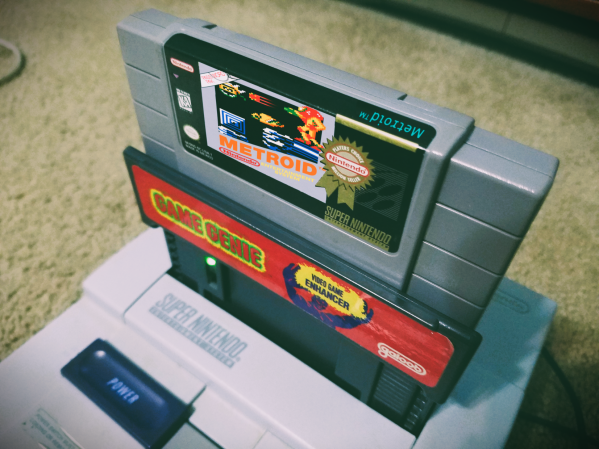
But thanks to the impressive port of Metroid to the SNES by [infidelity], we can imagine what such a capability might have been like. There’s more on offer here than reduced sprite flicker. There are additional frames of animation compared to the original, so now Samus’ arm cannon stays consistent rather than magically switching arms when turning around. A complete save game system from the Famicom Disk System version has also been implemented as well, with the traditional three slots. Although purists can still utilize the password system if they so choose.
Ultimately the most impressive inclusion of [infidelity]’s work is the MSU-1 enhancement chip implementation. Fun video intro sequences lead into the main menu where players can select the accompanying soundtrack. There’s the original 8-bit music remapped onto the SNES sound chip, the expanded 8-bit version from the Famicom Disk System, the reimagined sound of Metroid Zero Mission, or a full orchestral score. It really is the sort of situation where there are no wrong answers.
While you’re here, check out this post about bringing Poke’mon ROM hacks into physical cartridge form.
Continue reading “NES Classic Metroid Ported To Equally Classic Super Nintendo”