Slack is great, but there are a few small problems with the current implementations. There isn’t a client for Palm, there isn’t a client for the Newton, and there isn’t a client for the Commodore 64. The last of these severe oversights was recently fixed by [Jeff Harris]. He built a native Slack client in 6502 assembly for the Commodore 64.
When dealing with network applications and the C64, the first question that comes to mind is how to talk to the outside world. There are C64 NICs, and ESP dongles, but for this build [Jeff] turned to the C64 Userport. This card edge combination of a serial and parallel port allows the C64 to talk to anything with RS-232, and with a simple adapter, [Jeff] got his old computer talking to a Raspberry Pi connected to the Internet.
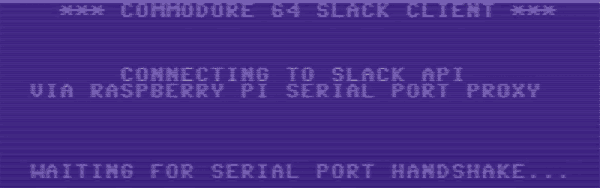
The C64 Slack client itself is written in 6502 assembly, and features everything you would expect. The Pi is required to talk to the Slack API, though, and uses a NodeJS app to translate the bits from the C64 to something the API can understand.
Does it work? Of course it does. Slack is just text, after all, and there doesn’t seem to be any PETSCII weirdness here. You can check out a video of the build in action below.