Our world has been abuzz with the news that Raspberry Pi are to float on the London Stock Exchange. It seems an obvious move for a successful and ambitious company, and as they seem to be in transition from a maker of small computers into a maker of chips which happen to also go on their small computers, they will no doubt be using the float to generate the required investment to complete that process.
New Silicon Needs Lots Of Cash
When a tech startup with immense goodwill grows in this way, there’s always a worry that it could mark the start of the decline. You might for instance be concerned that a floated Raspberry Pi could bring in financial whiz-kids who let the hobbyist products wither on the vine as they license the brand here and there and perform all sorts of financial trickery in search of shareholder value and not much else. Fortunately we don’t think that this will be the case, and Eben Upton has gone to great lengths to reassure the world that his diminutive computers are safe. That is however not to say that there might be pitfalls ahead from a hobbyist Pi customer perspective, so it’s worth examining what this could mean.
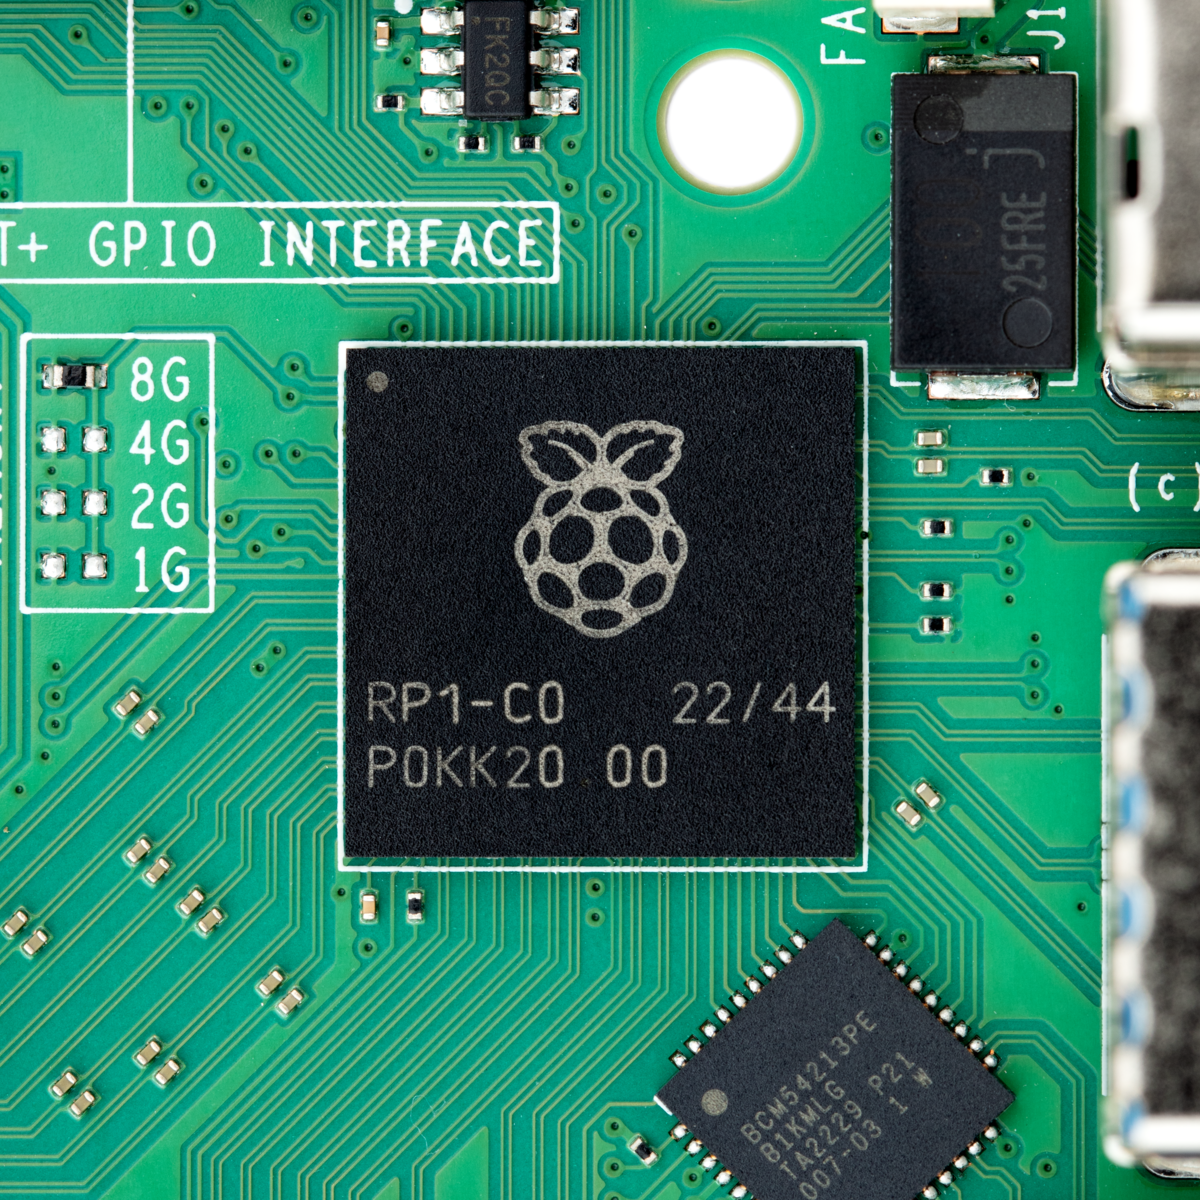
As we remarked last year, the move into silicon is probably the most important part of the Pi strategy for the 2020s. The RP2040 microcontroller was the right chip with the right inventory to do well from the pandemic shortages, and on the SBCs the RP1 all-in-one peripheral gives them independence from a CPU house such as Broadcom. It’s not a difficult prediction that they will proceed further into silicon, and it wouldn’t surprise us to see a future RP chip containing a fully-fledged SoC and GPU. Compared to their many competitors who rely on phone and tablet SoCs, this would give the Pi boards a crucial edge in terms of supply chain, and control over the software.