While those of us in the hacking community usually focus on making new things, there’s plenty to be said for restoring old stuff. Finding a piece of hardware and making it look and work like new can be immensely satisfying, and dozens of YouTube channels and blogs exist merely to feed the need for more restoration content.
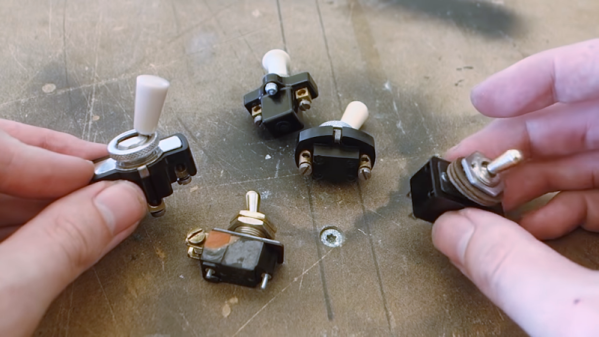
The aptly named [Switch and Lever] has been riding the retro wave for a while, and his video on restoring and repairing vintage toggle switches shows that he has picked up a trick or two worth sharing. The switches are all flea market finds, chunky beasts that have all seen better days. But old parts were built to last, and they proved sturdy enough to withstand the first step in any restoration: disassembly. Most of the switches were easily pried open, but a couple needed rivets drilled out first. The ensuing cleaning and polishing steps were pretty basic, although we liked the tips about the micromesh abrasives and the polishing compound. Another great tip was using phenolic resin PCBs as repair material for broken Bakelite bodies; they’re chemically similar, and while they may not match the original exactly, they make for a great repair when teamed up with CA glue and baking soda as a filler.
3D-printed repairs would work too, but there’s something satisfying about keeping things historically consistent. Celebrating engineering history is really what restorations like these are all about, after all. And even if you’re building something new, you can make it look retro cool with these acid-etched brass plaques that [Switch and Lever] also makes.
Continue reading “Turning Old Toggle Switches Into Retro-Tech Showpieces”