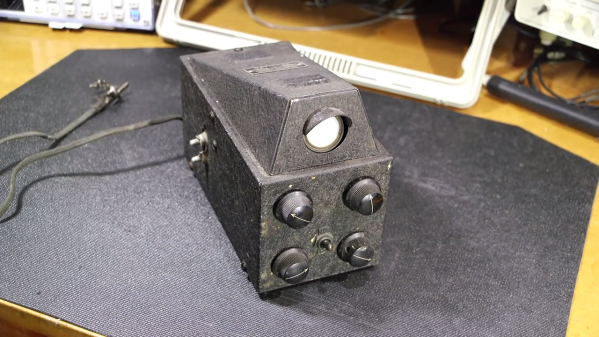
I immediately felt uncomfortable when I realized this thing is called the “Breo iPalm520 Acupressure Hand Massager”. You’re supposed to stick your hand into it, and through unknown machinations it performs some kind of pressure massage complete with heating action. It’s like one of those pain boxes from Dune. It’s all the more disturbing when you realize the red button on the thing is an emergency release. That’s right, once your hand is in this contraption you can’t take it out until the thing has had its way with you or you tap out.

At least once a week I try to get to the local thrift store to look for interesting things. I’d like to be more specific than “interesting things”, but truth be told, I never really know what I’m looking for until I see it. Sure there’s the normal consumer electronics kind of stuff, but I’ve also found some very nice laboratory equipment, computer parts, software, technical books, etc. You just have to go regularly and keep an eye out for the occasional needle amongst the hay.
I want you to know, Dear Readers, that I did briefly summon the courage to put my hand into this thing and turn it on. Now I am not what one might call an overly brave man, and perhaps that might explain my personal experience. But when it started to hum and heat up, constricting around my hand to the point I couldn’t move my fingers, I screamed like a child and mashed the emergency button as if I was a pilot trying to eject from a mortally wounded aircraft. As far as Frank Herbert is concerned, I’m no human at all.
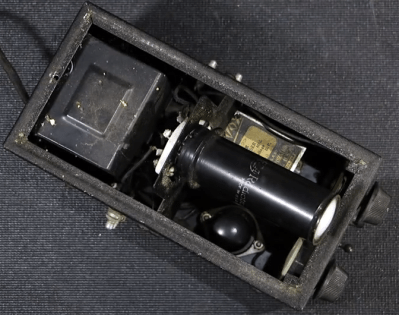
In an effort to better understand this torture device, lets open it up and see what lurks beneath that futuristic exterior.
Continue reading “Teardown: Box Of Pain (Gom Jabbar Sold Separately)”
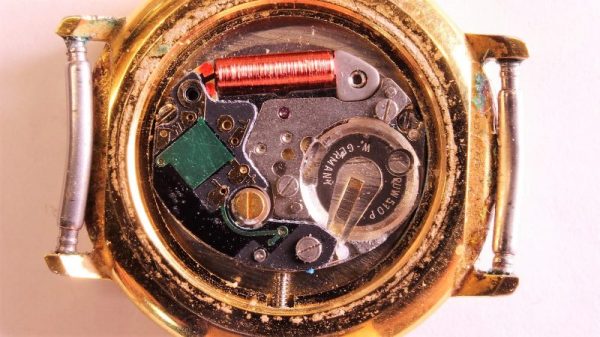
 Perhaps unsurprisingly given the prevalence and cost of these devices, the answer is quite simple. The key interaction is between a permanent magnet mounted to the end of the waving arm/pendulum and a many-turn wire coil attached to the body. As the magnet swings over the coil, its movement induces a voltage. A small blob of analog circuitry reacts by running current through the coil. The end effect is that it “senses” the magnet passing by and gives it a little push to keep things moving. As long as there is light the circuit can keep pushing and the pendulum swings forever. If it happens to stop a jolt from the coil starts the pendulum swinging and the rest of the circuit takes over again. [Josh] points to a similar circuit with a