The Global Positioning System (GPS) is so ingrained into our modern life that it’s easy to forget the system was created for, and is still operated by, the United States military. While there are competing technologies, such as GLONASS and Galileo, they are still operated by the governments of their respective countries. So what do you do if you want to know your position on the globe without relying on any government-operated infrastructure?
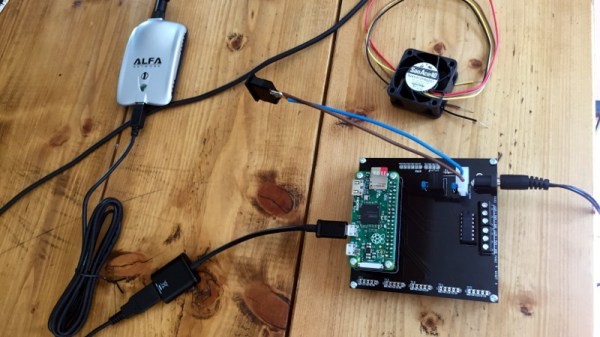
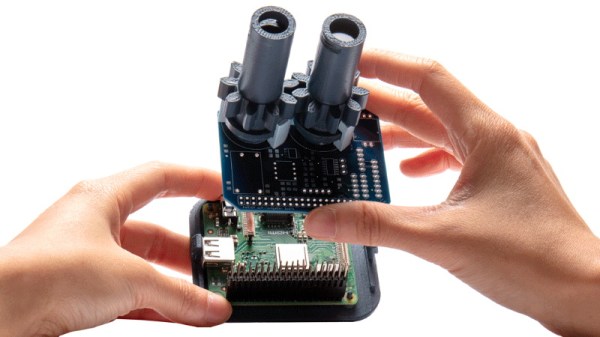
According to the team behind [Aweigh], all you have to do is take a cue from ancient mariners and insects and look up. Using two light polarization sensors, a compass, and a bit of math, their device can calculate your latitude and longitude by looking at the daytime sky. With their custom Raspberry Pi shield and open source Python 3 software, the team envisions a future where fully-independent global positioning can be tacked onto all sorts of projects.
The concept relies on the Rayleigh model, which is essentially a polarization map of the sky. As light from the sun is scattered in the Earth’s atmosphere, it creates bands of polarization which can be identified from the ground. Essentially it’s the same principle that makes the sky appear blue when viewed with human eyes, but if you have two light sensors looking at the proper wavelengths, you can use the effect to figure out where the sun is; which the team says is precisely how some insects navigate. Once the position of the sun is known, [Aweigh] operates like a modernized, automatic, sextant.
Naturally, this is not an ideal solution in all possible situations. In an urban environment, a clear view of the sky isn’t always possible, and of course the system won’t work at all once the sun goes down. In theory you could switch over to navigating by stars at night, but then you run into the same problems in urban areas. Still, it’s a fascinating project and one that we’re eager to see develop further.
Incidentally, we’ve seen automated sextants before, if you’re looking for a similar solution that still retains that Horatio Hornblower vibe.