Old cars can be fun, and as long as you drive something that was once moderately popular, mechanical parts can be easy enough to come by. Things like filters, spark plugs, idle air solenoids – they’re generally available for decades after a car is out of production as long as you know where to look. However, plastics can be much harder to come by. 20 to 30 years into a car’s lifetime, and you’ll be hard pressed to find a radio surround or vent trim in as-new condition – they’ve all long ago succumbed to the sun and air like the cracked and discoloured piece in your own car. What is a hacker to do? Bust out the 3D printer, of course!
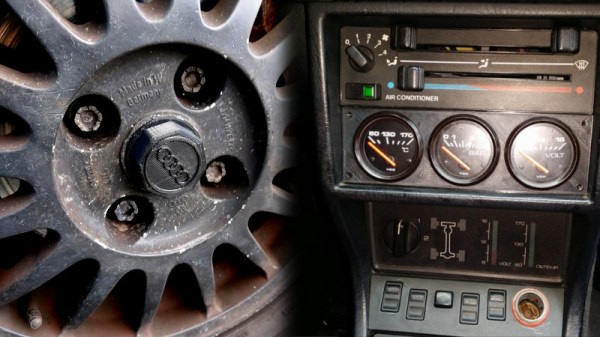
[Stephen Kraus] has developed a series of parts for his Audi, ready to print on the average home 3D printer. There’s the triple gauge mount which fits in the radio slot for that classic tuner look, to the printed wheel caps which are sure to come in handy after you’ve lost the originals. There are even useful parts for capping off the distributor if you’re switching to a more modern ignition setup. [Stephen] also reports that his replacement shifter bushing printed in PLA has lasted over a year in normal use.
This is an excellent example of what 3D printers do best – obscure, bespoke one-off parts with complex geometries are no trouble at all, and can be easily made at home. We’ve seen this done to great effect before, too – for example with this speedometer correction gear in an old truck.