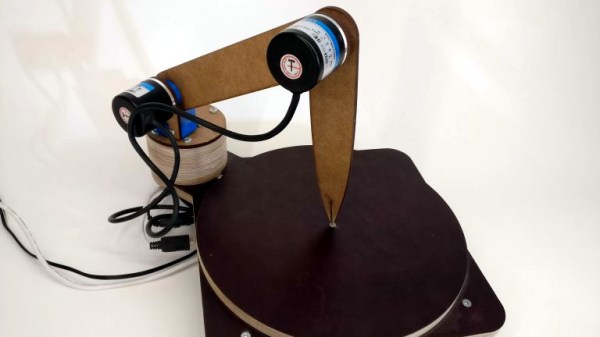
Hacked Turntable Rotates Humans For 3D Scanning

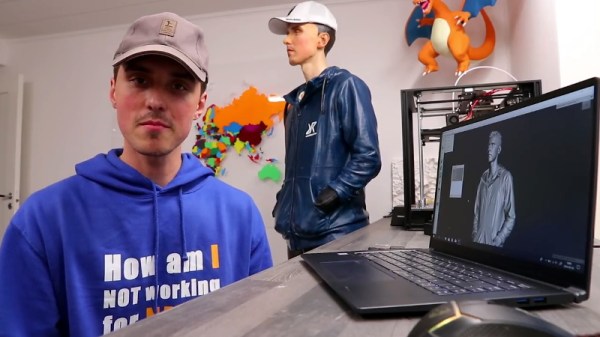
If you are from the 70’s, you’ll probably remember the Disco Body Shaper or the Aerobic Body Shaper exerciser devices that were the rage of the day. Basically, Lazy Susan turntables on which humans could stand and twist away to burn fat. The results were suspect, but [Daniel Kucera] thought one of them would be ideal in 2016 to build a heavy-duty turntable to allow full body scanning.

He had already tried a few other ideas and failed, so it was worth giving this a shot, since it cost just 10 bucks to buy one. The plan was to use a motor to provide friction drive along the circumference of the turntable platform. For this, he used a high torque motor with a gear on the output shaft. From the looks of it, he attached a Meccano plate to the base, and mounted the motor to this plate. A large spring keeps the motor pressed against the rim of the turntable. A strip of rubber scavenged from a bicycle tube was glued along the side of the turntable to provide some friction to the gear drive. The turntable is placed on two thick pieces of foam, to provide clearance for the motor. We aren’t sure if a toothed gear is the best choice to drive this thing, but a hacker’s gotta use what he’s got. He’s clocking 190 seconds for a full rotation, but he still hasn’t posted any scan results from the Android scanner software that he is working on. This one, for sure, doesn’t qualify for a “it’s not a hack” comment.

Super Detailed 3d Scans With Photogrammetry

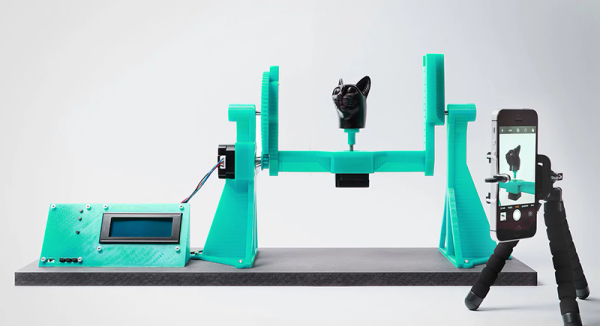
Photogrammetry is a real word, and [shapespeare] built himself a nice setup to take high-res 3d scans using it. A good set of images for photogrammetry are: in sharp focus, well lit, precisely indexed, and have a uniform background. The background was handled by a 3d printed stand and some copier paper. To get even lighting he used four adjustable LED lamps from Ikea.

In order to precisely index the object, he built an indexing set-up with an Arduino and a stepper motor (housed in the, self proclaimed, most elegant of 3d printed enclosures). The Arduino rotates the platform a measured increment, and then using [Sebastian Setz]’s very neat IR camera control library, snaps a photo. This process repeats until multiple photos of the object have been taken.

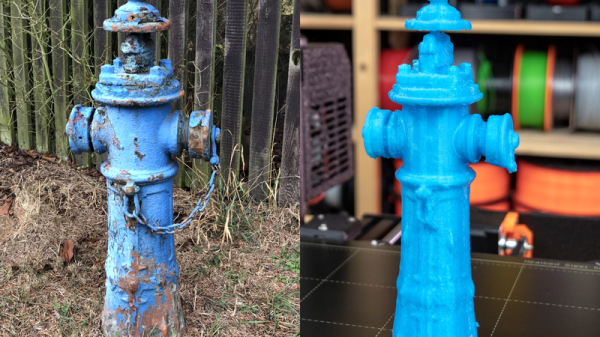
Once the photos have been taken, they need to be run through a photogrammetry processor. [shapespeare] uses Agisoft Photoscan, but says Autodesk Memento and 123d Catch do pretty well too. After all this work it appears that [shapespeare] used his new powers to 3d print a giant decking screw. Cool.

3D Scanning Entire Rooms With A Kinect

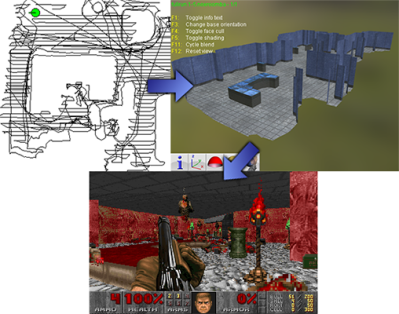
Almost by definition, the coolest technology and bleeding-edge research is locked away in universities. While this is great for post-docs and their grant-writing abilities, it’s not the best system for people who want to use this technology. A few years ago, and many times since then, we’ve seen a bit of research that turned a Kinect into a 3D mapping camera for extremely large areas. This is the future of VR, but a proper distribution has been held up by licenses and a general IP rights rigamarole. Now, the source for this technology, Kintinuous and ElasticFusion, are available on Github, free for everyone to (non-commercially) use.

We’ve seen Kintinuous a few times before – first in 2012 where the possibilities for mapping large areas with a Kinect were shown off, then an improvement that mapped a 300 meter long path though a building. With the introduction of the Oculus Rift, inhabiting these virtual scanned spaces became even cooler. If there’s a future in virtual reality, we’re need a way to capture real life and make it digital. So far, this is the only software stack that does it on a large scale

If you’re thinking about using a Raspberry Pi to take Kintinuous on the road, you might want to look at the hardware requirements. A very fast Nvidia GPU and a fast CPU are required for good results. You also won’t be able to use it with robots running ROS; these bits of software simply don’t work together. Still, we now have the source for Kintinuous and ElasticFusion, and I’m sure more than a few people are interested in improving the code and bringing it to other systems.

You can check out a few videos of ElasticFusion and Kintinuous below.

Continue reading “3D Scanning Entire Rooms With A Kinect”

We Should 3D Scan People

In a perfect futuristic world you have pre-emptive 3D scans of your specific anatomy. They’d be useful to compare changes in your body over time, and to have a pristine blueprint to aid in the event of a catastrophe. As with all futuristic worlds there are some problems with actually getting there. The risks may outweigh the rewards, and cost is an issue, but having 3D imaging of a sick body’s anatomy does have some real benefits. Take a journey with me down the rabbit hole of 3D technology and Gray’s Anatomy.

Continue reading “We Should 3D Scan People”

DIY BobbleHead

Making A Bobblehead Of You

Bobbleheads, you remember them, small figures with a spring-mounted comically large head. They brought joy to millions of car drivers every day as at least 97.5% of all registered cars in the 1960’s had bobbleheads mounted to the dash. Years later bobblehead popularity has waned but [Luis] is trying to bring them back, this time not as your iconic sports hero but as YOU!

[Luis] uses software called Skanect along with his Kinect to scan a persons geometry. There is a free version of Skanect but it is limited to exporting STL files no larger than 5,000 faces. That means that 3d printed bobbleheadscans of large objects (including people) come out looking noticeably faceted. [Luis] came up with a work-around that results in a much finer detailed scan. Instead of scanning an entire person with one scan, he would do 4 separate scans. Since each individual scan can support 5,000 faces, the resulting merged model can be up to 20,000 faces. Check out the comparison, the difference between the two scanning methods is quite noticeable. MeshMixer is the software used to merge the STL files of the 4 separate scans.

Once the full body is assembled in MeshMixer, it is time to separate the head from the body. A cylindrical hole is then made in the bottom of the head and the top of the body. This hole is just slightly larger than the spring used to support the head. The parts are then printed, painted and assembled. We have to say that the end result looks pretty darn good.

Scanning On The Cheap

[Will] recently stumbled across the MakerBot Digitizer, a device that’s basically a webcam and a turntable that will turn a small object into a point cloud that can then be printed off on a MakerBotⓇ 3D printer. Or any other 3D printer, for that matter. The MakerBot Digitizer costs $800, and [Will] wondered if he could construct a cheaper 3D scanner with stuff sitting around his house. It turns out, he can get pretty close using only a computer, a webcam, and a Black and Decker line laser/level.

The build started off with a webcam mounted right next to the laser line level. Software consisted of Python using OpenCV, numpy, and matplotlib to grab images from the webcam. The software looks at each frame of video for the path of the laser shining against the object to be scanned. This line is then extracted into a 3D point cloud and reconstructed in MeshLab to produce a 3D object that might or might not be 3D printable.

This is only [Will]’s first attempt at creating a scanner. He’s not even using a turntable with this project – merely manually rotating the object one degree for 360 individual frames. It’s extremely tedious, and he’ll be working on incorporating a stepper motor in a future version.

This is only attempt number 1, but already [Will] has a passable scanned object created from a real-world thing.

3D Printed Stick Shift Handle

3D printed gear shifter

Here’s a silly hack for you guys. Turn your head (or anything else really) into a stick shift handle!

All jokes about vanity aside, [Haqnmaq] has outlined an excellent Instructable on how to take 3D scans, manipulate them, and make them 3D printer ready. He’s chosen to use a Microsoft Kinect (one of the cheapest 3D scanners around) combined with some low-cost 3D software. He’s used both Skanect and Reconstructme with great success, which both have free (albeit slightly limited) versions. The model he used for his stick shift was actually taken at the 3D Printing Experience in Chicago.

Continue reading “3D Printed Stick Shift Handle”