A computing platform is never really dead unless people stop developing new software for it. By that measure, the Commodore 64 is alive and well: new games, demos, and utilities are still being released on a regular basis. Getting those new programs onto an old computer was always a bit of a hassle though, requiring either an SD card adapter for the Commodore or a direct cable connection from an internet-connected PC. Luckily, there’s now a simpler way to get your latest software updates thanks to a WiFi adapter called WiC64. This adapter plugs into the expansion port of a classic Commodore and lets you download programs directly into memory. [Tommy Ovesen] over at [Arctic Retro] bought one and explored its many features.
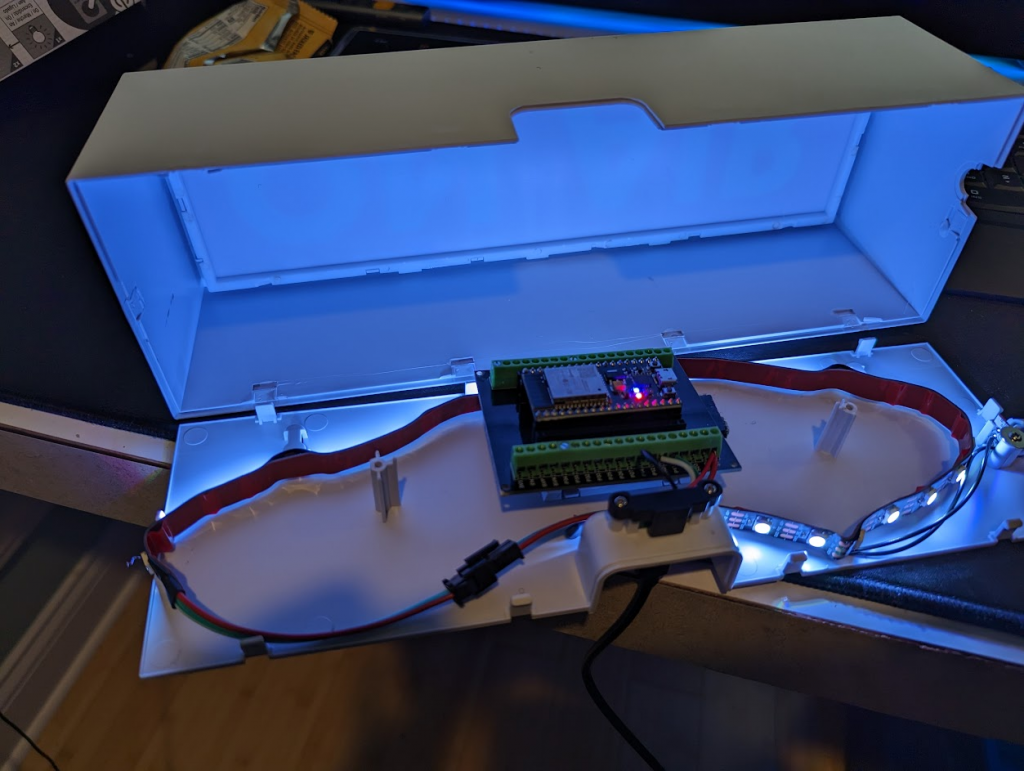
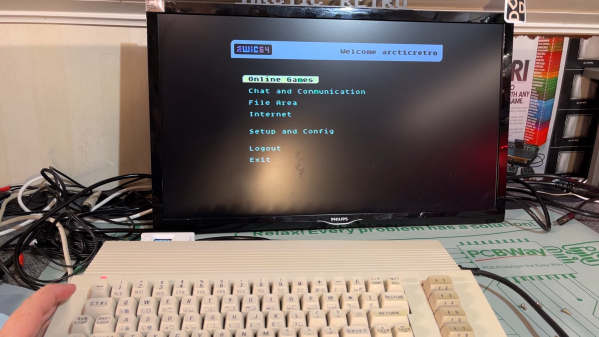
The basic design of the WiC64 is straightforward: an ESP32 mounted on an adapter board that connects its data bus to that of the Commodore 64, 128 or VIC-20. A simple program, which you still need to transfer the old way, lets you configure the device and connect to a WiFi network. Once that’s done, an interactive BBS-style program is launched that allows you to access a range of online services. The WiC64 developers provide these, but since the system is fully open-source there’s nothing stopping you from running your own servers as well.
 Services currently available include an RSS reader, several multiplayer online games, and even a radio station that plays non-stop SID tunes. There’s also a direct link to CSDB, an online database of Commodore 64 programs and demos which you can now simply download and run directly on your C64 – in effect, a modern app store for a classic computer.
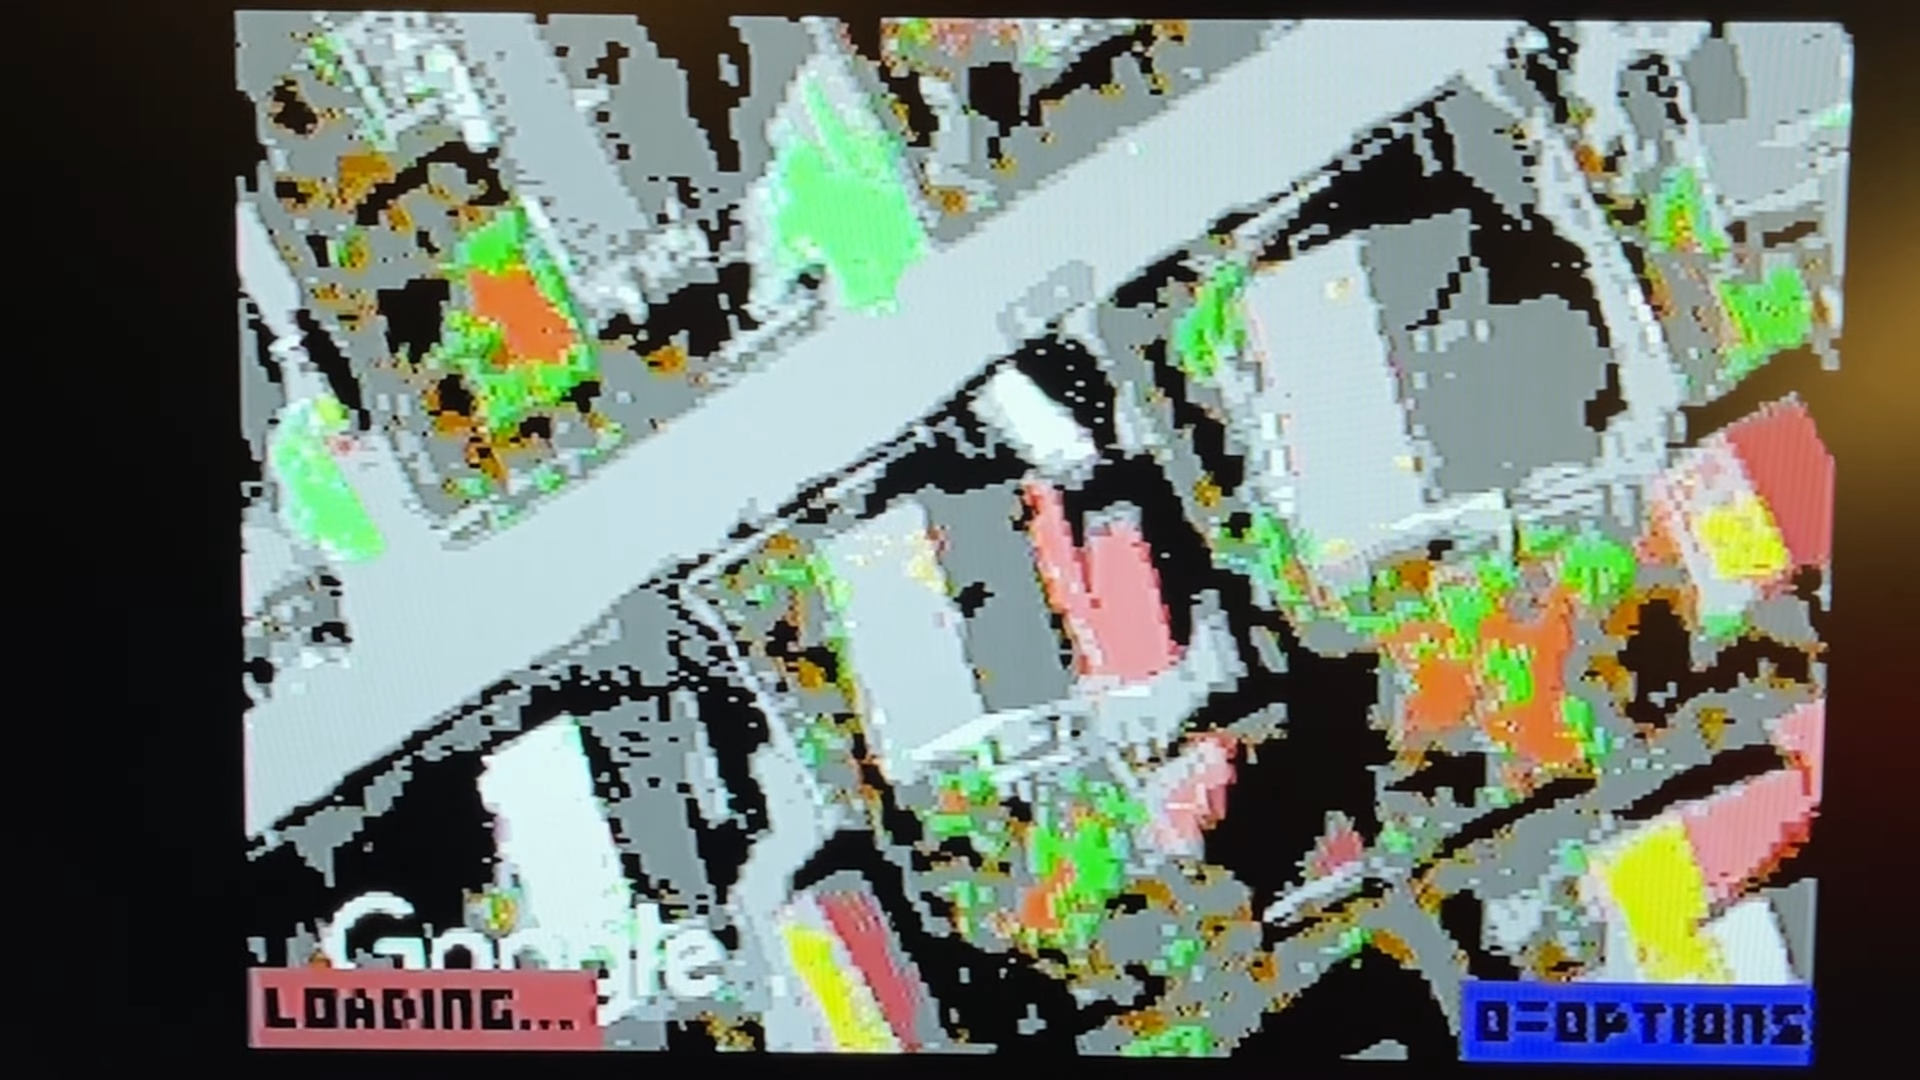
One feature that really seems to defy the C64’s hardware limitations is a fully functional version of Google Maps. Even with the Commodore’s limited resolution and color depth, it does a pretty decent job of showing maps, satellite photos, and even Street View images.
Using the WiC64 requires no hardware modifications to the Commodore 64, but a custom ROM is available that enables a few convenient features such as LOADing programs directly from a web address. There have been several attempts at getting classic Commodores online, but none so far that managed to get complex apps like Google Maps running. We have seen YouTube videos being played on a Commodore PET though.
Continue reading “The WiC64 Brings Classic Commodores Online, Google Maps Included”