Hardly a person hasn’t experienced the sudden, sharp discharge of static electricity, especially on a crisp winter’s day. It usually requires a touch, though, the classic example being a spark from finger to doorknob after scuffing across the carpet. But how would one measure the electrostatic charge of an object without touching it? Something like this field mill, which is capable of measuring electrostatic charge over a range of several meters, will do the trick.
We confess to not having heard of field mills before, and found [Leo Fernekes]’ video documenting his build to be very instructive. Field mills have applications in meteorology, being used to measure the electrostatic state of the atmosphere from the ground. They’ve also played a role in many a scrubbing of rocket launches, to prevent the missile from getting zapped during launch.
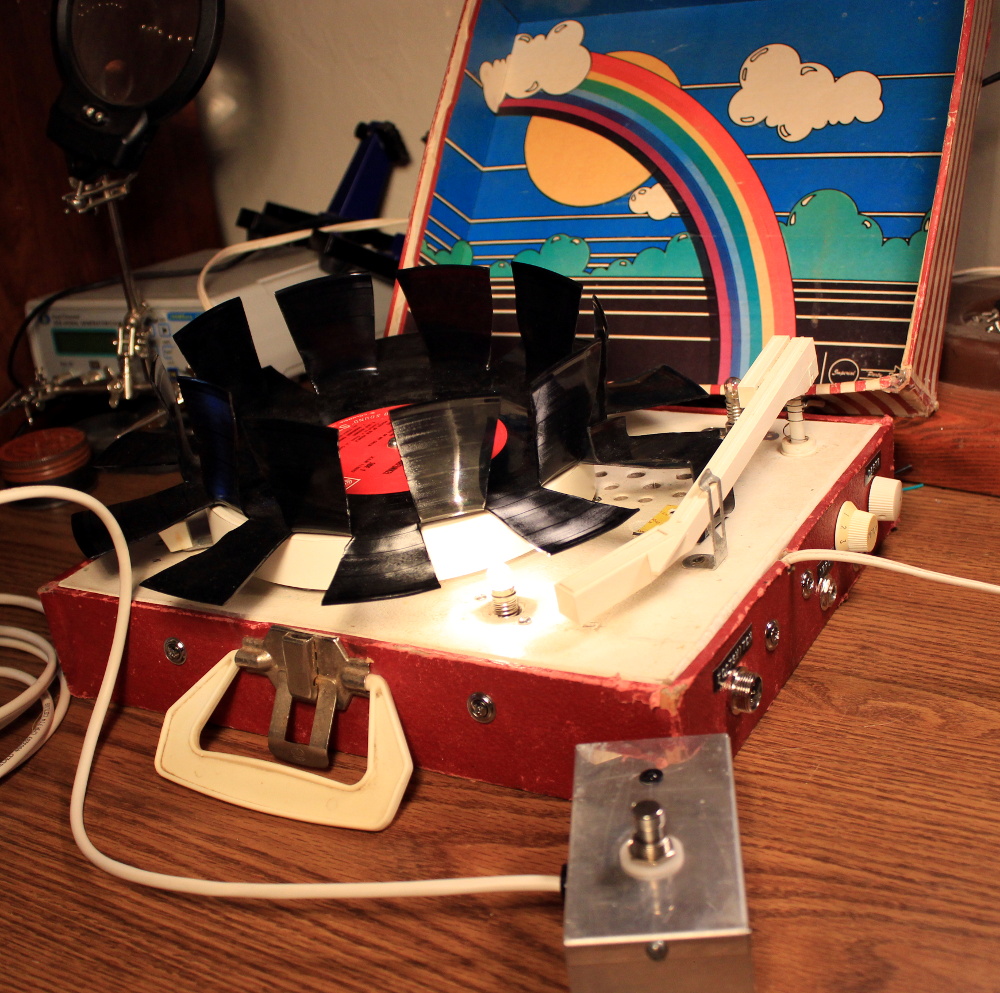
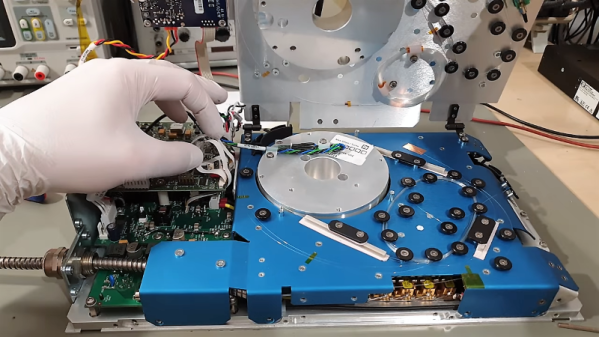
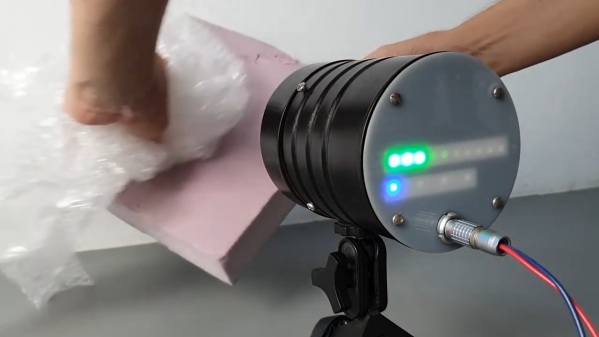
[Leo]’s mill works much like the commercial units: a grounded shutter rotates in front of two disc-shaped electrodes, modulating the capacitance of the system relative to the outside world. The two electrodes are fed into a series of transimpedance amplifiers, which boost the AC signal coming from them. A Hall sensor on the shutter allows sampling of the signal to be synchronized to the rotation of the shutter; this not only generates the interrupts needed to sample the sine wave output of the amplifier at its peaks and troughs, but it also measures whether the electrostatic field is positive or negative. Check out the video below for a great explanation and a good looking build with a junk-bin vibe to it.
Meteorological uses aside, we’d love to see this turned toward any of the dozens of Tesla coil builds we’ve seen. From the tiny to the absurd, this field mill should be able to easily measure any Tesla coil’s output with ease.
Continue reading “Whirling Shutters On This Field Mill Measure Electrostatic Charges At Distance”