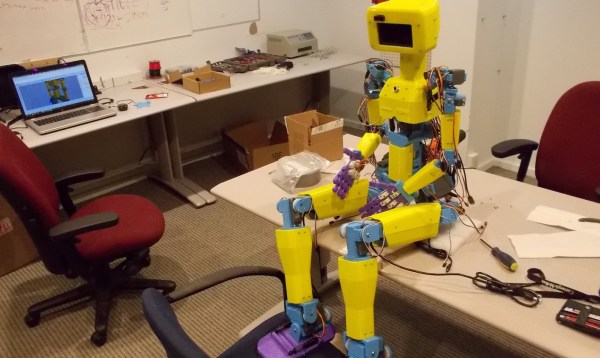
ASPIR, the Autonomous Support and Positive Inspiration Robot is an goblin-sized robot, designed by [John Choi], aims to split the difference between smaller hobbyist robots and more robust but pricy full-sized humanoids only a research institute could afford. By contrast, [John] estimates it cost a relatively meager $2,500 to create such a homunculus.
 The robot consists of 33 servos of various types moving the limb, controlled by an Arduino Mega with a servo control shield seated on it. The chassis uses 5 kg of filament and took 300 hours to print, and it has a skeleton made up of aluminum hex rods. Spring-loaded RC shocks help reinforce the shoulders. There are some nice touches, like 3D-printed hands with living hinge fingers, each digit actuated by a metal-gear micro servo. It stores its power bricks in its shins. For sensors it includes a chest-mounted webcam and a laser distance sensor.
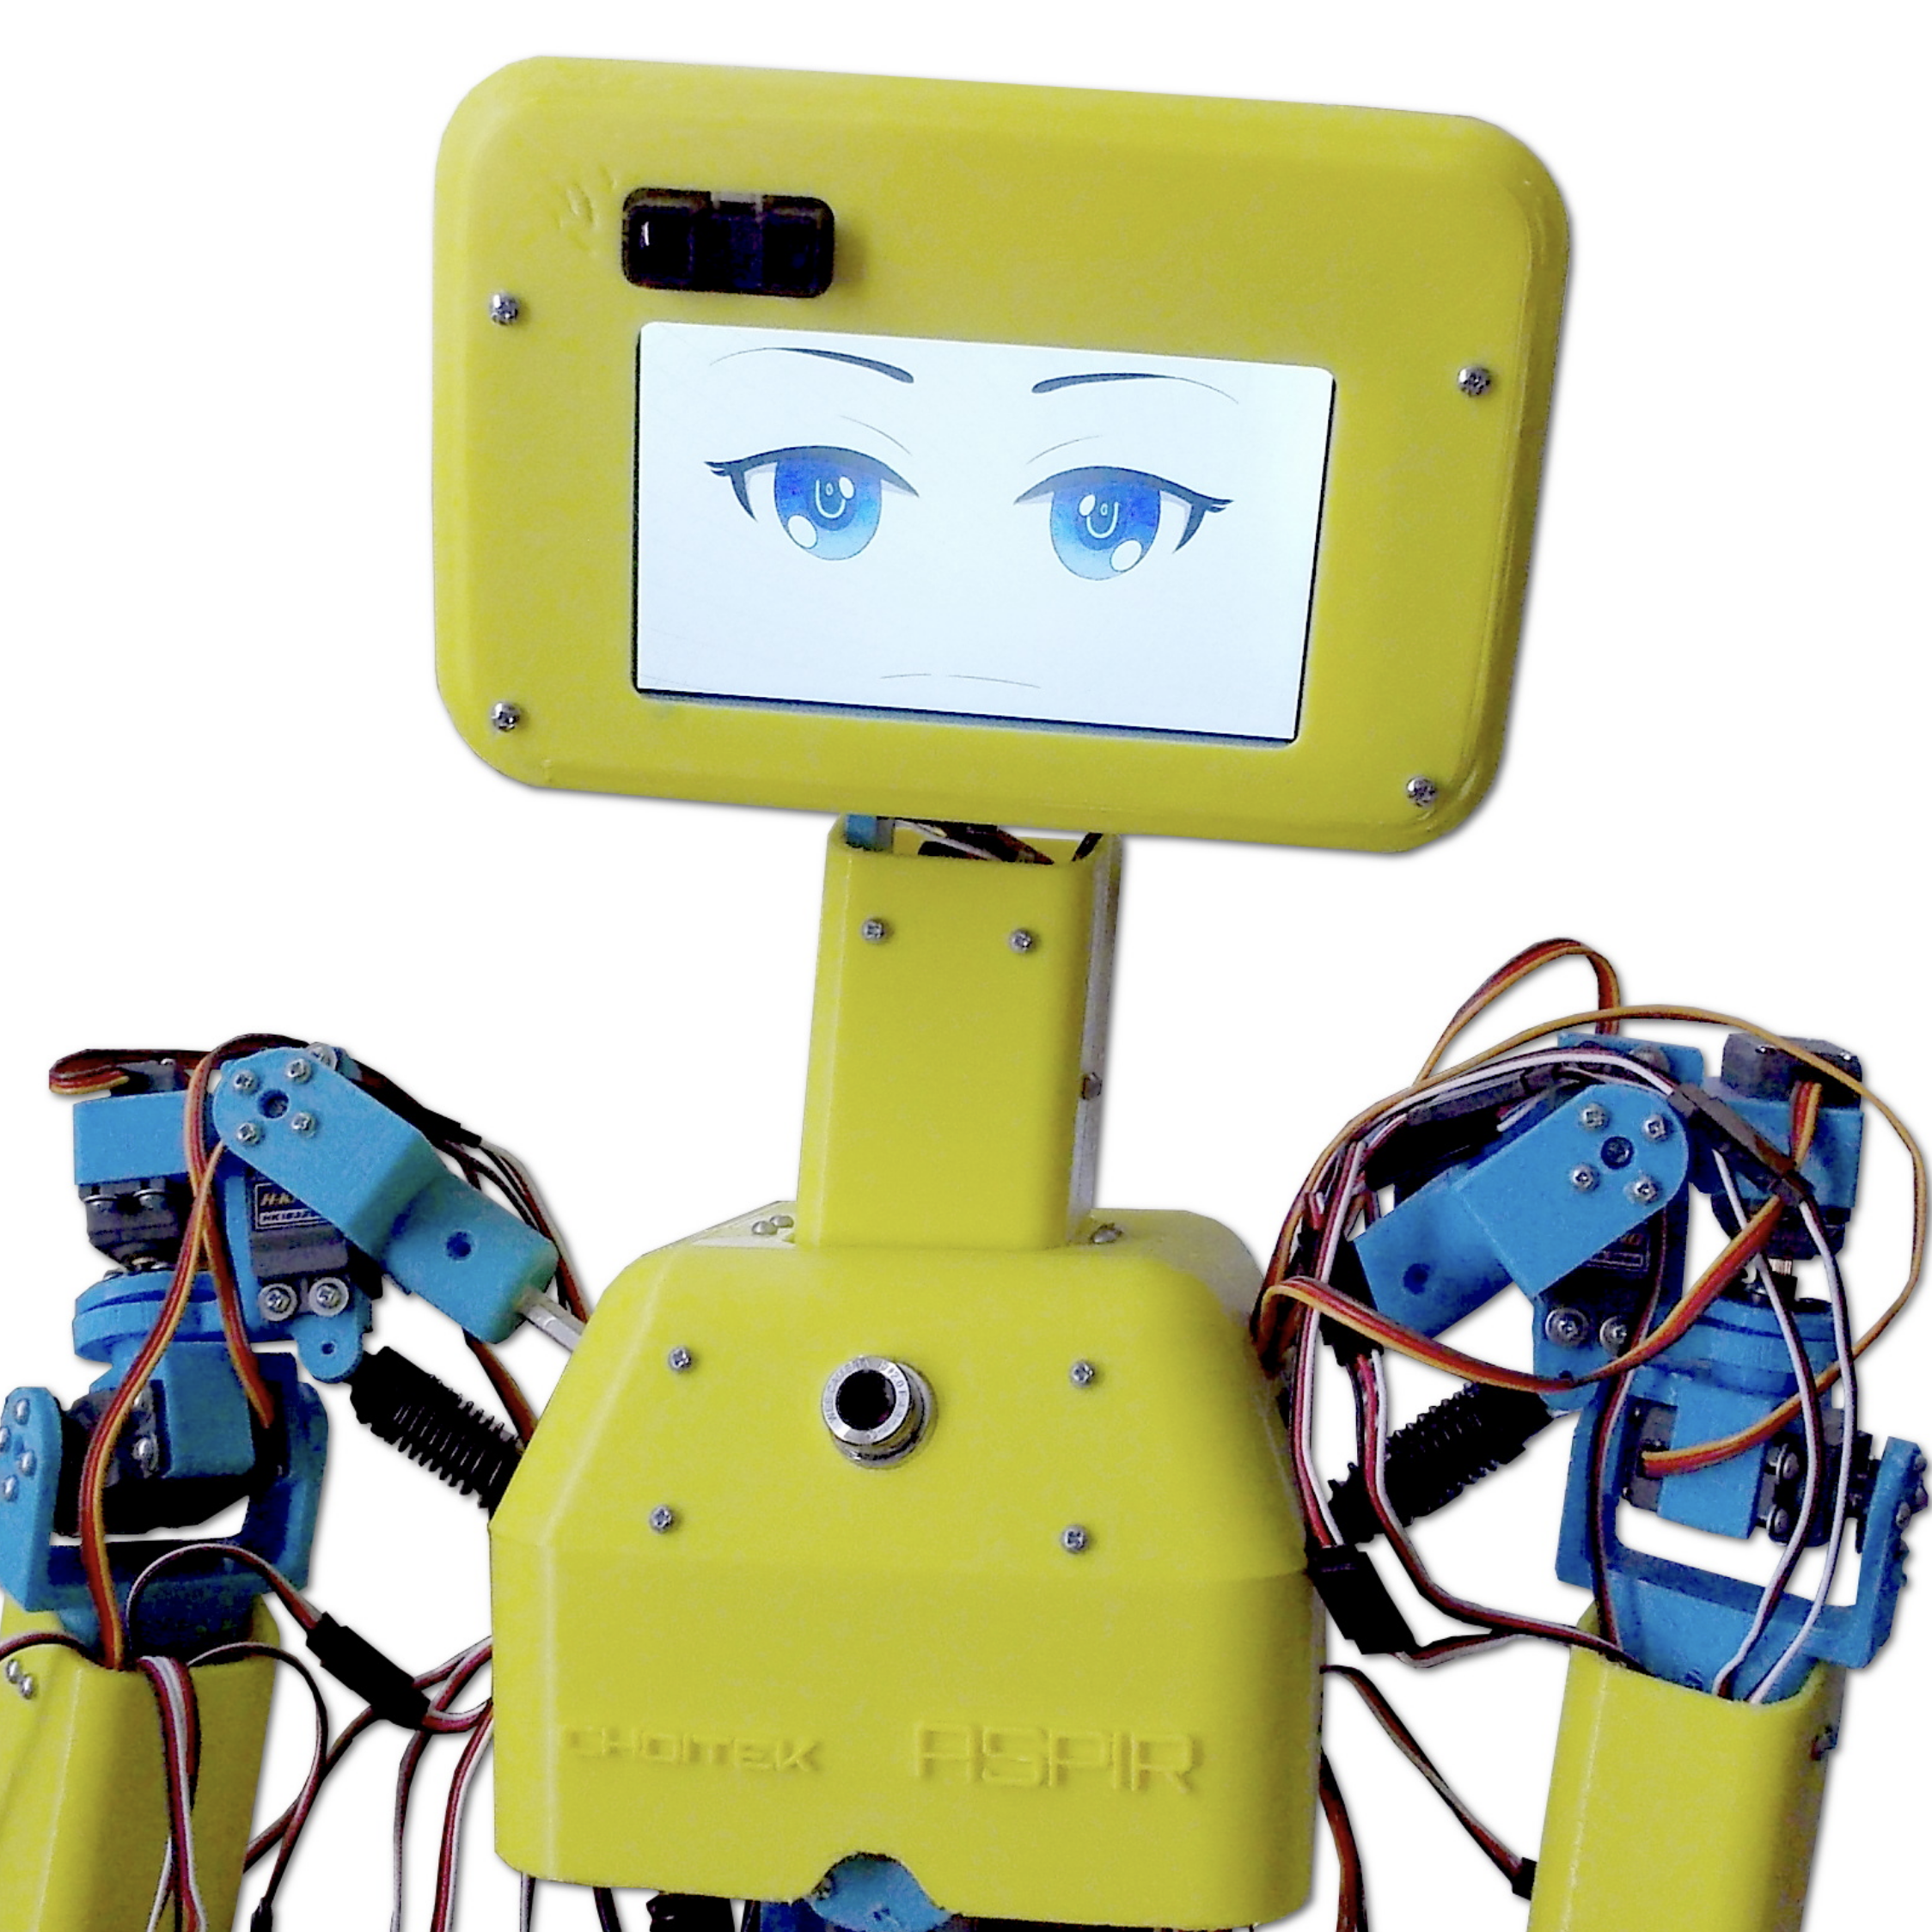
The main design feature is the Android smartphone serving as its brains, and also — at least cosmetically — its eyes. Those eyes… might be just a teensy bit too Chucky for our taste. (Nice work, [John]!)