Have you ever considered sourcing an off-brand phone from the China markets? Why, or what stopped you? The answer is data and identity. You are trusting both when you decide to use a smartphone. Let’s face it, smartphones are a personality prosthesis in our society. They know your physical location, what your interests are, the people you hang out with, and how you spend your money. The keys to the castle are shared with these devices and you shouldn’t grant that kind of trust without knowing your phone is worthy of it.
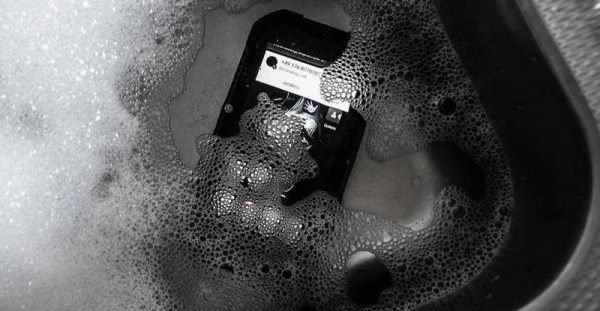
But… what if that phone has amazing features at an equally amazing price? [ijsf] bought the phone and then made it earn the proper level of trust. The model in question is a Blackview BV6000s — pictured above in a tub of soapy water proving it’s IP68 claim. This thing has flagship specs but not a flagship name so [ijsf] took [Dave Jones’] advice and took it apart instead of turning it on. In this case, it is a complete ROM dump and disassembly.
The goals was to find malware — anything that is potentially leaking data. Nothing was found, which we think is because this phone isn’t nearly shady enough. We’d expect the bargain basement models (like this $3 wonder vaporware) to be more in line. That one actually has a carrier behind it which means they plan to recoup on usage charges. But suspiciously cheap phones may be using a business model that makes it back by stealing a chunk of your identity.
Two good things come out of [ijsf’s] writeup. First, it’s a decent guide to dumping and snooping in a ROM. Second, in addition to the fruitless search for thieving apps, the annoying bloatware was removed for a cleaner ‘stock’ image.