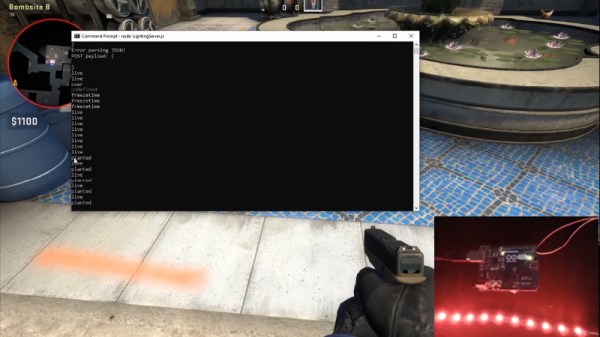
Counter-Strike Gets The RGB LED Treatment

Inspired by the over-the-top stage lighting and pyrotechnics used during e-sport events, [Hans Peter] set out to develop a scaled-down version (minus the flames) for his personal Counter-Strike: Global Offensive sessions. It might seem like pulling something like this off would involve hacking the game engine, but as it turns out, Valve was kind enough to implement a game state API that made it relatively easy.

According to the documentation, the CS:GO client can be configured to send out state information to a HTTP server at regular intervals. It even provided example code for implementing a simple state server in Node.js, which [Hans] adapted for this project by adding some conditional statements that analyze the status of the current game.

These functions fire off serial commands to the attached Arduino, which in turn controls the WS2812B LEDs. The Arduino code takes the information provided by the HTTP server and breaks that down into various lighting routines for different conditions such as wins and losses. But things really kick into gear when a bomb is active.

[Hans] wanted to synchronize the flashing LEDs with the beeping sound the bomb makes in the game, but the API doesn’t provide granular enough data. So he recorded the audio of the bomb arming sequence, used Audacity to precisely time the beeps, and implemented the sequence in his Arduino code. In the video after the break you can see that the synchronization isn’t perfect, but it’s certainly close enough to get the point across in the heat of battle.

With the special place that Counter-Strike occupies in the hearts of hackers and gamers alike, it’s little surprise people are still finding unique ways to experience the game.

Continue reading “Counter-Strike Gets The RGB LED Treatment”

Nixie Clock Claims To Be Simplest Design

[Engineer2you] built a nixie tube clock and claims it is the simplest design. We felt like that was a challenge. In this design, the tubes are set up as a matrix with optoisolators on each row and column. With 60 segments, the matrix allows you to control it all with 16 bits. There are six columns, each corresponding to a digit. That means each row has 10 lines.

The Arduino code reads the clock and produces the output to the tubes fast enough that your eye perceives each digit as being always on, even though it isn’t.

Continue reading “Nixie Clock Claims To Be Simplest Design”

Arduino Drives A 600-Character Display

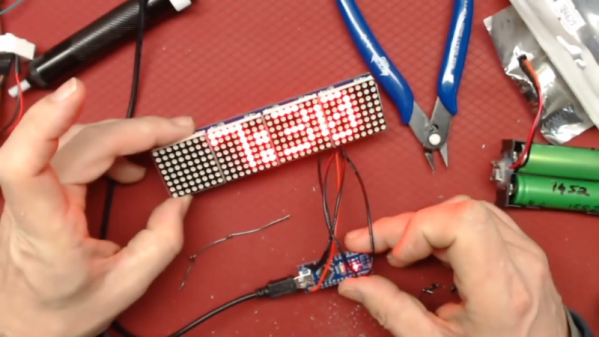
[Peterthinks] admits he’s no cabinet maker, so his projects use a lot of hot glue. He also admits he’s no video editor. However, his latest video uses some a MAX7219 to create a 600 character scrolling LED sign. You can see a video of the thing, below. Spoiler alert: not all characters are visible at once.

The heart of the project is a MAX7219 4-in-1 LED display that costs well under $10. The board has four LED arrays resulting in a display of 8×32 LEDs. The MAX7219 takes a 16-bit data word over a 10 MHz serial bus, so programming is pretty easy.

Continue reading “Arduino Drives A 600-Character Display”

All Band Radio Uses Arduino And Si4730

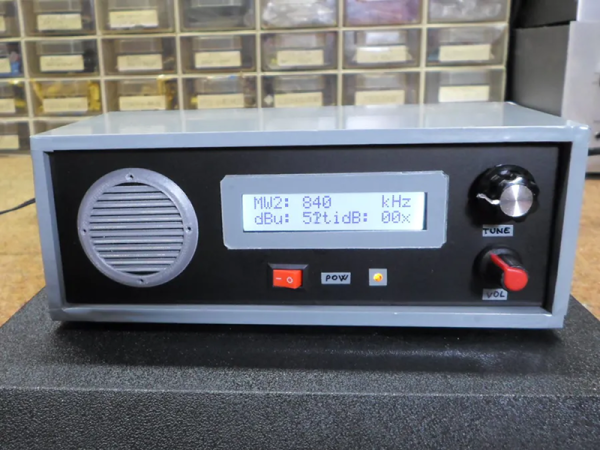
It is getting harder and harder to tell homemade projects from commercial ones. A good case in point is [Mirko’s] all band radio which you can see in the video below the break. On the outside, it has a good looking case. On the inside, it uses a Si4730 radio which has excellent performance that would be hard to get with discrete components.

The chip contains two RF strips with AGC, built-in converters to go from analog to digital and back and also has a DSP onboard. The chip will do FM 64 to 108 MHz and can demodulate AM signals ranging from 153 kHz to 279 kHz, 520 kHz to 1.71 MHz, and 2.3 MHz to 26.1 MHz. It can even read RDS and RBDS for station information. The output can be digital (in several formats) or analog.

Continue reading “All Band Radio Uses Arduino And Si4730”

Tool Writes Your PWM Code For You

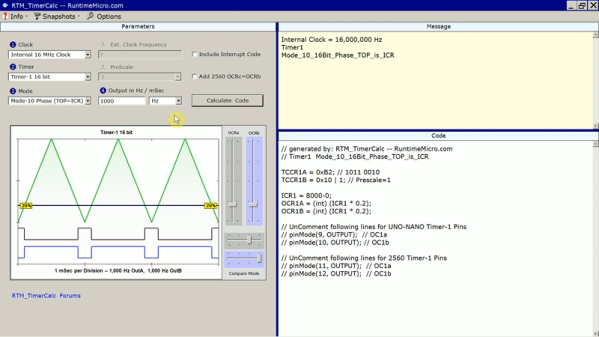
The good thing about computers is they do your work for you, right? If you are a programmer, that doesn’t always seem to be a true statement. [Runtimemicro] has the answer, at least if you are writing PWM code for the Arduino. Their free application lets you set a few parameters, visually see the results, and then generates code for you. You can see a video of the tool in operation, below.

According to their site, the tool works for timers 1 through 5 on an Arduino Nano, Uno, or Mega2560. The app appears to work on Windows, but it doesn’t look like it would have any trouble running under Wine on other platforms.

Continue reading “Tool Writes Your PWM Code For You”

How To Hack A Portable Bluetooth Speaker By Skipping The Bluetooth

Portable Bluetooth speakers have joined the club of ubiquitous personal electronics. What was once an expensive luxury is now widely accessible thanks to a prolific landscape of manufacturers mass producing speakers to fit every taste and budget. Some have even become branded promotional giveaway items. As a consequence, nowadays it’s not unusual to have a small collection of them, a fertile field for hacking.

But many surplus speakers are put on a shelf for “do something with it later” only to collect dust. Our main obstacle is a side effect of market diversity: with so many different speakers, a hack posted for one speaker wouldn’t apply to another. Some speakers are amenable to custom firmware, but only a small minority have attracted a software development community. It doesn’t help that most Bluetooth audio modules are opaque, their development toolchains difficult to obtain.

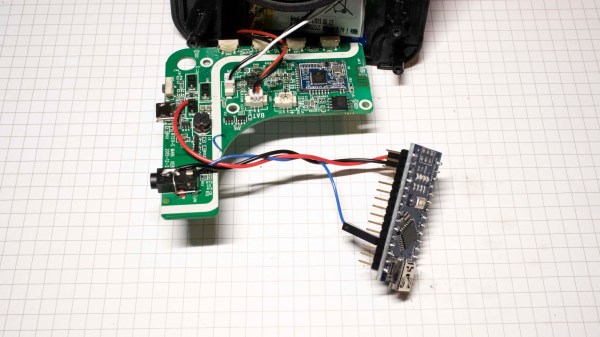
So what if we just take advantage of the best parts of these speakers: great audio fidelity, portability, and the polished look of a consumer good, to serves as the host for our own audio-based hacks. Let’s throw the Bluetooth overboard but embrace all those other things. Now hacking these boxes just requires a change of mindset and a little detective work. I’ll show you how to drop an Arduino into a cheap speaker as the blueprint for your own audio adventures.

Continue reading “How To Hack A Portable Bluetooth Speaker By Skipping The Bluetooth”

P-51 Cockpit Recreated With Help Of Local Makerspace

It’s surprisingly easy to misjudge tips that come into the Hackaday tip line. After filtering out the omnipresent spam, a quick scan of tip titles will often form a quick impression that turns out to be completely wrong. Such was the case with a recent tip that seemed from the subject line to be a flight simulator cockpit. The mental picture I had was of a model cockpit hooked to Flight Simulator or some other off-the-shelf flying game, many of which we’ve seen over the years.

I couldn’t have been more wrong about the project that Grant Hobbs undertook. His cockpit simulator turned out to be so much more than what I thought, and after trading a few emails with him to get all the details, I felt like I had to share the series of hacks that led to the short video below and the story about how he somehow managed to build the set despite having no previous experience with the usual tools of the trade.

Continue reading “P-51 Cockpit Recreated With Help Of Local Makerspace”