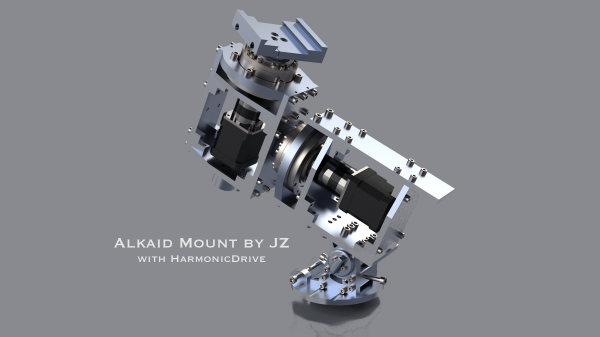
As an amateur astrophotographer will tell you, you just don’t get to capture the really interesting objects without spending a ton of money on some decent pieces of kit. Telescope aside, there really is a surprising amount of complexity, weight, and associated costs with the telescope mount alone, let alone one that is capable of any sort of programmable tracking. [Alan (Jialiang) Zhao] clearly wanted to up their game, and having suffered some of the shortcomings of their Sky-Watcher HEQ-5 pro Equatorial mount decided to go ahead and build an open-source mount, Alkaid, which hopefully works a bit better for them.
In simple terms, the difficulty of photographing an extremely dim, distant object (or one that is larger but diffuse) is that the camera sensor needs to spend a significant amount of time signal-averaging, to gather enough light for anything to be seen at all, through the noise. But, this ball of rock we sit on is rotating constantly, so the only solution is to track the object of interest, to compensate. This is referred to as equatorial tracking, and allows the rotation of the Earth to be compensated for during a long exposure.
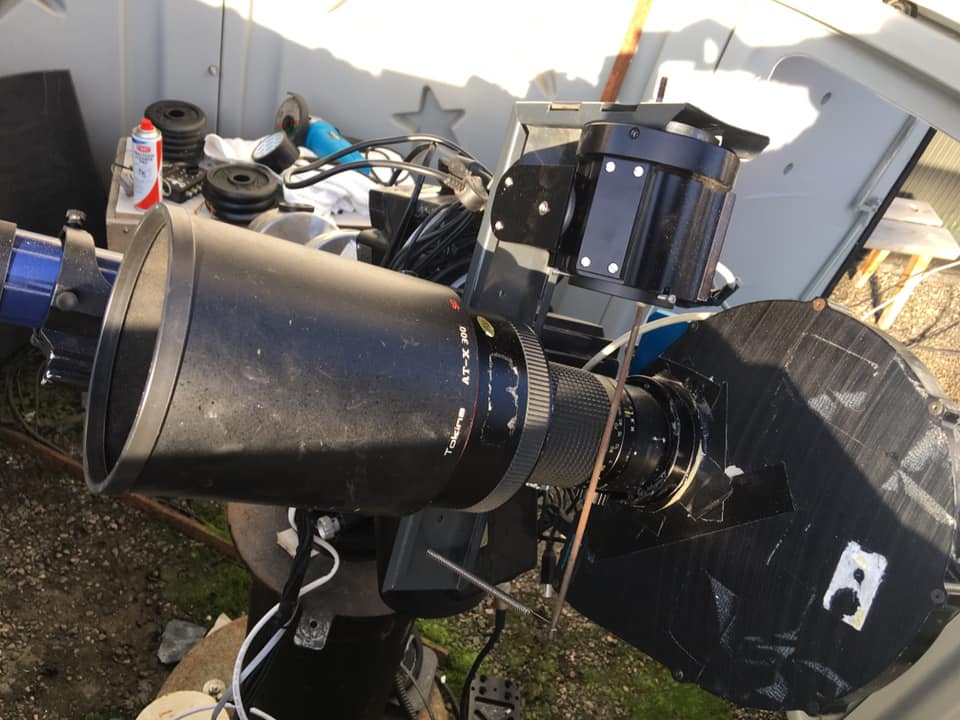
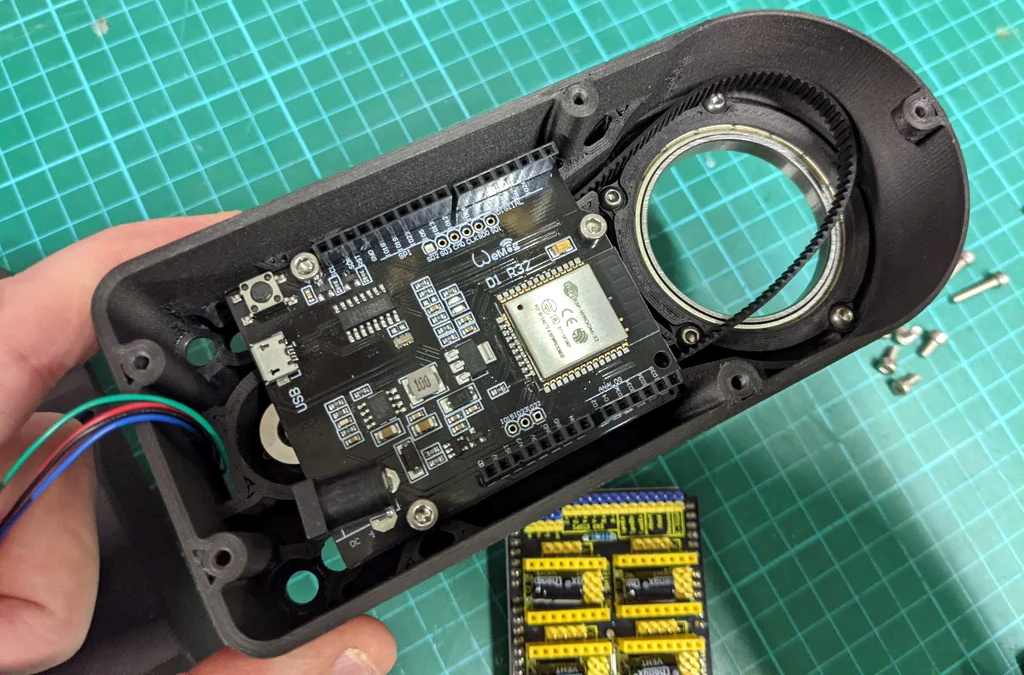
The design of each of the two axes revolves (sorry!) around the use of a NEMA-17 stepper motor with a 27:1 planetary gearbox, driving into a harmonic reducer gearbox. Harmonic drives (aka strain wave drives) are pretty neat, working on the principle of a fixed, but circularly distorting ring gear that transmits torque from the inside surface to the outside, with almost no backlash. They are expensive parts, but for a super smooth movement, this is what you want. The huge output torque they allow, meant that [Alan] was able to build a mount for a heavy telescope without any counterbalances. Structurally, the whole thing is constructed from 10 mm thick aluminium plates that were cut with a waterjet and subsequently milled to finish. Continue reading “A DIY Equatorial Mount Using Harmonic Drives”