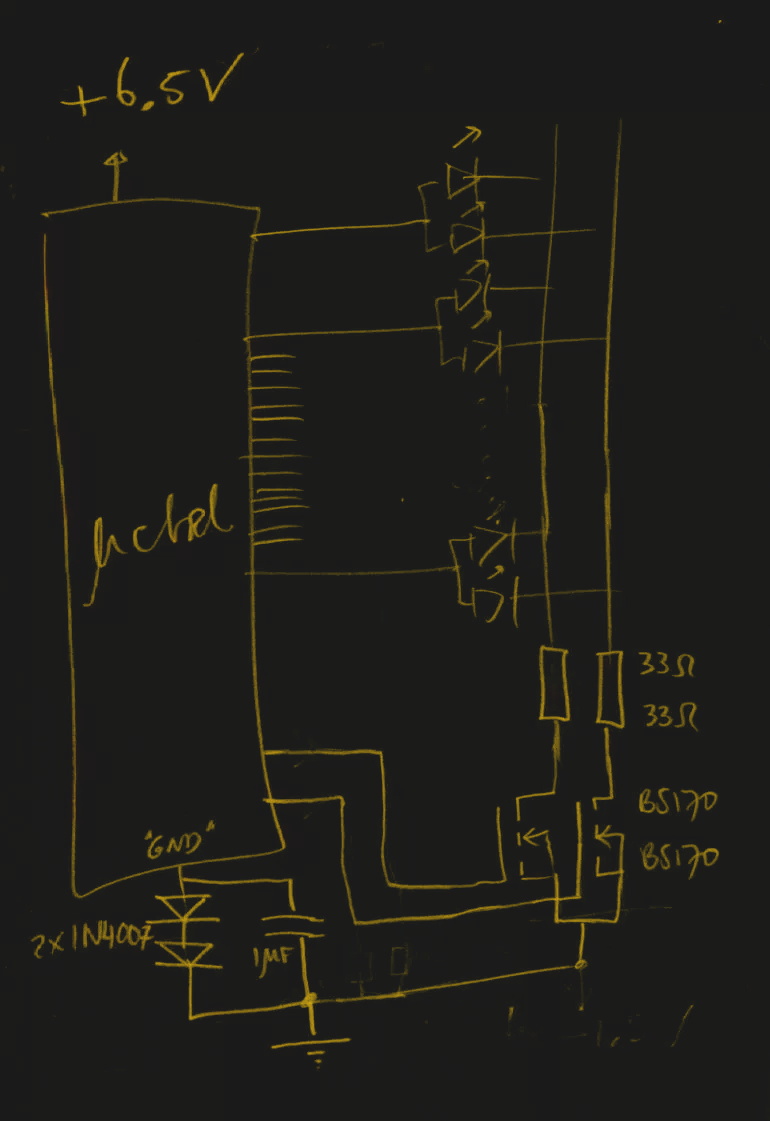
We recently heard it said of a hacker who pulled off a particularly nice VGA hack on an 8-bit microcontroller: “He knows all the bits, personally.” High praise, indeed. If you want to get on a first-name basis with a ton of transistors, then have a look at [Heinz D]’s Vacation Course in ATtiny13 Assembler (original in German, translated into English by robots here).
But be warned, this isn’t the easy way to learn AVRs. Not content with simply stripping away every layer of abstraction, this month-long “course” in AVR assembly starts off programming the chip initially with just two pushbuttons in its native machine language of high and low voltages. But still, especially if you can get a few assignments done in one sitting, you’re writing in the relative splendor of assembly language and uploading code with a proper programmer before long, because there’s a real limit to how much code one can toggle in before going mad.
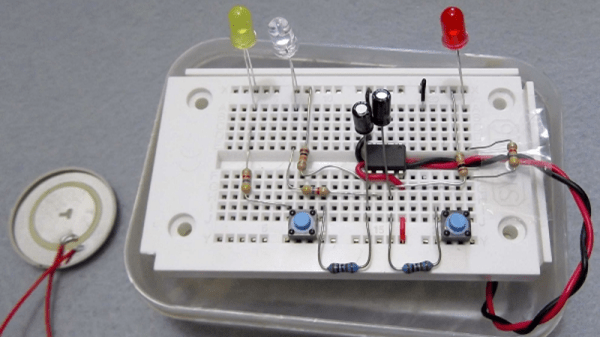
There’s a beautiful minimalism to this entirely ground-up approach, and maybe it’s an appropriate starting point for learning how the machine works at its lowest level. At any rate, you’ll be able to lord it over the Arduino crew that you were able to get blink.ino up and running with just a pair of mechanical contacts and a battery. Real programmers…
And once you’ve mastered AVR assembly language, you can recycle those two buttons to learn I2C or SPI. What other protocols are there that don’t have prohibitive timeouts? What’s the craziest code that you’ve ever entered bit by bit?