A Sneak Preview Of The Hacker Warehouse Badge

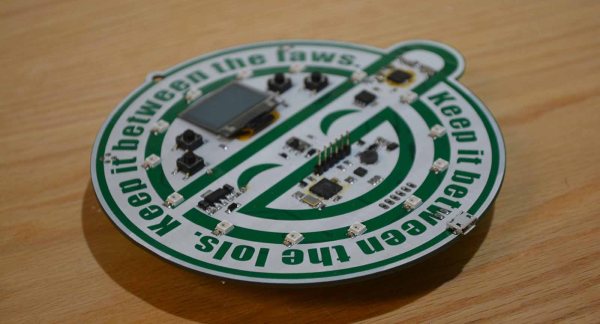
We were lucky enough to get our hands on a hand-soldered prototype of the new Hacker Warehouse badge, and boy is this one a treat. It’s fashionable, it’s blinky, and most impressively, it’s a very useful tool. This badge can replace the Google Authenticator two factor authentication app on your phone, and it’s a USB Rubber Ducky. It’s also a badge. Is this the year badges become useful? Check out the video below to find out more.

This is the time of year when hardware hackers from all across North America are busy working on the demoscene of hardware and manufacturing. This is badgelife, the celebration of manufacturing custom wearable electronics for one special weekend in Las Vegas. In just about a month from now, there will be thousands of independent badges flooding Caesar’s Palace in Vegas, complete with blinkies, custom chips, innovative manufacturing processes, and so many memes rendered in fiberglass and soldermask.

Continue reading “A Sneak Preview Of The Hacker Warehouse Badge”

This Year, Badges Get Blockchains

This year’s hottest new advance in electronics comes through wearable badges. You can’t have failed to notice another technology that’s getting really hot. It’s the blockchain. What is a blockchain? It’s a linked list where every item in the list contains a cryptographic hash of the previous item in the list. What is a blockchain in English? It’s the most revolutionary technology that’s going to solve every problem on the planet, somehow. It’s the basis for crypto (no not that one, the other one). The blockchain is how you add more Lamborghinis to your Lamborghini account. Even though we’re still trying to figure out how it solves a single problem, one thing is certain: blockchains solve every problem. We were born too late to explore the Earth, born too early to explore the Universe, but just in time for blockchain.

Independent badges are always looking at the latest technology, and perhaps this was inevitable. It’s a badge built on the blockchain. It’s a wearable sneakernet of mining. It’s a game with collaborative proof of work.
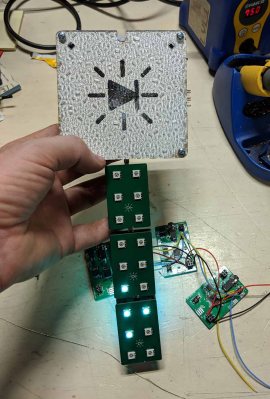
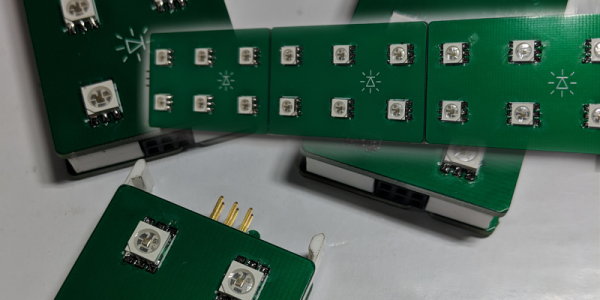
The blockchain badge from [Mr Blinky Bling] is an independent badge for this year’s Defcon, and like most independent badges it’s loaded up with RGB LEDs, microcontrollers, and exquisitely crafted FR4. What makes this badge different is the add-ons, or ‘blocks’ that attach to the main badge through 1/8″ phono jacks. These blocks form the basis of the social game, where two badge holders trade blocks for a while, allow their badges to perform a proof of work on each block, and finally, each block is hashed and the score increased. Yes, this is a blockchain, but it’s more of a block-tree, and it runs on sneakernet instead of the Internet.

Yes, this does indeed all sound like a joke. Make no mistake, though: this is real. This is a hardware game built on blockchain technology, that some lucky badge holders will be playing at this year’s Defcon. It’s filled with blinky and blockchain. It’s awesome.

[Mr. Blinky Bling] has already started a project for this badge over on hackaday.io, and right now they’re running a Kickstarter campaign for this badge with delivery at Defcon. This is one of the more interesting badges that will be floating around the con this year, and it has blockchain. This really isn’t one to miss.

This Is The Year Conference Badges Get Their Own Badges

Over the last few years, the art and artistry of printed circuit boards has moved from business cards to the most desirable of all disposable electronics. I speak, of course, of badgelife. This is the community built on creating and distributing independent electronic conference badges at the various tech and security conferences around the globe.

Until now, badgelife has been a loose confederation of badgemakers and distributors outdoing themselves each year with ever more impressive boards, techniques, and always more blinky bling. The field is advancing so fast there is no comparison to what was being done in years past; where a simple PCB and blinking LED would have sufficed a decade ago, now we have customized microcontrollers direct from the factory, fancy new chips, and the greatest art you’ve ever seen.

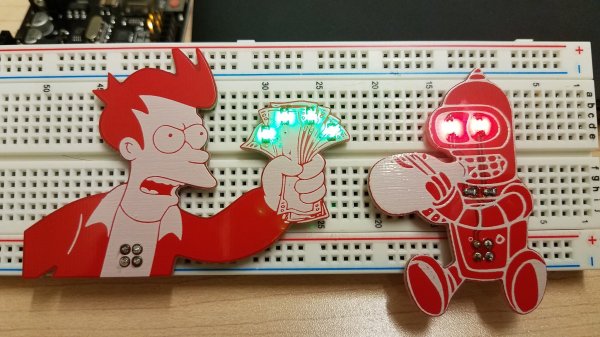
Now we have reached a threshold. The badgelife community has gotten so big, the badges are getting their own badges. This is the year of the badge add-on. We’re all building tiny trinkets for our badges, and this time, they’ll all work together. We’re exactly one year away from a sweet Voltron robot made of badges.

Continue reading “This Is The Year Conference Badges Get Their Own Badges”

Retro Computer Badge For Hackaday Belgrade Has Everything You Wished For Back In The Day

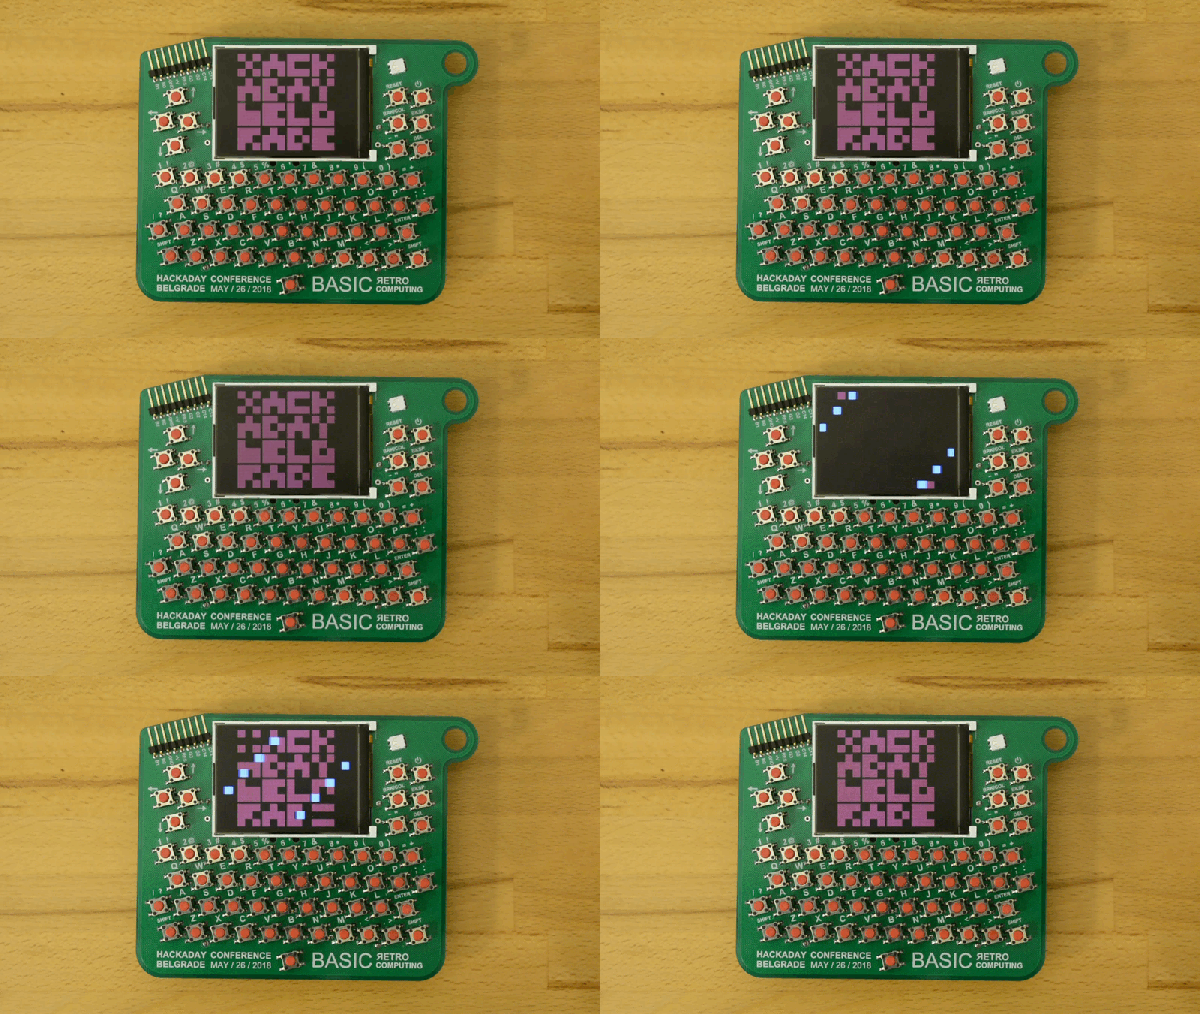
The hardware badge for the Hackaday Belgrade conference is a Retro Computer that you wear around your neck. I have one in my hands and it’s truly a work of art. It’s beautiful, it’s fun to play with, and it will be an epic platform for a glorious weekend of badge hacking! Check out the first look video, then join me below as I drill down into the details.

Get your ticket now for Hackaday Belgrade, our premier European hardware conference at the end of this month. It’s a day filled with talks, works, food, fun, and of course everyone through the door gets one of these incredible badges. The best part is the community that turns out for this event and that includes the Hacker Village that takes hold in the evening. We’ll be hacking the badges until the wee hours of the morning alongside hardware demos, presentations, lightning talks, and live IDM and DJ sets.

Continue reading “Retro Computer Badge For Hackaday Belgrade Has Everything You Wished For Back In The Day”

Building Badges The Hard Way

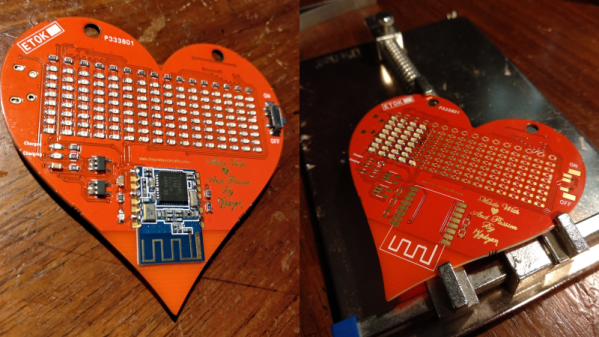
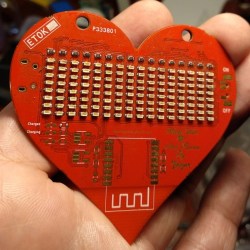
What’s a hacker to do to profess his love for his dearest beloved? [Nitesh Kadyan] built his lady-love this awesome LED pendant – the LED BLE Hearty Necklace Badge.

The hardware is pretty vanilla by today’s hacker standards. An ATMega328p  does most of the heavy lifting. An HM-11 BLE module provides connection to an Android mobile app. Two 74HC595 shift registers drive 16 columns of red LEDs and a ULN2803 sinks current from the 8 rows. The power section consists of a charger for the 320mAh LiPo and an LDO for the BLE module. All the parts are SMD with the passives mostly being 0603, including the 128 LEDs.

128 LEDs soldered wrong way around

[Nitesh] didn’t get a stencil made for his first batch of boards, so all the parts were painstakingly soldered manually and not in a reflow oven. And on his first board, he ended up soldering all of the LED’s the wrong way around. Kudos to him for his doggedness and patience.

The Arduino code on the ATmega is also quite straightforward. All characters are stored as eight bytes each in program memory and occupy 8×8 pixels on the matrix. The bytes to be displayed are stored in a buffer and the columns are left shifted fast enough for the marquee text effect. The Android app is built by modifying a demo BLE app provided by Google. The firmware, Android app, and the KiCAD design files are all hosted on his Github repository.

[Nitesh] is now building a larger batch of these badges to bring them to hillhacks – the annual hacker-con for making and hacking in the Himalayas. Scheduled for later this month, you’ll have to sign up on the mailing list for details and if you’d like to snag one of these badges. To make it more interesting, [Nitesh] has added two games to the code – Tetris and Snakes. Hopefully, this will spur others to create more games for the badge, such as Pong.

Continue reading “Building Badges The Hard Way”

You Can Learn A Lot From A Blinkenrocket

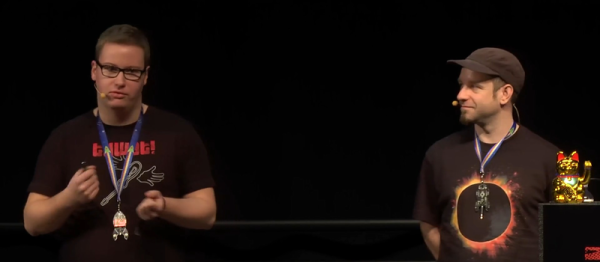
At this year’s Chaos Communication Congress, we caught up with [muzy] and [overflo], who were there with a badge and soldering project they designed to teach young folks how to solder and program. Blinkenrocket is a basically a 64-LED matrix display and just enough support hardware to store and display animations, and judging by the number of blinking rockets we saw around the necks of attendees, it was a success.

Their talk at 34C3 mostly concerns the production details, design refinements, and the pitfalls of producing thousands of a thing. If you’re thinking of building a hardware kit or badge on this scale, you should really check it out and crib some of their production optimization tricks.

For instance, instead of labelling the parts “C2” or “R: 220 Ohms”, they used a simple color-coding scheme. This not only makes it easier for kids to assemble, but it also means that they didn’t have to stick 1,000 part labels on every component. Coupled with [overflo]’s Zerhacker, SMD parts in strips were cut to the right length and color-coded in one step, done by machine.

The coolest feature of the Blinkenrocket itself is the audio programming interface. It’s like in the bad old days of software stored on cassette tapes, but it’s a phenomenal interface for getting a simple animation out of a web app and straight into a piece of minimal hardware — just plug it into a laptop or cell phone’s audio out and press “play” in the browser. The original design tried to encode the data in the pulse-length of square waves, but this turned out to be very hardware dependent. The final design used frequency-shift keying. What’s old is new again.

Everything you could want to know about the design, its code, and even the website itself are up on the project’s GitHub page, so go check it out. If you’d like to arrange a Blinkenrocket workshop yourself, shoot [muzy] or [overflo] an e-mail. Full disclosure: [overflo] gave us a kit, the “hard-mode” SMD one with 0805 1206 parts, and it was fun to assemble and program.

Three Ways To Etch Snazzy Brass Nameplates

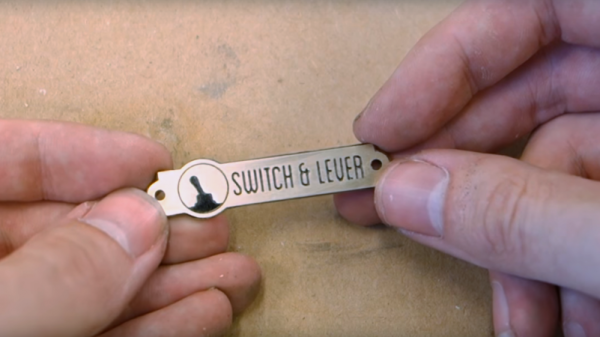
It’s the little touches that make a project, and a nice nameplate can really tie a retro build together. Such badges are easy enough to make with a CNC machine, but if you don’t have access to machine tools you can put chemistry to work for you with these acid-etched brass nameplates.

The etching method that [Switch and Lever] uses to get down to brass plaques will be intimately familiar to anyone who has etched a PCB before. Ferric chloride works as well on brass as it does on copper, and [Switch and Lever] does a good job explaining the chemistry of the etching process and offers some tips on making up etching solution from powdered ferric chloride. But the meat of the video below is the head-to-head test of three different masking methods.

The first method uses a laser printer and glossy paper ripped from a magazine to create a mask. The toner is transferred to the brass using an office laminator, and the paper removed with gentle rubbing before etching. For the other two candidates he uses a laser engraver to remove a mask of plain black spray paint in one case, or to convert special laser marking paint to a mask in the other.

We won’t spoil the surprise as to which gave the best results, but we think you’ll be pleased with how easy making classy nameplates can be. You can also use electrolytic methods for a deeper etch, but we think acid etching is a little more approachable for occasional use.

Continue reading “Three Ways To Etch Snazzy Brass Nameplates”