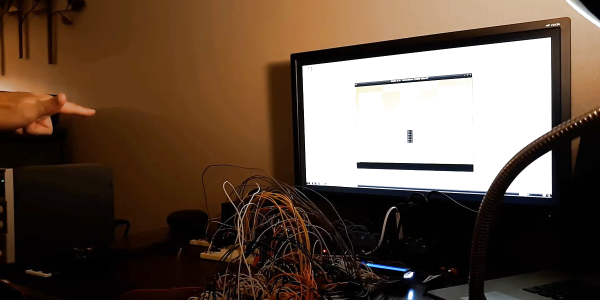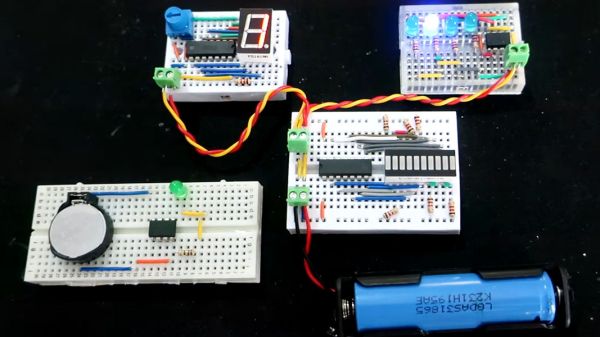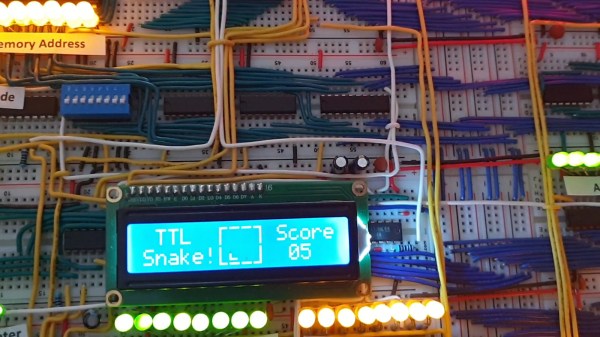
If building a homebrew computer on a breadboard is your thing, you’re most certainly familiar with [Ben Eater], whose design of using nothing but logic gates has served as inspiration for many replicas over the years. [visrealm] took the concept and expanded upon it, even adding a 16×2 LCD that let’s you play Snake by moving a single pixel on the character display!
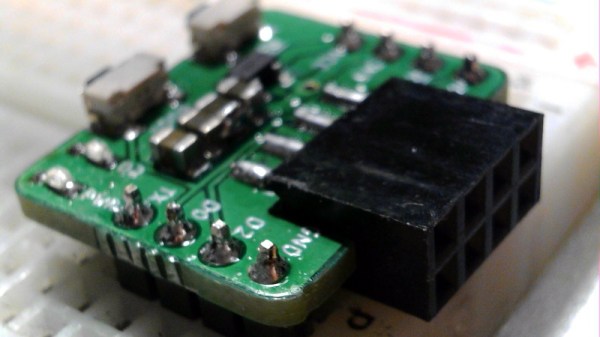
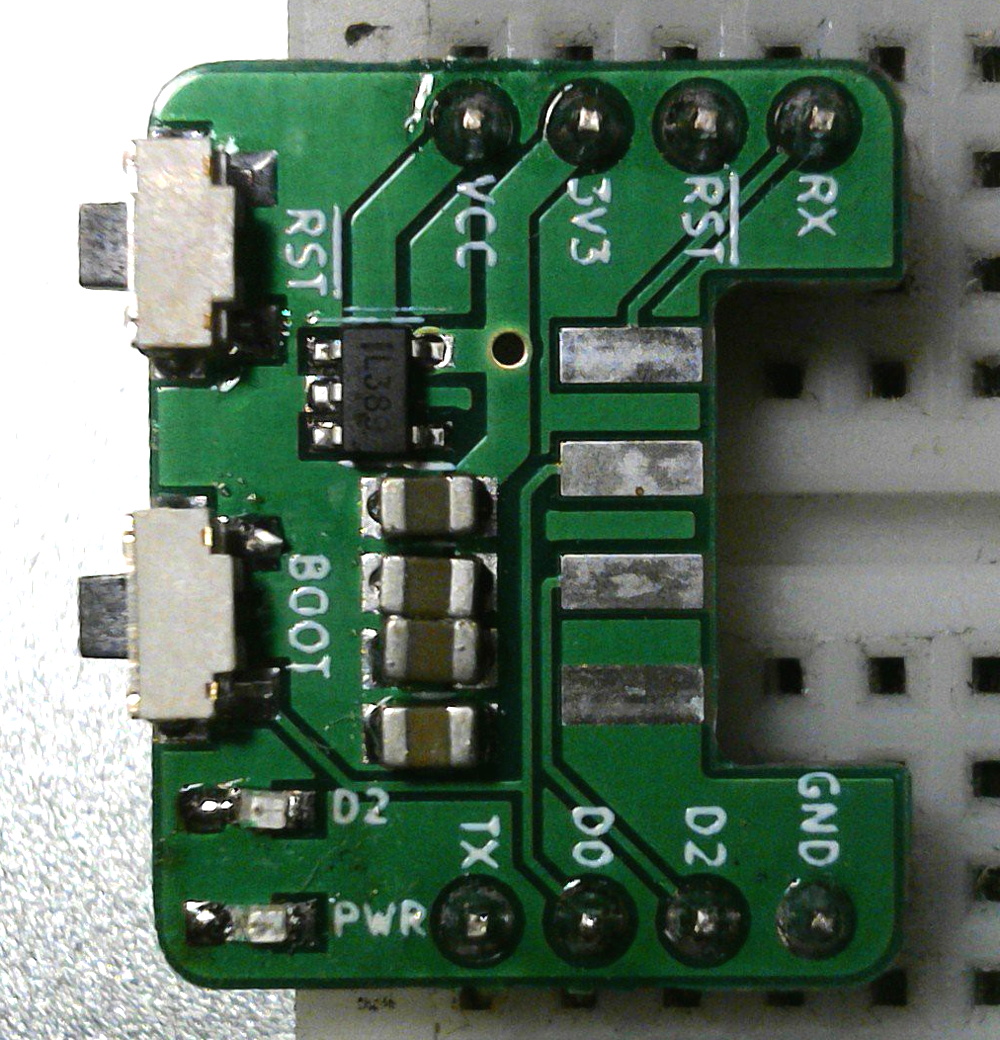
Making the most of tiny resolution is impressive — it’s a difficult constraint for the game field. But there are other tricks at work as well. [visrealm] uses different intensities to distinguish between the snake and its food which is kind of a dark pixel in the demo shown after the break. But what stands out most is that the breadboard build is really only half of the story. In addition, [visrealm] built an entire emulator that resembles his actual breadboard design, which can be programmed and used via browser, giving WebAssembly a whole new meaning. While that’s convenient for anyone interested to play around with these breadboard computers, but lacks the patience to build one themselves, it also functions as the real one’s programming environment. In addition, an ESP8266 is used to load a new program directly via WiFi.
All the code and some build notes are available on GitHub, and if you’re looking for a nifty LCD emulator for your web site, there’s a standalone repository for that as well. But in case you need a better display option for your own breadboard computer, how about adding a VGA connector? And if you don’t build your own yet, it’s never too late to start.
Continue reading “Breadboard Computer Plays Snake On Character Display; Also In A Browser!”