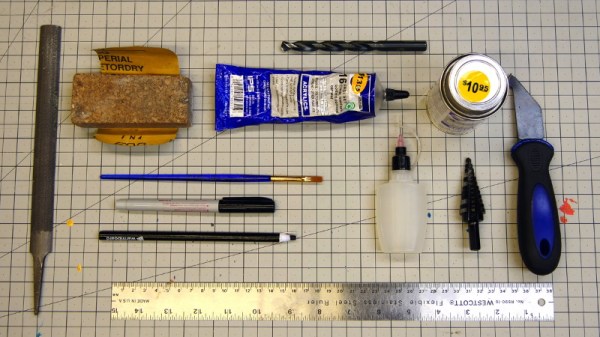
In a perfect world, we’d all have laser cutters and could pop intricate designs out of acrylic sheets with just a few clicks of the mouse. But in reality, most of us have to make do with the pedestrian tools we have at hand. For many, that might even mean everything has to be done by hand. Luckily, [Eric Strebel] has been working on a series of videos that cover how you can make professional looking parts out of acrylic using a wide array of common tools.
The first video demonstrates how a simple cube can be constructed by a band saw, a table saw, and if need be, with hand tools. You might think the two power saws would have similar results, but as [Eric] explains, the table saw ends up being far more accurate and requires less post-processing to get a smooth edge. Ideally you’d run the cut pieces through a router to bevel them, but that’s a tall order for many home gamers.
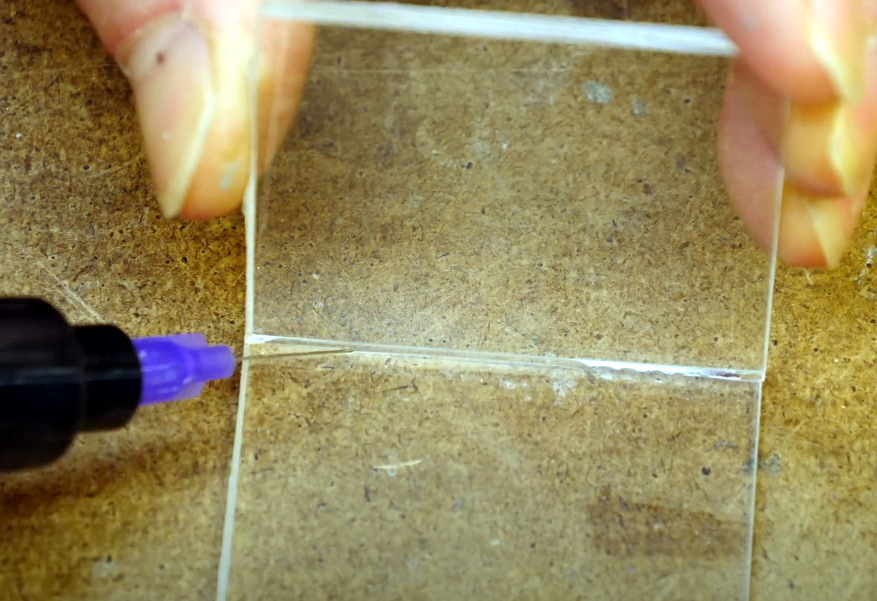
As for the hand tool approach, scoring and snapping the sheets ends up making a surprisingly clean break that can actually be cleaner than the edge you’d get with a power tool. No matter how you cut them, [Eric] shows the proper way to apply the water-like solvent to your acrylic pieces to create a strong and visually attractive bond.
The next video in the series covers more advanced techniques that can still be pulled off without a top-of-the-line workshop. Sure the water-cooled acrylic bender he has is pretty slick, but if you can’t afford the $100 USD gadget, he shows you how to get similar results with an old toaster oven that you can pick up from the thrift store or even the side of the road. With some hand-made jigs and molds, you can warp and flex the heated plastic into whatever shape your project needs. Combining the tips from both videos, you might be surprised at what can be created with little more than a ruler, some hot air, and the appropriate techniques.
These are just the latest in a long line of fantastic videos that [Eric Strebel] has produced about at-home design and fabrication. Whether its making a two part silicone mold or creating functional prototypes out of foam board, there’s an excellent chance that he’s covered a topic you’ve wanted to learn more about.
Continue reading “How To Build With Acrylic Using The Tools You Have”