Interfacing technology and electronics with the real world is often fairly tricky. Complexity and edge cases work their way in to every corner of a project like this; just ask anyone who has ever tried to operate a rover on Mars, make a hydroponics garden, or build almost any robotics project. Even those of us who simply own a consumer-grade printer are flummoxed by the ways in which they can fail when manipulating single sheets of paper. This robotic lawnmower is no exception, driving its creator [TK] to extremes to get it to mow his lawn.
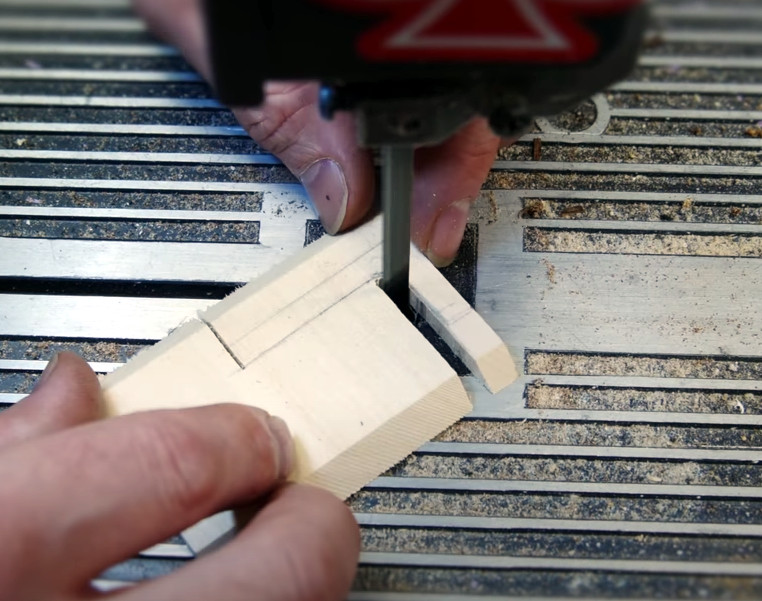
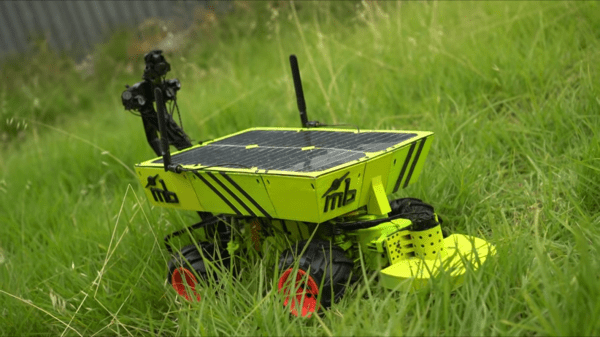
[TK] actually had a platform for his autonomous mower ready to go thanks to a previous build using this solar-powered robot to explore the Australian outback. Adding another motor to handle the grass trimming seemed simple at first and he set about wiring it all up and interfacing it to the robot. After the first iteration he found the robot was moving too fast to effectively cut the grass, so he added a more powerful cutting motor and a gearbox to help the mower crawl more slowly over the lawn. Disaster struck when his 3D printed mount for the steel cutting blades shattered, but with [TK] uninjured he pushed on with more improvements.
As it stands right now, the mower can effectively cut the grass moving forward even with the plastic-only cutting blades that [TK] is using now for safety reasons. The mower stripped its reverse gear so there still are some improvements to make before this robot is autonomously cutting the lawn without supervision. Normally we see lawnmowers retrofitted with robotics rather than robotics retrofitted with a lawnmower, but we’re excited to see any approach that lets us worry about one less household chore.
Thanks to [Rob] for the tip!