Drones have revolutionized the world of videography in perhaps the biggest way since the advent of digital hardware. They’re used to get shots that are impractical or entirely impossible to get by any other means. The [Dutch Drone Gods] specialize in such work. When it came to filming an urban mountain bike race in a dense Chilean city, they had to bust out some serious tricks.
Typically, running a drone chase cam behind a biker would require some good first-person flying skills and a quick drone. However, for the Red Bull Valparaiso Cerro Abajo urban downhill event, this alone would not be enough. The tight course winds down staircases between thick concrete walls and even through houses, presenting huge challenges to maintaining signal integrity. Without a clear video signal, the pilot can’t fly the drone without crashing.
To make this all possible, the team used a variety of techniques to help combat the uncooperative radio environment. Directional antennas were used to target different sections of the course. Additionally, a second drone was flown high above the course carrying a radio repeater, helping provide a better line-of-sight contact to the camera drone following the riders when the buildings would otherwise block the signal to the pilot.
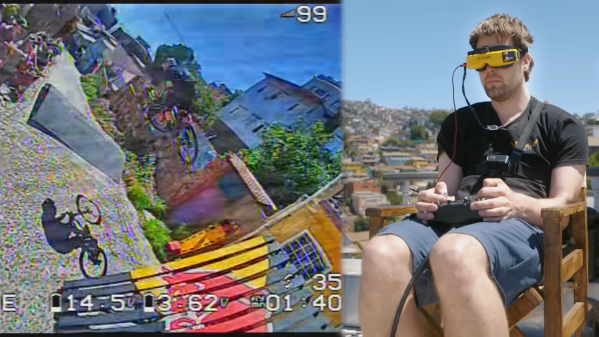
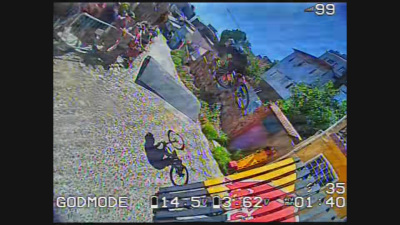
Even with all this work, the signal was still scratchy and would cut out at some points. However, with a bit of blind faith when cutting through the worst areas, the [Dutch Drone Gods] and the [Red Bull] team were able to put together an amazing FPV drone shot shadowing [Tomas Slavik] on his run down the extremely difficult urban course.
Details on the precise hardware are scarce. However, it’s something that any experienced drone builder could probably whip up without too much trouble. The idea of using a drone-based repeater is particularly exciting, and something we’re sure could help out many pilots who find themselves operating in difficult urban environments.
We’ve seen plenty of great FPV stories over the years, from early experiments in the 1980s to fun DIY cockpit builds of today. Video after the break.
Continue reading “Drone Filming Chile’s Urban Bike Race Takes Some Fancy Radio Gear”

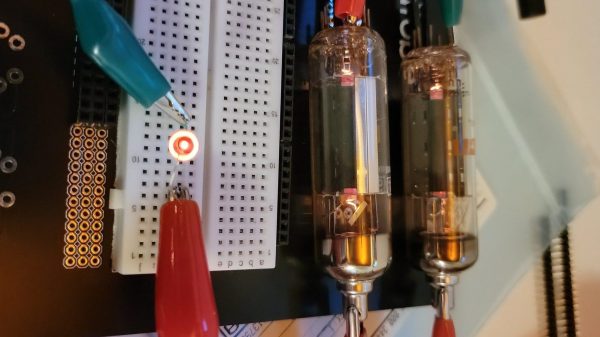

![[Nick Poole]'s thermionic converter array](https://i0.wp.com/hackaday.com/wp-content/uploads/2022/04/5315181650477410414_thumbnail.png?w=396&h=396&crop=1&ssl=1 "5315181650477410414_thumbnail")
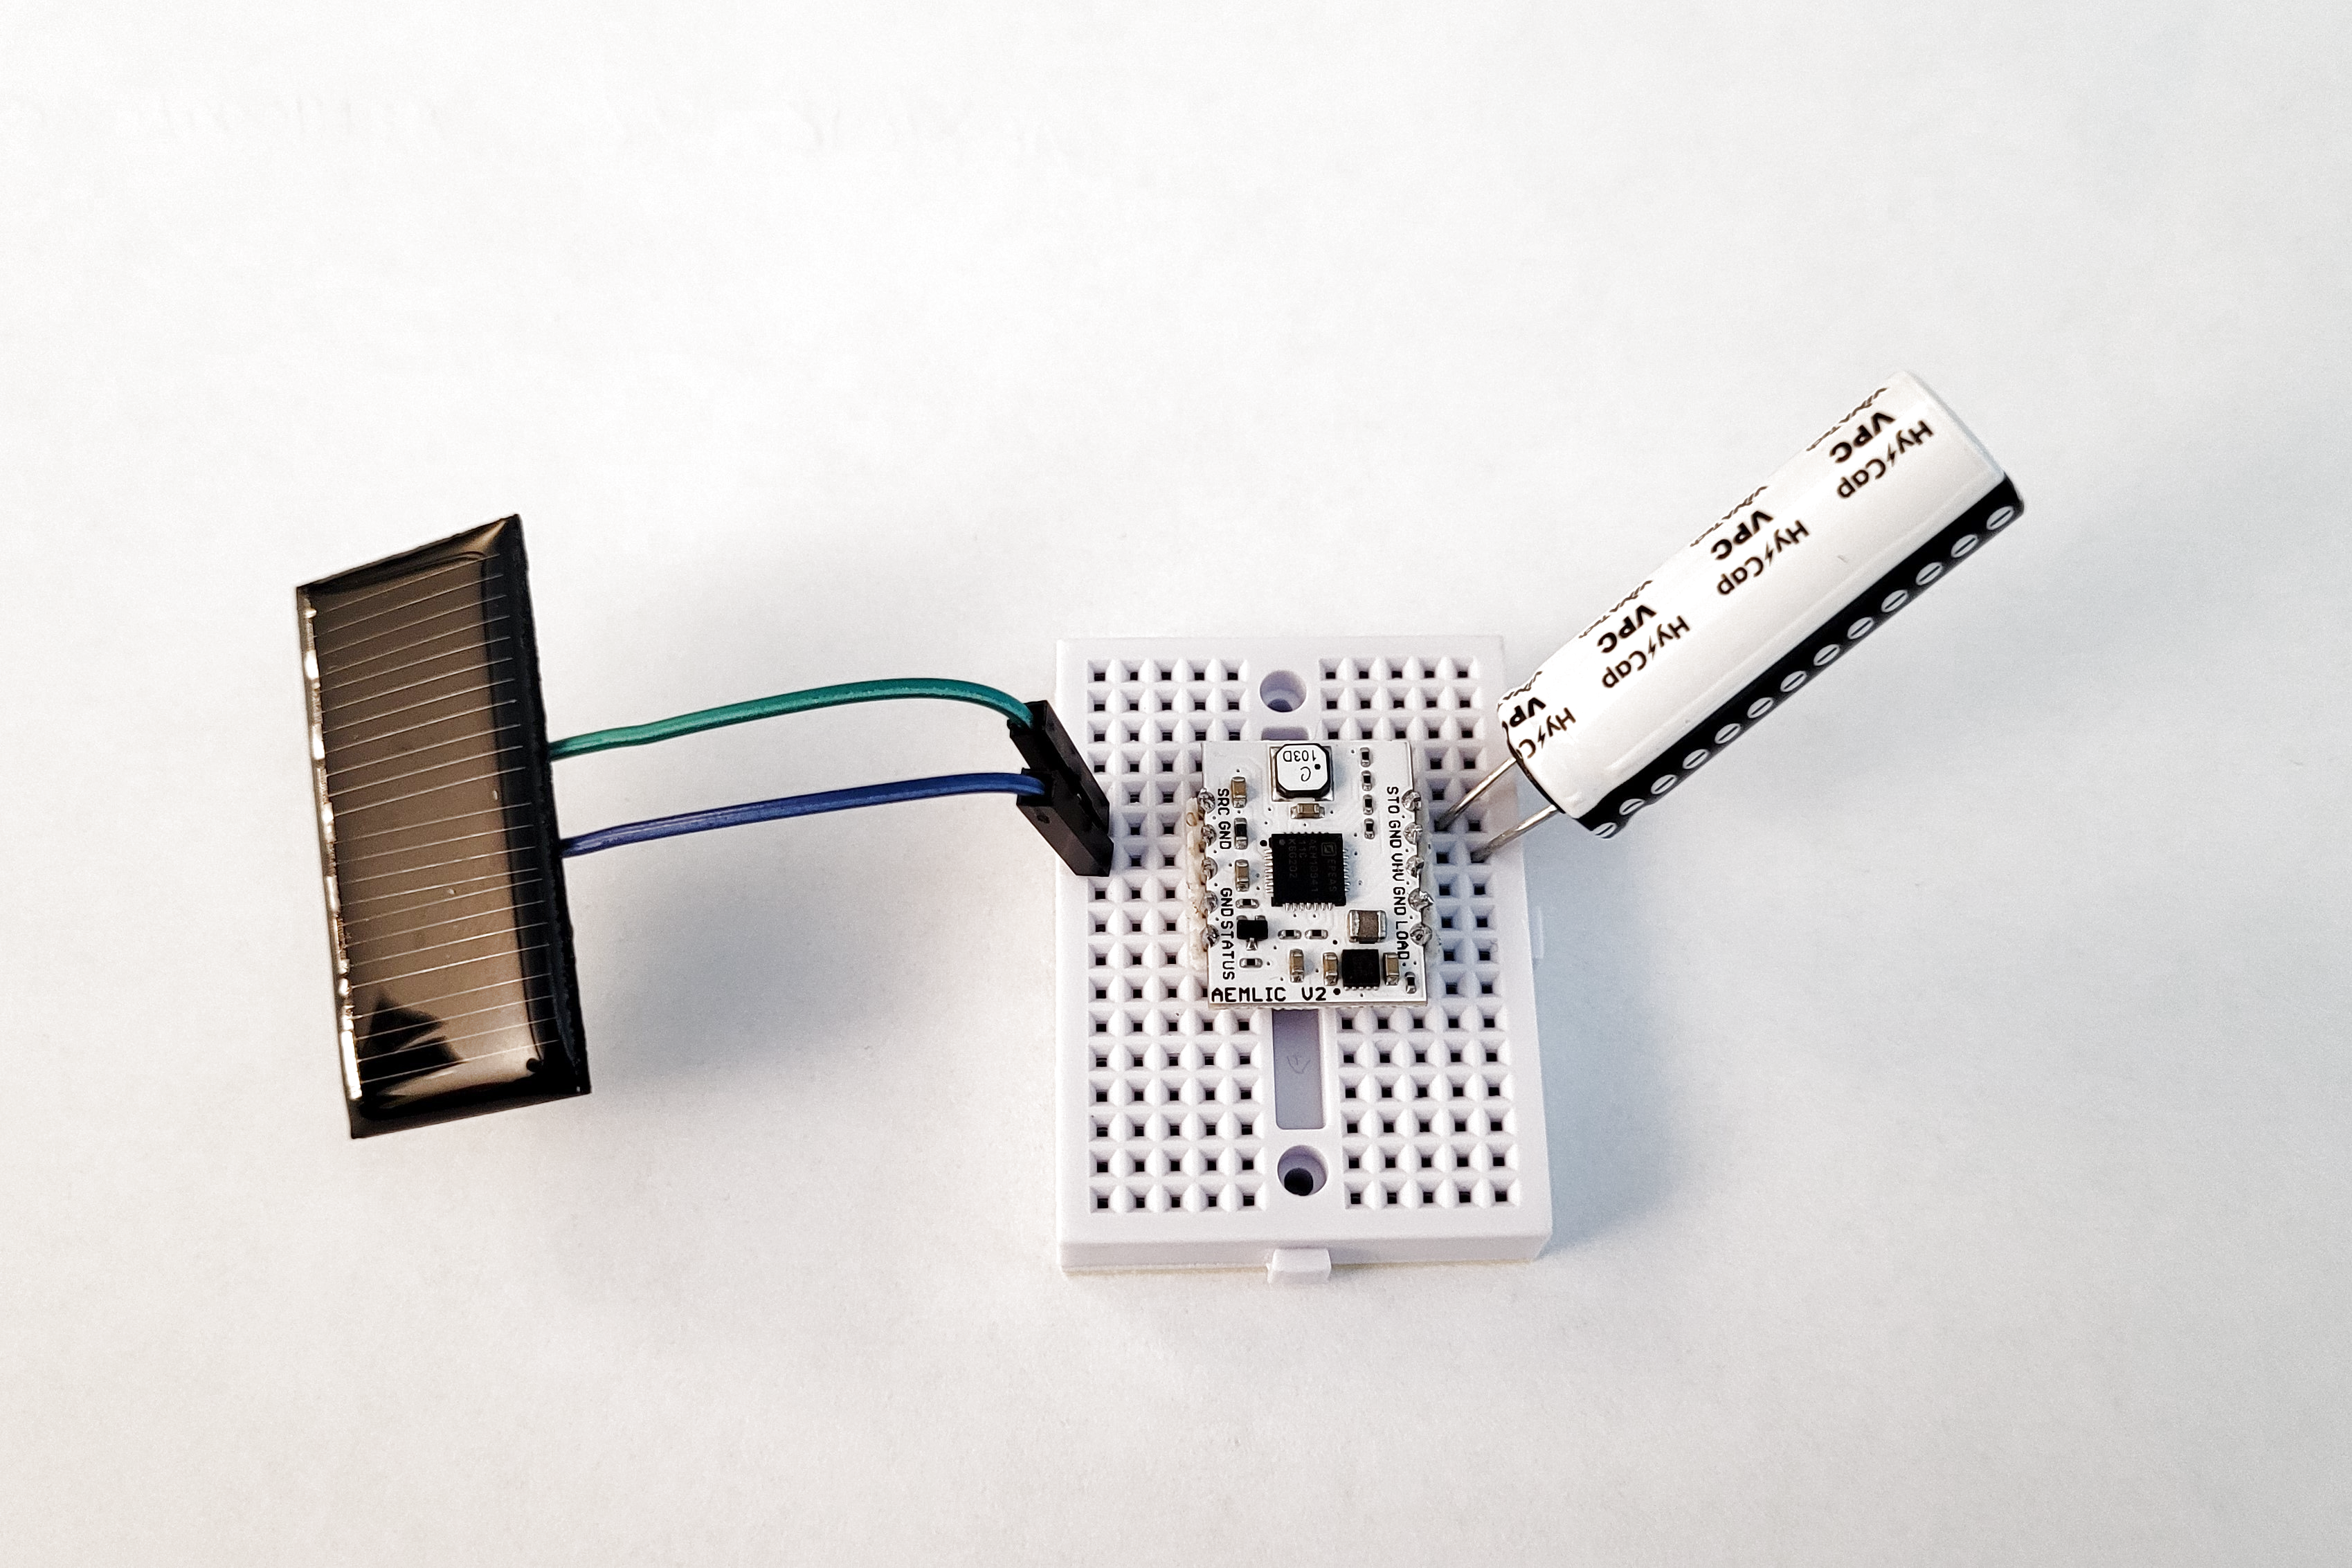
![[Anuradha Gunawardhana]'s 18650 Pack](https://i0.wp.com/hackaday.com/wp-content/uploads/2022/04/5079001583214379162_thumbnail.png?w=396&h=396&crop=1&ssl=1 "5079001583214379162_thumbnail")