Never doubt the value of a good teacher. Even if you know — or think you know — the material being presented, a good teacher can open your eyes to new ways of looking at things that will pay dividends you never expected.
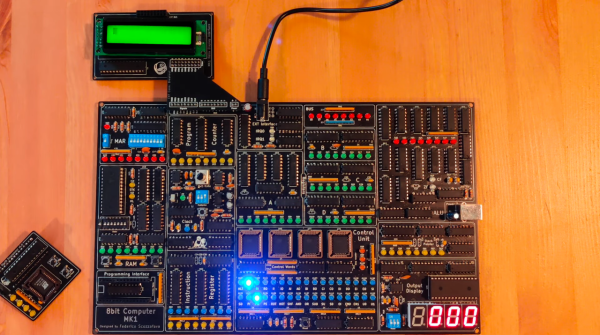
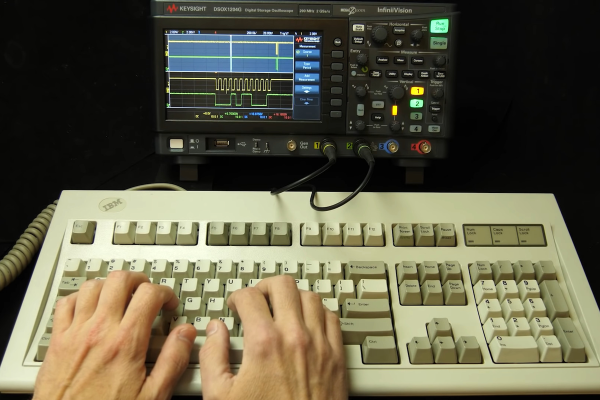
That’s the feeling we got while watching [Ben Eater]’s latest video on building a keyboard interface (embedded below) for his breadboard 6502 computer. On the face of it, getting a keyboard to talk to a computer should be a simple job. [Ben] had previously looked at the serial protocol used by the old PS/2 keyboard and even built a wildly complex circuit out of discrete shift register chips to visualize the data being sent by the keyboard. The video below continues that work, this time concentrating on using the keyboard with his 6502 breadboard computer.
After some instructive preliminaries on interrupt programming, [Ben] dives into the logic-level details of teasing useful signals from the keyboard. His signal processing starts with some inverters and an RC network to turn multiple clock pulses into one logic level transition. Walking through this circuit step by step was the really interesting bit; even if you know that the answer is eventually going to be “Schmitt trigger,” getting to that point was really instructive.
Of course, what [Ben]’s videos mainly accomplish is making us want to follow along with him and build a breadboard computer of our own. From a low-rez VGA card to a reliable UART, following along with his discrete chip builds is always educational.
Continue reading “Diving Into The Details Of Keyboard Interfaces At The Gate-Level”