Finnish software engineer [Toni] is on a quest to modernize his 1991 house, and his latest project was to automate the window blinds and control them using Home Assistant. Unless your blinds have built-in motors, most of the effort of such a project centers around how to integrate and attach the motor — and as [Toni] points out, there are tons of different blinds with all kinds of operating mechanisms. But once you solve that issue, half the battle is over.
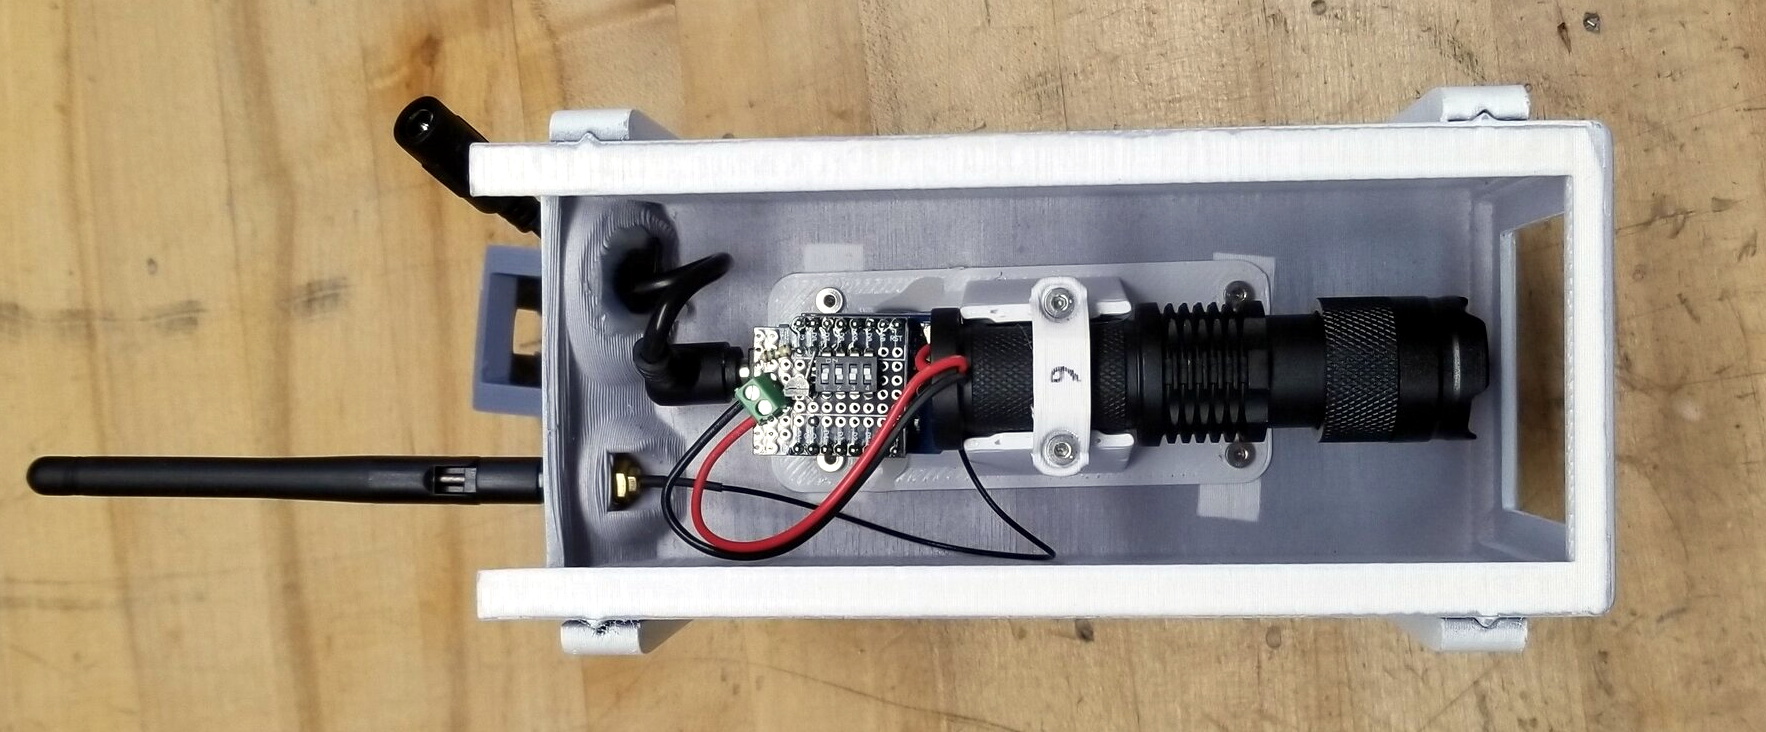
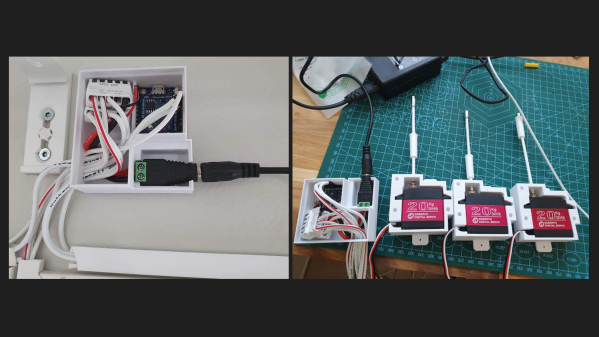
These particular blinds require less than one turn of the control rod to go from fully open to fully closed, and [Toni] selects a 270-degree range-of-motion, 20 kg*cm torque servo motor to drive them. He really wanted to install the motor inside the window, but it just wouldn’t fit. Instead, each servo motor is mounted in a custom 3D-printed case installed on the window frame just below the operating rod. An ESP8266-based controller box is installed above the window, hidden behind curtains, and operates all three servos.
On the software side of things, the project is coded in C++ and uploaded using the Ardiono IDE. The blinds communicate to [Toni]’s Home Assistant network using MQTT. All the software is available on the project’s GitHub repository, and the 3D-printed case design is posted on Thingiverse. Even though your blinds may be of a completely different design, we think many parts of [Toni]’s project are still useful — do check out this project if you’re thinking about doing something similar. The notion of motorized window blinds has been around for a some time — we covered one project way back in 2013 and another in 2016. If you have added automation to your window blinds, let us know how it went down in the comments section.
Continue reading “Automated Window Blinds Using MQTT And Home Assistant”