Trouble in the Golden State this week, as parts of California were subjected to planned blackouts. Intended to prevent a repeat of last year’s deadly wildfires, which were tied in part to defective electrical distribution equipment, the blackouts could plunge millions in the counties surrounding Sacramento into the dark for days. Schools have canceled classes, the few stores that are open are taking cash only, and hospitals are running on generators. It seems a drastic move for PG&E, the utility that promptly went into bankruptcy after being blamed for last year’s fires, but it has the support of the governor, so the plan is likely to continue as long as the winds do. One group is not likely to complain, though; California amateur radio operators must be enjoying a greatly decreased noise floor in the blackout areas, thanks to the loss of millions of switch-mode power supplies and their RF noise.
Good news, bad news for Fusion 360 users. Autodesk, the company behind the popular and remarkably capable CAD/CAM/CAE package, has announced changes to its licensing scheme, which went into effect this week. Users no longer have to pay for the “Ultimate” license tier to get goodies like 5-axis machining and generative design tools, as all capabilities are now included in the single paid version of Fusion 360. That’s good because plenty of users were unwilling to bump their $310 annual “Standard” license fee up to $1535 to get those features, but it’s bad because now the annual rate goes to $495. In a nice nod to the current userbase, those currently on the Standard license, as well as early adopters, will get to keep the $310 annual rate as long as they renew, and The $495 pricing tier went into effect in November of 2018, while anyone still on the $310 annual price was grandfathered in (and will remain to be). At that time there was still a $1535 tier called Ultimate, whose price will now be going away but the features remain in the $495 tier which is now the only pricing option for Fusion 360. Ultimate users will see a $1040 price drop. As for the current base of freeloaders like yours truly, fear not: Fusion 360 is still free for personal, non-commercial use. No generative design or tech support for us, though. (Editor’s Note: This paragraph was updated on 10/14/2019 to clarify the tier changes after Autodesk reached out to Hackaday via email.)
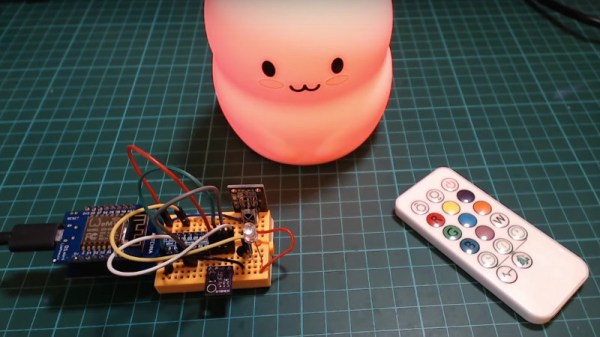
You might have had a bad day at the bench, but was it as bad as Román’s? He tipped us off to his nightmare of running into defective Wemos D1 boards – a lot of them. The 50 boards were to satisfy an order of data loggers for a customer, but all the boards seemed caught in an endless reboot loop when plugged into a USB port for programming. He changed PCs, changed cables, but nothing worked to stop the cycle except for one thing: touching the metal case of the module. His write up goes through all the dead-ends he went down to fix the problem, which ended up being a capacitor between the antenna and ground. Was it supposed to be there? Who knows, because once that cap was removed, the boards worked fine. Hats off to Román for troubleshooting this and sharing the results with us.
Ever since giving up their “Don’t be evil” schtick, Google seems to have really embraced the alternative. Now they’re in trouble for targeting the homeless in their quest for facial recognition data. The “volunteer research studies” consisted of playing what Google contractors were trained to describe as a “mini-game” on a modified smartphone, which captured video of the player’s face. Participants were compensated with $5 Starbucks gift cards but were not told that video was being captured, and if asked, contractors were allegedly trained to lie about that. Contractors were also allegedly trained to seek out people with dark skin, ostensibly to improve facial recognition algorithms that notoriously have a hard time with darker complexions. To be fair, the homeless were not exclusively targeted; college students were also given gift cards in exchange for their facial data.
For most of us, 3D-printing is a hobby, or at least in service of other hobbies. Few of us make a living at it, but professionals who do are often a great source of tips and tricks. One such pro is industrial designer Eric Strebel, who recently posted a video of his 3D-printing pro-tips. A lot of it is concerned with post-processing prints, like using a cake decorator’s spatula to pry prints off the bed, or the use of card scrapers and dental chisels to clean up prints. But the money tip from this video is the rolling cart he made for his Ultimaker. With the printer on top and storage below, it’s a great way to free up some bench space.
And finally, have you ever wondered how we hackers will rebuild society once the apocalypse hits and mutant zombie biker gangs roam the Earth? If so, then you need to check out Collapse OS, the operating system for an uncertain future. Designed to be as self-contained as possible, Collapse OS is intended to run on “field expedient” computers, cobbled together from whatever e-waste can be scrounged, as long as it includes a Z80 microprocessor. The OS has been tested on an RC2014 and a Sega Master System so far, but keep an eye out for TRS-80s, Kaypros, and the odd TI-84 graphing calculator as you pick through the remains of civilization.