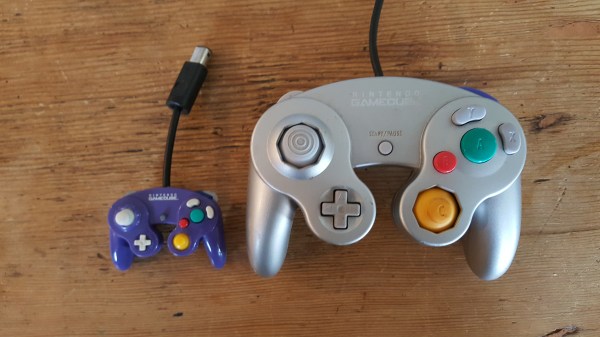
What’s the smallest controller you’ve ever used? [BitBuilt] forum user [Madmorda] picked up a cool little GameCube controller keychain with semi-working buttons at her local GameStop. As makers are wont to do, she figured she could turn it into a working controller and — well — the rest is history.
This miniaturized controller’s original buttons were essentially one piece of plastic and all the buttons would depress at once — same goes for the D-pad. Likewise, the original joystick and C-stick lacked springs and wouldn’t return to a neutral position after fidgeting with them. To get the ball rolling, [Madmorda] picked up a GC+ board — a custom GameCube controller board — just small enough to fit this project, eleven hard tact switches for the various buttons, and two squishy tact switches to replicate the original controller’s L and R button semi-analog, semi-digital functionality.
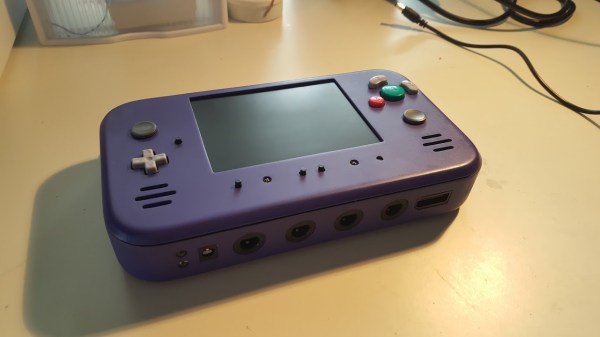
How would you approach a build that required you to hack apart a perfectly good console motherboard? With aplomb and a strong finish. [jefflongo] from [BitBuilt.net] — a forum dedicated to making consoles portable — has finished just such a task, unveiling his version of a portable Wii to the world.
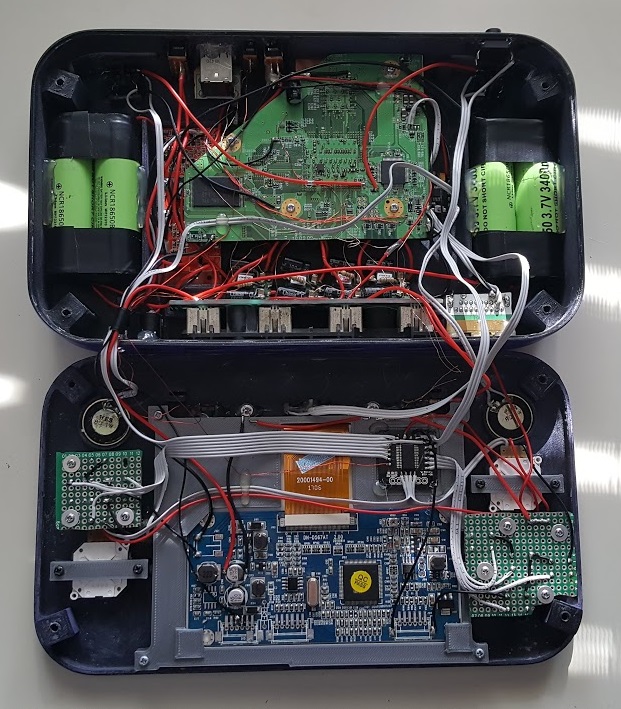
While this bears the general appearance of a portable GameCube, it’s what inside that counts. A heavily modified Wii motherboard — to reduce size — forms this portable’s backbone, and it includes two infrared LEDs on its faceplate for Wii Remotes. A single player can use the built-in controller, but [jefflongo] has included four GameCube controller ports for maximum multiplayer mayhem. Although he’ll likely plan on taking advantage of the built-in AV Out port to play on a TV and charge port for those extended gaming sessions, four 3400mAh batteries — with an estimated four hour battery life — should keep him satisfied on the go until he can recharge.
While the electronics display an impressive amount of work, but the final piece is a sight to behold. Check out the demo video after the break!
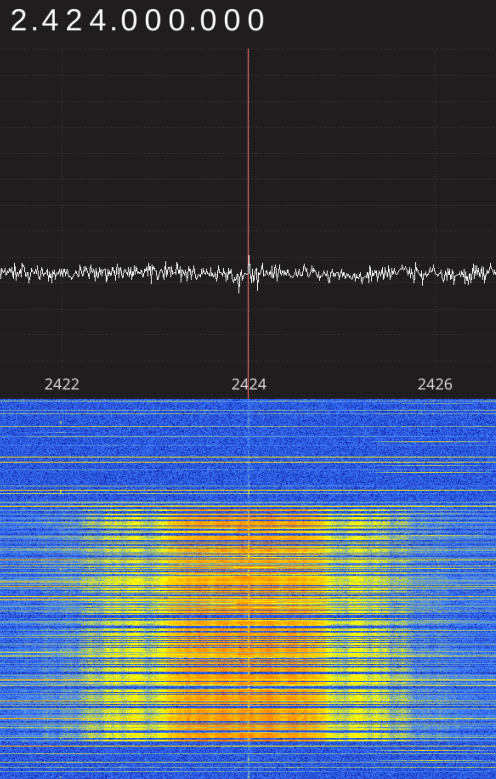
Readers who were firmly on Team Nintendo in the early 2000’s or so can tell you that there was no accessory cooler for the Nintendo GameCube than the WaveBird. Previous attempts at wireless game controllers had generally either been sketchy third-party accessories or based around IR, and in both cases the end result was that the thing barely worked. The WaveBird on the other hand was not only an official product by Nintendo, but used 2.4 GHz to communicate with the system. Some concessions had to be made with the WaveBird; it lacked rumble, was a bit heavier than the stock controllers, and required a receiver “dongle”, but on the whole the WaveBird represented the shape of things to come for game controllers.
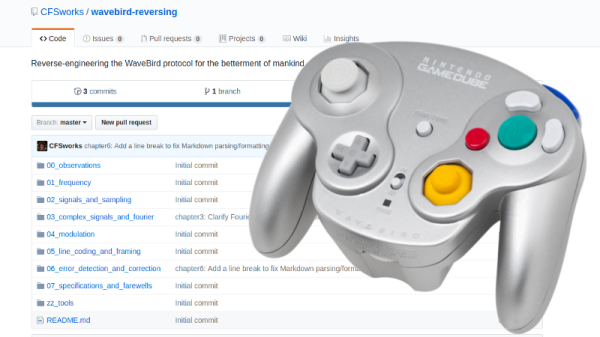
Even if you’ve never seen a GameCube or its somewhat pudgy wireless controller, you’re going to want to read though the incredible amount of information [Sam] has compiled in his GitHub repository for this project.
Starting with defining what a signal is to begin with, [Sam] walks the reader though Fourier transforms, the different types of modulations, decoding packets, and making sense of error correction. In the end, [Sam] presents a final summation of the wireless protocol, as well as a simple Python tool that let’s the HackRF impersonate a WaveBird and send button presses and stick inputs to an unmodified GameCube.
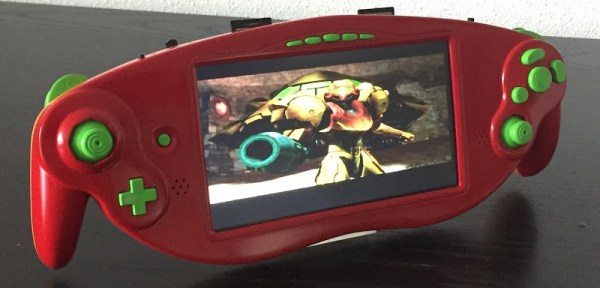
Since the release of the Raspberry Pi, the hallowed tradition of taking game consoles, ripping all the plastic off, and stuffing the components into nice, handheld form factors has fallen off the wayside. That doesn’t mean people have stopped doing it, as [Akira]’s masterful handiwork shows us.
This casemod began with a Nintendo GameCube ASCII keyboard controller, a slightly rare GameCube controller that features a full keyboard smack dab in the middle. While this keyboard controller was great for Phantasy Star Online and throwing at the TV after losing Smash, the uniqueness of this controller has outshadowed its usefulness. [Akira] began his build by ripping out the keyboard and installing a 7 inch LCD. It fits well, and makes for a very unique GameCube case mod.
The rest of the build is about what you would expect – the motherboard for a PAL GameCube is stuffed inside, a quartet of 18650 batteries provide the power, and the usual mods – a memory card is soldered to the motherboard and an SD Gecko allows homebrew games and emulators to be played.
The completed project is painted with the same theme as [Samus Arans]’ Varia suit, making this a one of a kind casemod that actually looks really, really good.
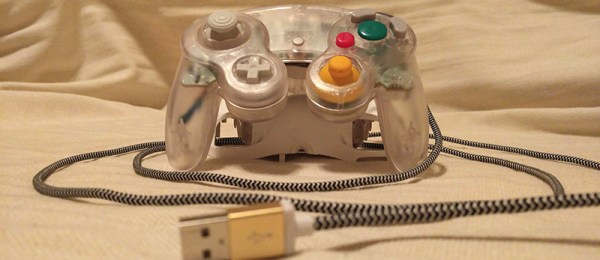
The GameCube controller is a favorite among the console enthusiasts new and old, and with Nintendo’s recent release of the Smash Bros. edition of this controller, this is a controller that has been in production for a very, very long time. [Garrett] likes using the GameCube controller on his PC, but this requires either a bulky USB adapter, or an off-brand GameCube ‘style’ controller that leaves something to be desired. Instead of compromising, [Garrett] turned his GameCube controller into a native USB device with a custom PCB and a bit of programming.
First, the hardware. [Garrett] turned to the ATtiny84. This chip is the big brother of the ubiquitous 8-pin ATtiny85. The design of the circuit board is just under a square inch and includes connections for the USB differential pairs, 5V, signal, and ground coming from the controller board.
The software stack includes the micronucleus bootloader for USB firmware updates and V-USB to handle the USB protocol. There are even a few additions inspired by [Garrett]’s earlier shinewave controller mod. This controller mod turns the GameCube controller into a glowing hot mess certain to distract your competitors while playing Super Smash Bros. It’s a great mod, and since [Garrett] kept the board easily solderable, it’s something that can be easily retrofitted into any GameCube controller.
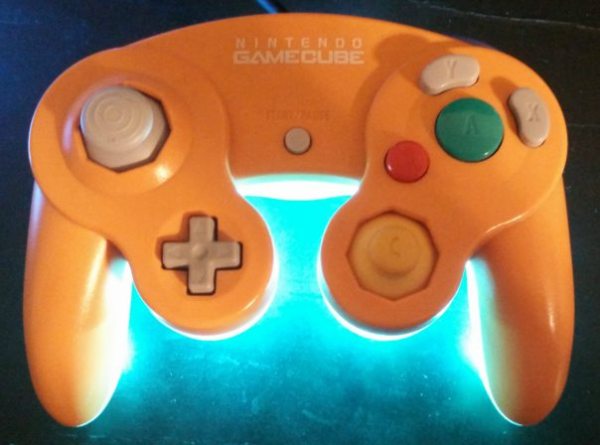
[Garrett Greenwood] plays Smash Brothers, and apparently quite seriously. So seriously that he needed to modify his controller with five Neopixels so that it flashed different color animations according to the combo he’s playing on the controller; tailored to match the colors of the moves of his favorite character, naturally.
All of this happens with an ATtiny85 as the brains, which we find quite ambitious. Indeed, [Garrett] started out thinking he could simply read each of the inputs from the controller directly into the microcontroller at the heart of the whole thing, but then counted up how many wires that would be, and looked at how many pins he had free (six), and thought up a better solution.
[Garrett]’s routine instead reads the single line that the Gamecube controller uses to send back to the console. The protocol is well understood, using long-short and short-long signals to encode bits. The only trick is that each bit is sent in four microseconds, so the decoding routine has to be fairly speedy. To make it work he had to do quite a bit of work. More about that, and the demo video, after the break.
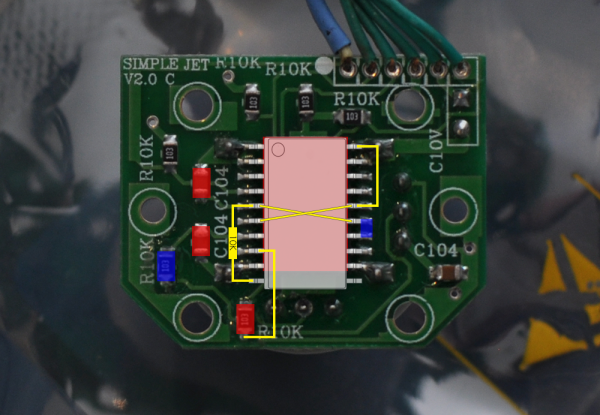
The Nintendo 64 is certainly a classic video game system, with amazing titles like Mario Kart 64 and Super Smash Bros that are still being played across the world today. But, like finding new parts for a classic car, finding an original controller that doesn’t have a sad, wobbly, worn-out joystick is getting to be quite the task. A common solution to this problem is to replace the joystick with one from a Gamecube controller, but the kits to do this are about $20USD, and if that’s too expensive then [Frenetic Rapport] has instructions for doing this hack for about $2.
The first iteration of using a Gamecube stick on an N64 controller was a little haphazard. The sensitivity was off and the timing wasn’t exactly right (very important for Smash Bros.) but the first kit solved these problems. This was the $20 kit that basically had a newer PCB/microcontroller that handled the Gamecube hardware better. The improvement which drove the costs down to $2 involves modifying the original PCB directly rather than replacing it.
While this solution does decrease the cost, it sacrifices the new potentiometer and some of the easier-to-work-with jumpers, but what was also driving this project (in addition to cost) was the fact that the new PCBs were becoming harder to get. It essentially became more feasible to simply modify the existing hardware than to try to source one of the new parts.
Either way you want to go, it’s now very easy to pwn your friends in Smash with a superior controller, rather than using a borked N64 controller you’ve had for 15 years. It’s also great to see hacks like this that come together through necessity and really get into the meat of the hardware. Perhaps we’ll see this controller ported to work with other versions of Super Smash Bros, too!
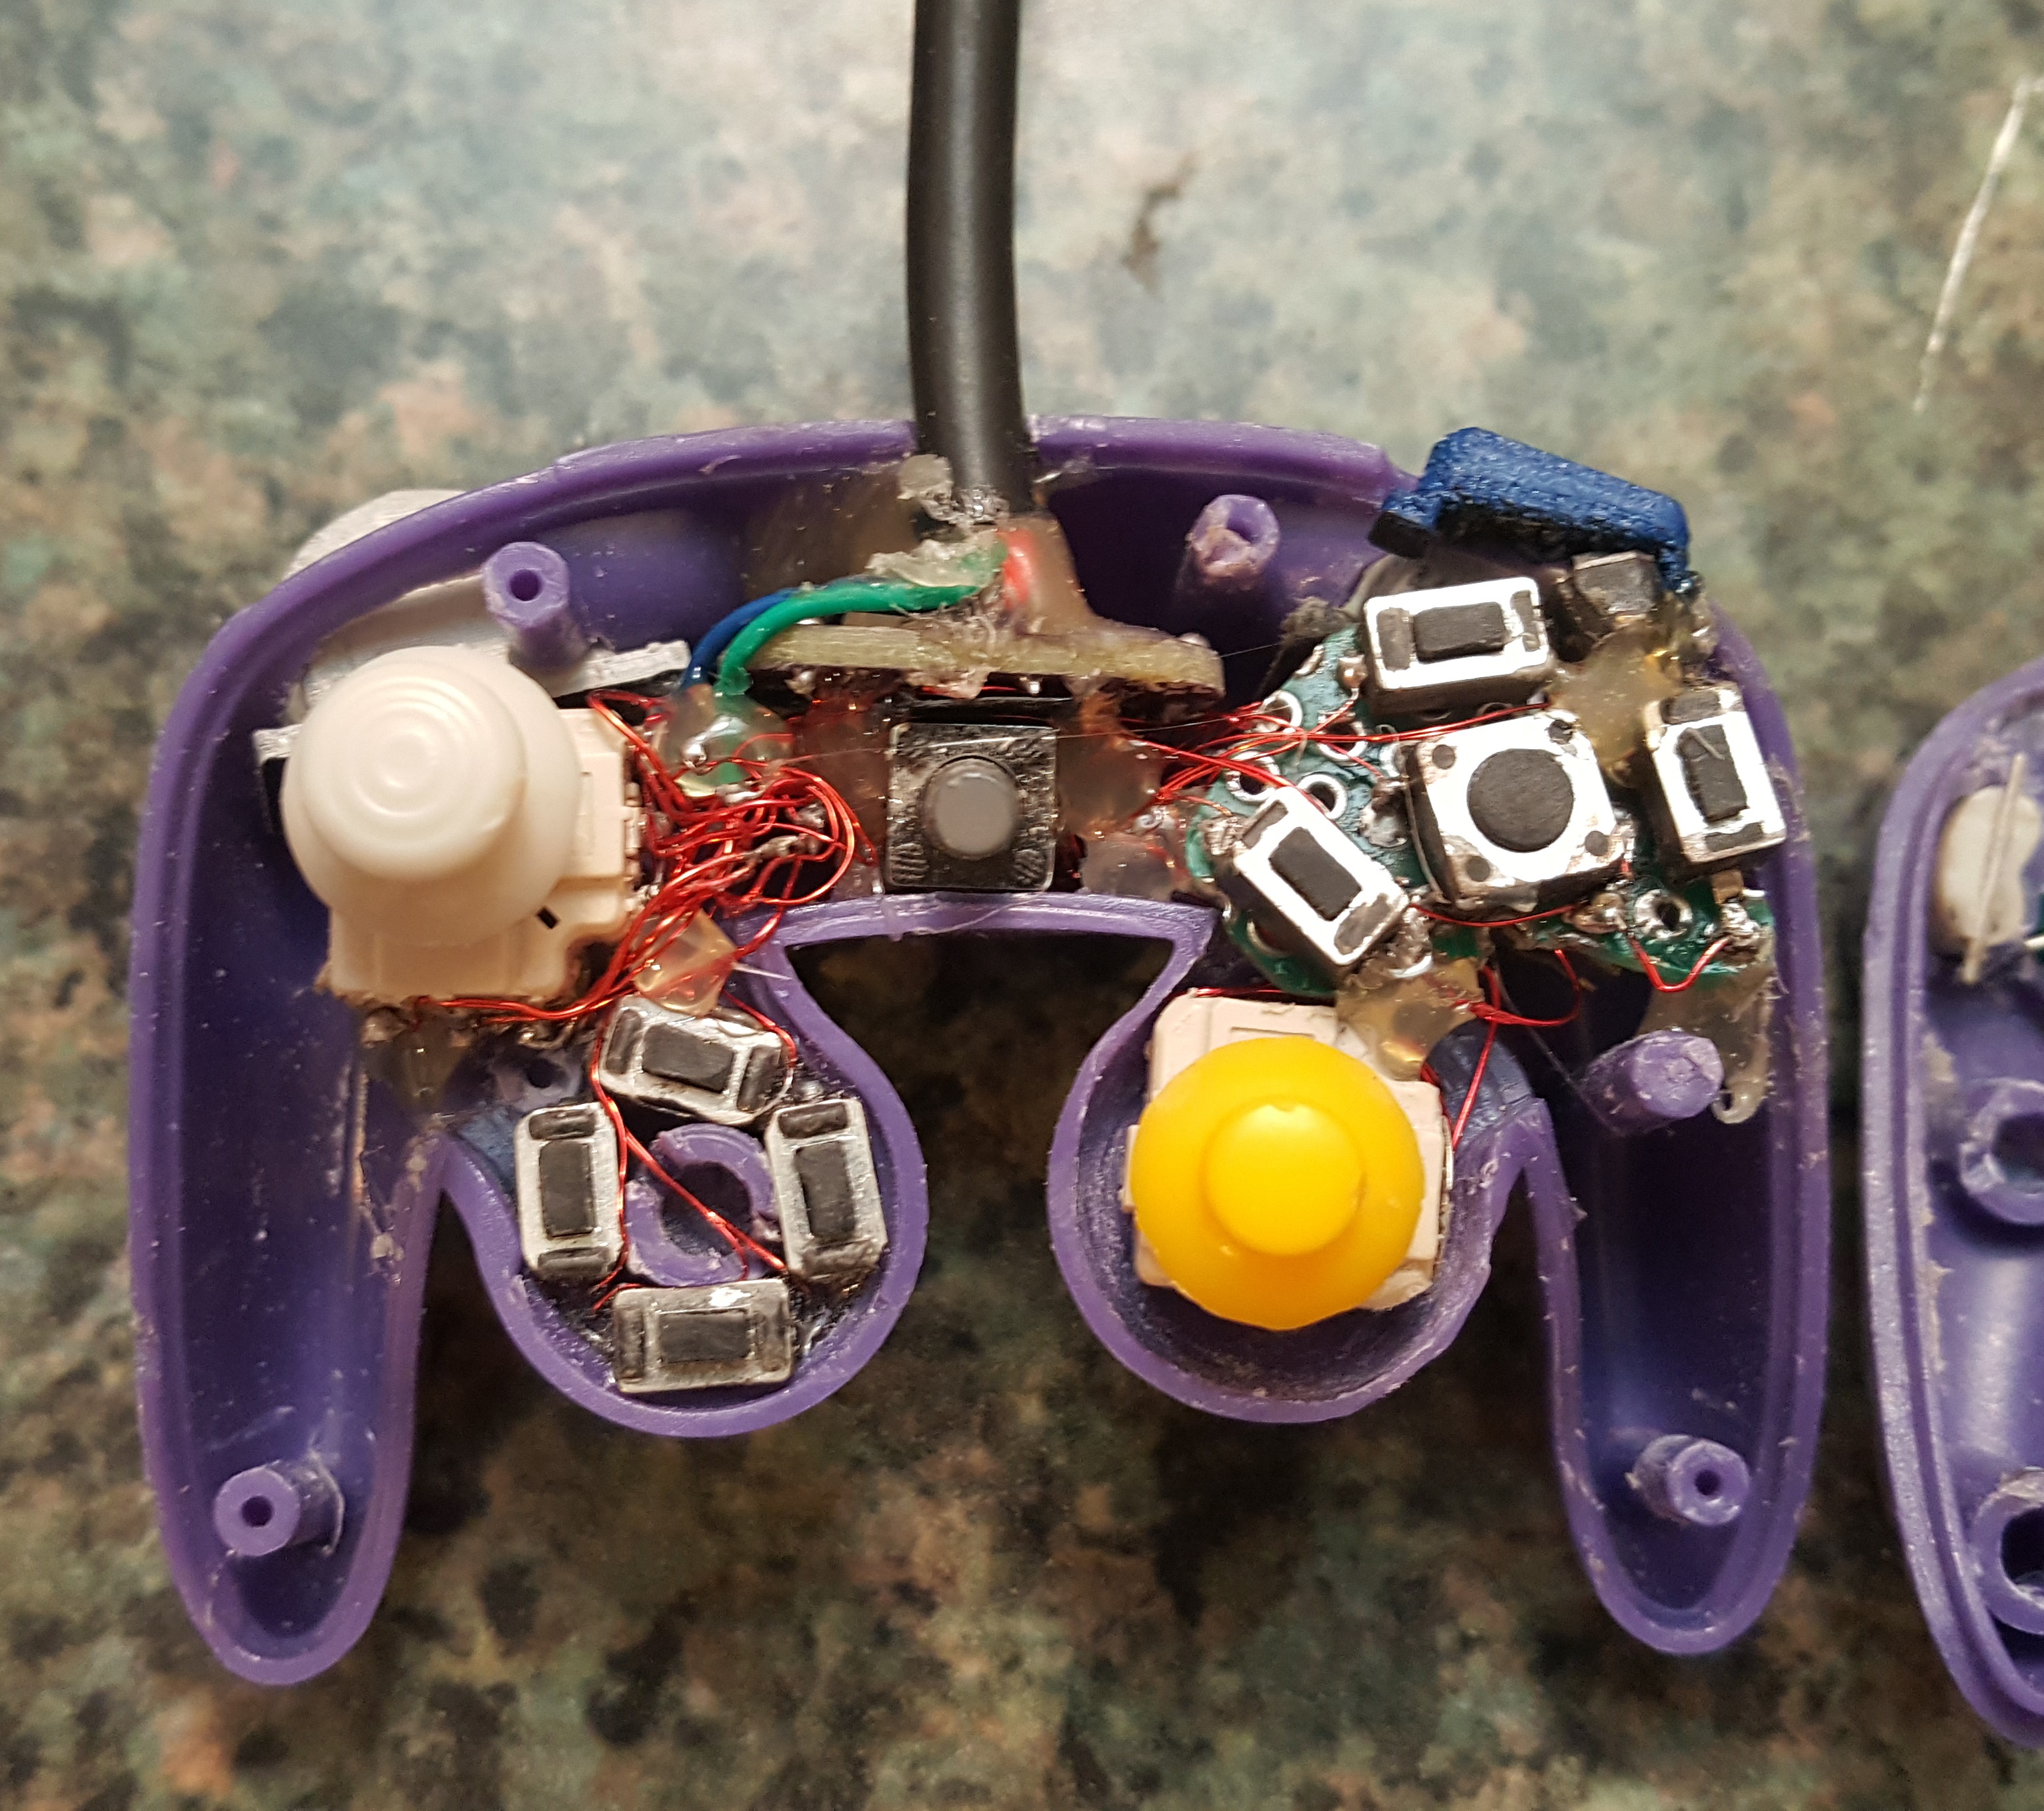 one piece of plastic and all the buttons would depress at once — same goes for the D-pad. Likewise, the original joystick and C-stick lacked springs and wouldn’t return to a neutral position after fidgeting with them. To get the ball rolling, [Madmorda] picked up a GC+ board — a custom GameCube controller board — just small enough to fit this project, eleven hard tact switches for the various buttons, and two squishy tact switches to replicate the original controller’s L and R button semi-analog, semi-digital functionality.