Printed It: Hand Cranked Photography Turntable

Even a relatively low-end desktop 3D printer will have no problems running off custom enclosures or parts for your latest project, and for many, that’s more than worth the cost of admission. But if you’re willing to put in the time and effort to become proficient with necessary CAD tools, even a basic 3D printer is capable of producing complex gadgets and mechanisms which would be extremely time consuming or difficult to produce with traditional manufacturing techniques.

Printable bearing cross-section

Once you find yourself at this stage of your 3D printing career, there’s something of a fork in the road. The most common path is to design parts which are printed and then assembled with glue or standard fasteners. This is certainly the easiest way forward, and lets you use printed parts in a way that’s very familiar. It can also be advantageous if you’re looking to meld your own printed parts with existing hardware.

The other option is to fully embrace the unique capabilities of 3D printing. Forget about nuts and bolts, and instead design assemblies which snap-fit together. Start using more organic shapes and curves. Understand that objects are no longer limited to simple solids, and can have their own complex internal geometries. Does a hinge really need to be two separate pieces linked with a pin, or could you achieve the desired action by capturing one printed part inside of another?

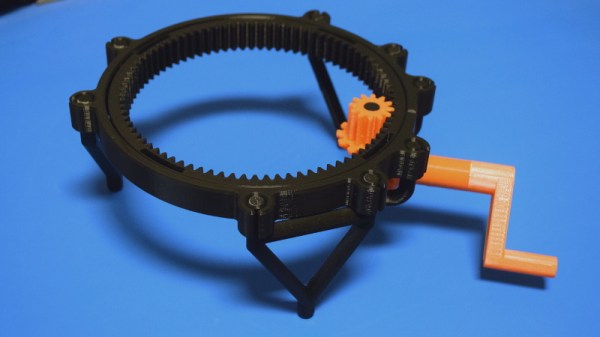
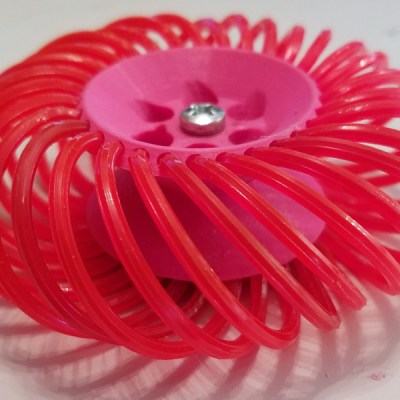
If you’re willing to take this path less traveled, you may one day find yourself creating designs such as this fully 3D printed turntable by Brian Brocken. Intended for photographing or 3D scanning small objects without breaking the bank, the design doesn’t use ball bearings, screws, or even glue. Every single component is printed and fits together with either friction or integrated locking features. This is a functional device that can be printed and put to use anywhere, at any time. You could print one of these on the International Space Station and not have to wait on an order from McMaster-Carr to finish it.

With such a clever design, I couldn’t help but take a closer look at how it works, how it prints, and perhaps even some ways it could be adapted or refined going forward.

Continue reading “Printed It: Hand Cranked Photography Turntable”

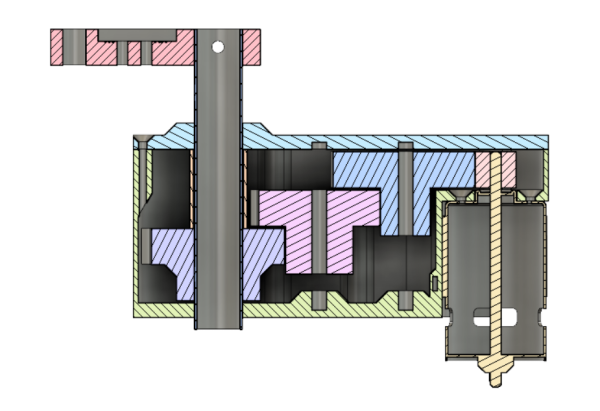
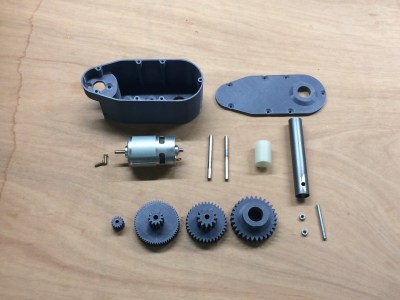
Pushing 3D Printed Wheels And Transmissions To The Limit

What do you do if you want a robot with great mobility? Walking is hard, and wheels are good enough, especially if you use the ‘wheels within wheels’ Mecanum setup. But you need torque, too. That’s what makes this entry into the Hackaday Prize so fantastic. It’s a Mecanum wheel of sorts, with an integrated gear set that produces a phenomenal amount of torque using a small, cheap stepper motor.

The wheel itself if 3D printed and fully parametric, using nylon weed wacker filament for the treads. This allows the wheel to scoot back and forth like a Mecanum wheel, or at the very least like one of those hyper mobile wheeled robots you see from time to time. It goes backwards, forwards, and side to side, and also has a zero turn radius.

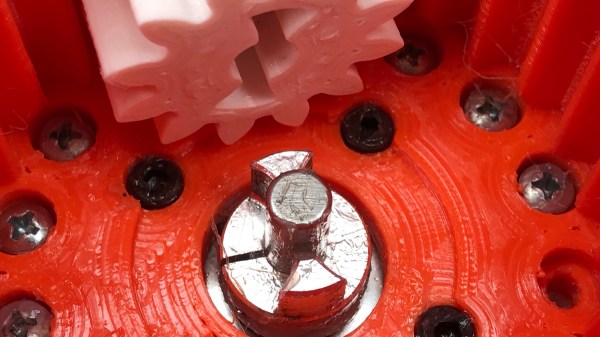
A 3D printed Mecanum wheel is great, but how on earth do you drive it? That problem is solved with this hybrid planetary/strain-wave  3D-printed gear set. [Daren] has created a very compact ‘single’ stage gear set that fits right on top of a stepper motor. It’s thin, flat, and has a gear reduction of about 66:1. That’s a lot of torque in a very small package. Both of these projects are combined, and together they represent a freaky wheel with a lot of torque.

Even though [Daren] doesn’t have a robot in mind for this build, these are most certainly the building blocks of a fantastic robot, and a great entry in the Hackaday Prize.

Continue reading “Pushing 3D Printed Wheels And Transmissions To The Limit”

Benchtop Lathe Gets An Electronic Leadscrew Makeover

The king of machine tools is the lathe, and if the king has a heart, it’s probably the leadscrew. That’s the bit that allows threading operations, arguably the most important job a lathe can tackle. It’s a simple concept, really – the leadscrew is mechanically linked through gears to the spindle so that the cutting tool moves along the long axis of the workpiece as it rotates, allowing it to cut threads of the desired pitch.

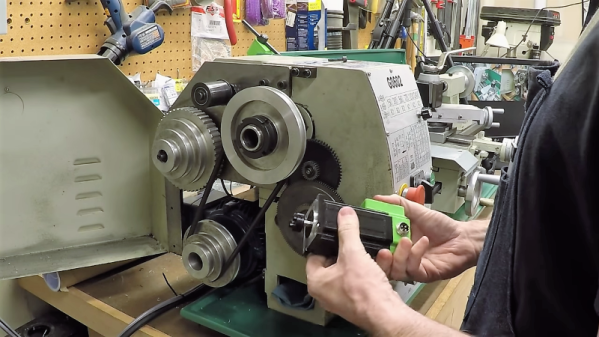
But what’s simple in concept can be complicated in reality. As [Clough42] points out, most lathes couple the lead screw to the spindle drive through a complex series of gears that need to be swapped in and out to accommodate different thread pitches, and makes going from imperial to metric a whole ball of wax by itself. So he set about building an electronic leadscrew for his lathe. The idea is to forgo the gear train and drive the leadscrew directly with a high-quality stepper motor. That sounds easy enough, but bear in mind that the translation of the tool needs to be perfectly synchronized with the rotation of the spindle to make threading possible. That will be accomplished with an industrial-grade quadrature encoder coupled to the spindle, which will tell software running on a TI LaunchPad how fast to turn the stepper – and in which direction, to control thread handedness. The video below has some great detail on real-time operating systems on microcontrollers as well as tests on all the hardware to be used.

This is only a proof of concept at this point, but we’re looking forward to the rest of this series. In the meantime, [Quinn Dunki]’s excellent series on choosing a lathe should keep you going.

Continue reading “Benchtop Lathe Gets An Electronic Leadscrew Makeover”

Vintage Print Processor Fixed With 3D Printing

If you don’t know what a print processor is, don’t feel bad. There’s precious few people out there still running home darkrooms, and the equipment used for DIY film development is about as niche as it gets today. For those looking to put together their own darkroom in 2019, buying second hand hardware and figuring out how to fix it on your own is the name of the game, as [Austin Robert Hermann] found out when he recently purchased a Durst Printo Print Processor on eBay.

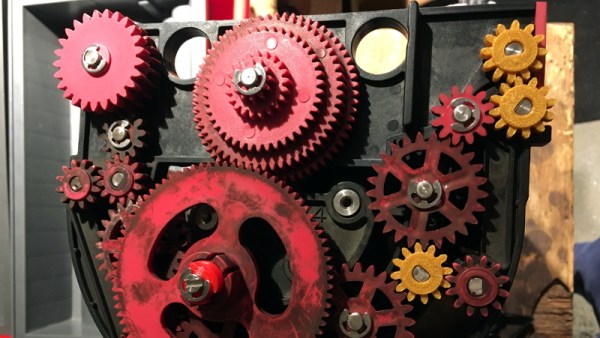
The auction said the hardware was in working order, but despite the fact that nobody would ever lie on the Internet, it ended up being in quite poor condition. Many of the gears in the machine were broken, and some were simply missing. The company no longer supports these 1990’s era machines, and the replacement parts available online were predictably expensive. [Austin] determined his best course of action was to try his hand at modeling the necessary gears and having them 3D printed; two things he had no previous experience with.

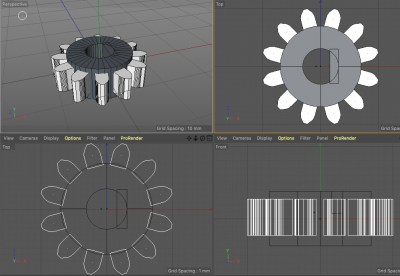
Luckily for [Austin], many of the gears in the Printo appeared to be identical. That meant he had several intact examples to base his 3D models on, and with some educated guesses, was able to determine what the missing gears would have looked like. Coming from an animation background, he ended up using Cinema 4D to model his replacement parts; which certainly wouldn’t have been our first choice, but there’s something to be said for using what you’re comfortable with. Software selection not withstanding, he was able to produce some valid STLs which he had printed locally in PLA using an online service.

Interestingly, this is a story we’ve seen play out several times already. Gears break and wear down, and for vintage hardware, that can be a serious problem. But if you’ve got a couple intact gears to go by, producing replacements even on an entry level desktop 3D printer is now a viable option to keep these classic machines running.

Unicycle Given A Hand Crafted Gear Box

Being able to coast on a bicycle is a feature that is often taken for granted. The use of a freewheel was an improvement made early in the bicycle’s history, for obvious reasons. This also unlocked the ability to build bikes with multiple gears, allowing higher speeds to be easily reached. On a unicycle, however, there’s no chain and the pedals are permanently fixed to the wheel’s axle, meaning that there is (usually) no freewheel and no gearing. [johnybondo] wanted to get some more speed out of his unicycle, though, and realized he could do this with his own homemade internal geared hub for his unicycle.

The internal hub gear was machined and welded by hand as a one-off prototype. There are commercial offerings, but at $1700 it’s almost best to fund your own machine shop. It uses a planet gearset which is more compact than a standard gear, allowing it to fit in the axle. Once all the machining was done, it was time to assemble all of the gears into the hub, lace it to the wheel with spokes, and start pedaling away. Since it was so successful, he plans to build another and lace it to a larger wheel which will allow him to reach even higher speeds. If this isn’t fast enough for you, personally, there are other options available for ludicrous speed.

Now, this gear is still “fixed” in the sense that it’s a permanent gear ratio for his unicycle and it doesn’t allow him to shift gears or coast. There’s no freewheel mechanism so the unicycle can still be pedaled forward and backwards like a traditional unicycle. The advantage of this setup is that the wheel spins 1.5 times for every one revolution of the pedals, allowing him to more easily reach higher speeds.

Adding Upgrades To A Stock Motorcycle

In today’s world of over-the-air firmware upgrades in everything from cars to phones to refrigerators, it’s common for manufacturers of various things to lock out features in software and force you to pay for the upgrades. Even if the hardware is the same across all the models, you can still be on the hook if you want to unlock anything extra. And, it seems as though Suzuki might be following this trend as well, as [Sebastian] found out when he opened up his 2011 Vstrom motorcycle.

The main feature that was lacking on this bike was a gear indicator. Even though all the hardware was available in the gearbox, and the ECU was able to know the current gear in use, there was no indicator on the gauge cluster. By using an Arduino paired with an OBD reading tool (even motorcycles make use of OBD these days), [Sebastian] was able to wire an LED ring into the gauge cluster to show the current gear while he’s riding.

The build is very professionally done and is so well blended into the gauge cluster that even we had a hard time spotting it at first. While this feature might require some additional lighting on the gauge cluster for Suzuki to be able to offer this feature, we have seen other “missing” features in devices that could be unlocked with a laughably small amount of effort.

Continue reading “Adding Upgrades To A Stock Motorcycle”

Couch Potato Refined: Self-Rotating TV Uses Plywood Gears

When we first saw [Mikeasaurus’] project to rotate his TV 90 degrees in case he wanted to lay down and channel surf we were ready to be unimpressed. But it grew on us as we read about how he fabricated his own gearing system to make a car seat motor rotate the TV.

The gearing system is made from plywood and the design was from geargenerator.com, a freebie design tool we’ve covered before. You’d think you’d need a laser cutter, but in this case, the gear forms were printed out, glued on the plywood and then cut out manually. Each gear is made of several laminated together.

Continue reading “Couch Potato Refined: Self-Rotating TV Uses Plywood Gears”