Last year, we brought you word of the MutantC by [rahmanshaber]. The Raspberry Pi handheld was more than a little inspired by the classic T-Mobile Sidekick, with a sliding display and physical QWERTY keyboard. The design was a little rough around the edges and missing a few key features, but it was clear the project had a lot of potential.
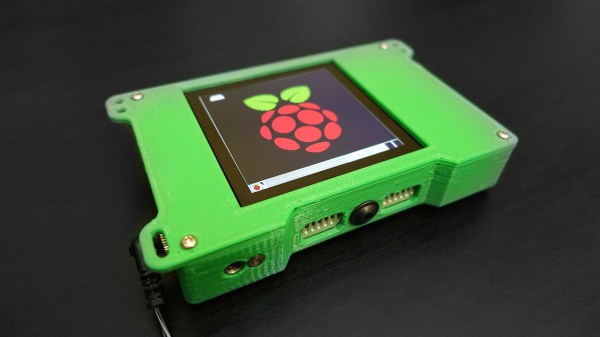
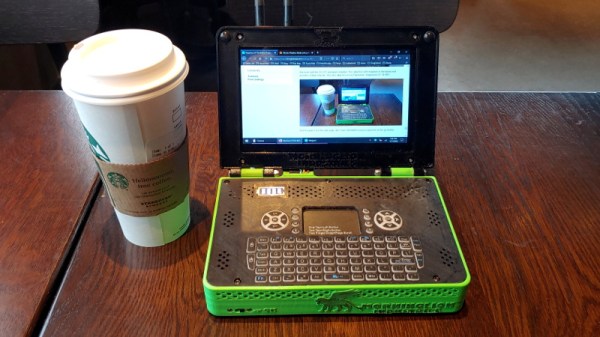
Today, we’re happy to report that [rahmanshaber] has officially released MutantC_v2. It looks like the new version of this handheld, perhaps more properly categorized as a ultra-mobile PC (UMPC), successfully addresses a number of the shortcomings found in the original; so if you held off on building one last year, you might want to start warming up the 3D printer now.
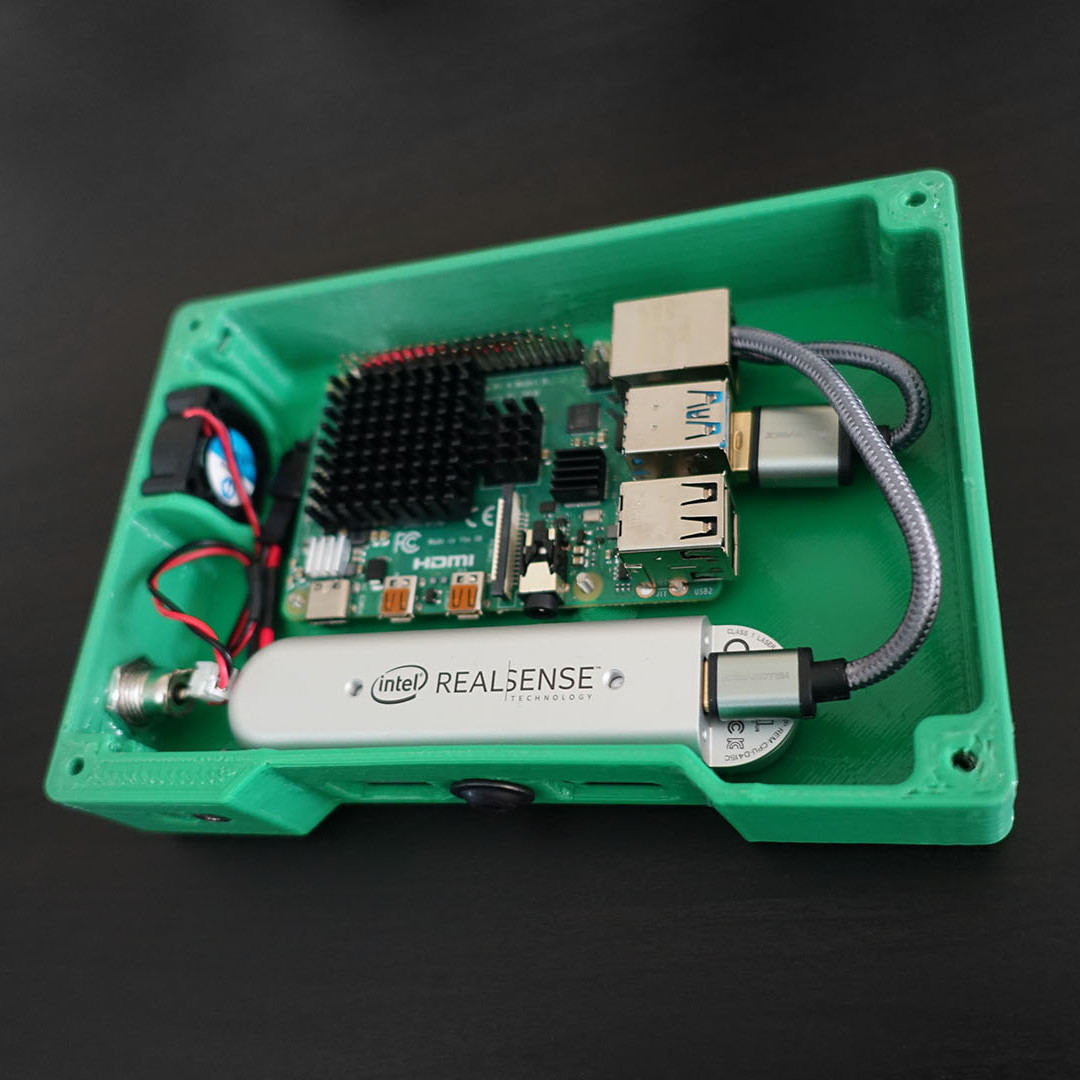
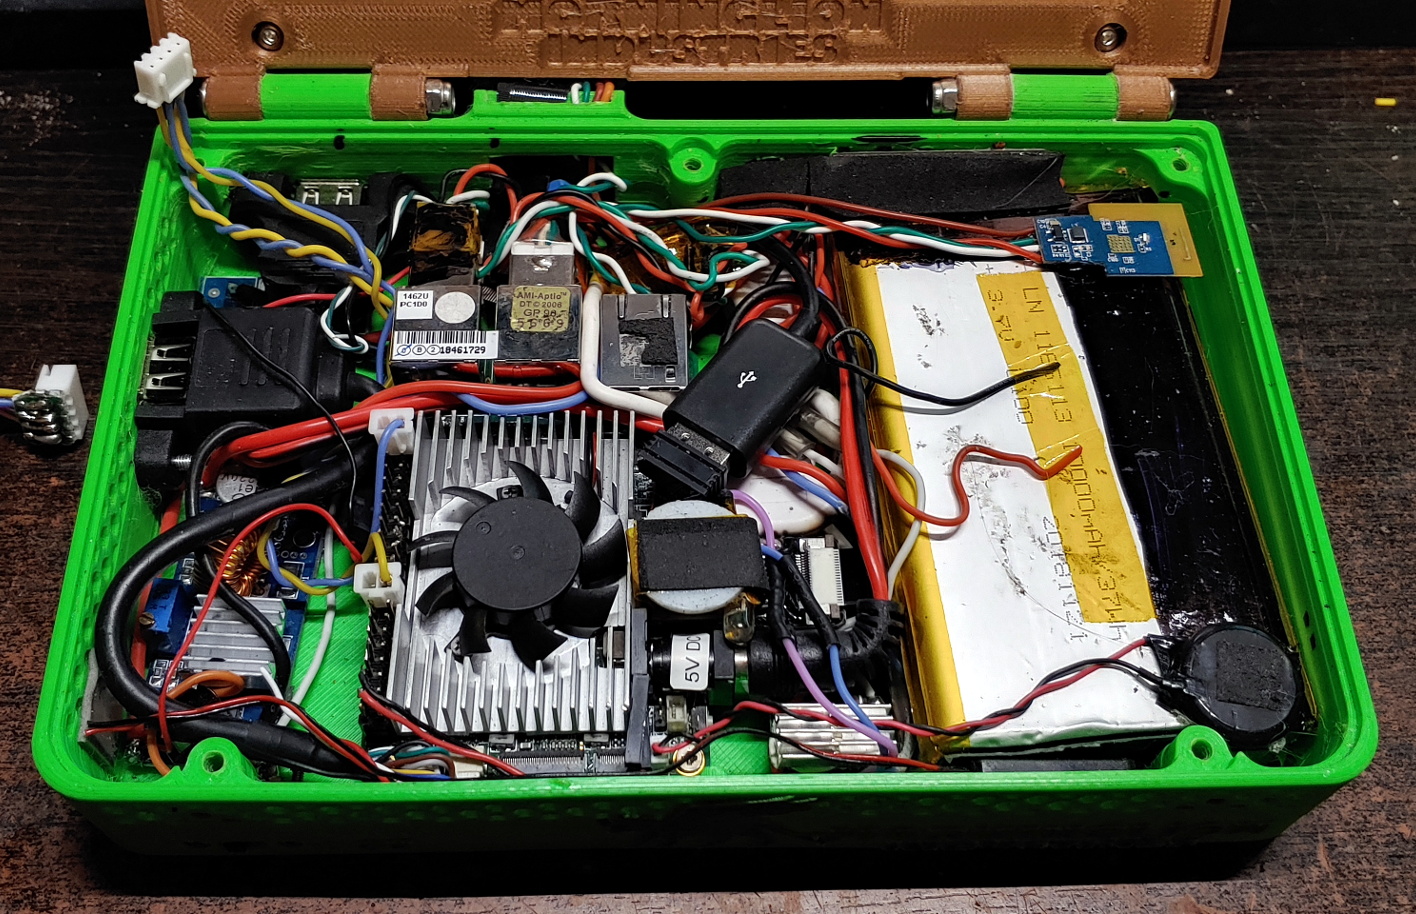
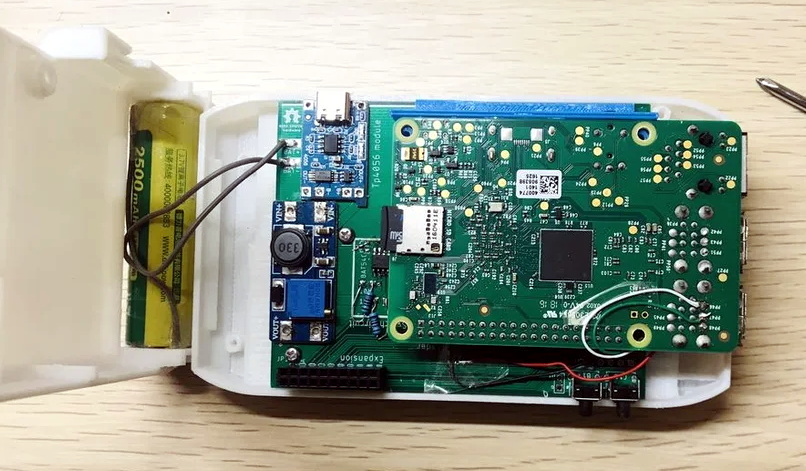 The major improvement over the original is the inclusion of a battery, which makes the device truly mobile. This was something that we mentioned [rahmanshaber] was working on back when he released the first version, as it was easily the most requested feature from the community. We certainly wouldn’t say a miniature handheld computer is completely useless if it has to stay tethered, but there’s no arguing that being able to take it on the go is ideal.
This upgraded version of the design now officially supports the Raspberry Pi 4 as well, which previously [rahmanshaber] was advising against due to overheating concerns. Slotting in the latest-and-greatest edition of every hacker’s favorite Linux single board computer will definitely kick things up a notch, though we imagine the older and less power hungry iterations of the Pi will be plenty for the sort of tasks you’re likely to be doing on a gadget like this.
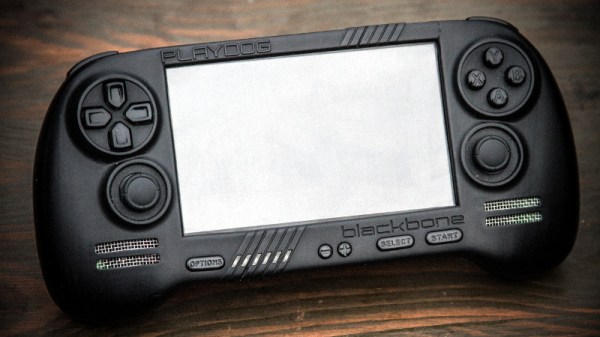
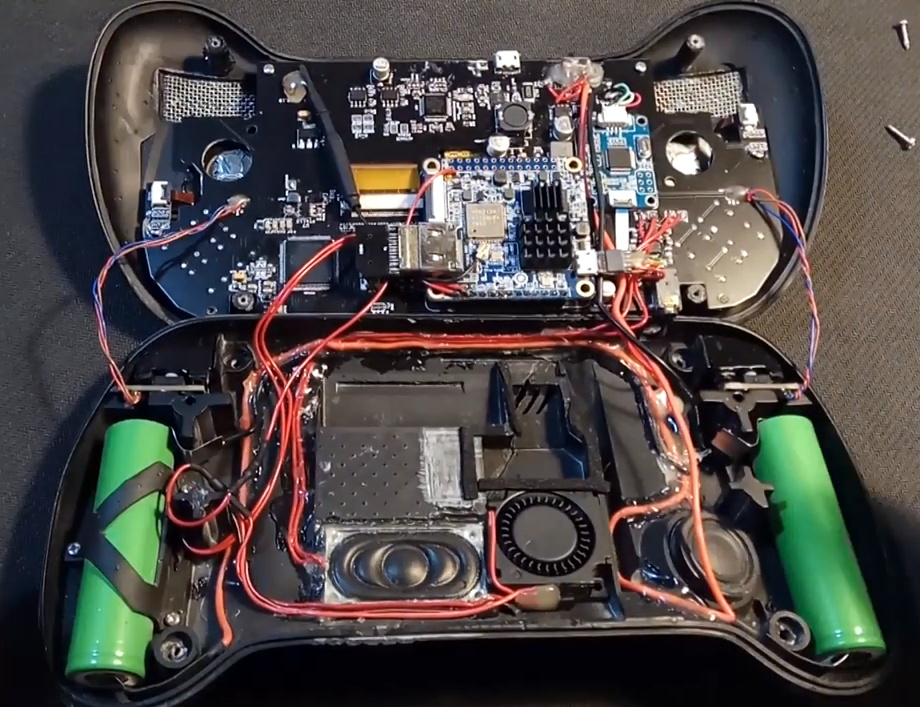
If you like the idea of having a diminutive Linux computer within arm’s reach of your bench but aren’t necessarily committed enough to build something like the MutantC, there are certainly simpler designs you can get started with.
Continue reading “A Fantastic Raspberry Pi Handheld Just Got Better”