The wood-burning heater [g3gg0] has at home works perfectly, except for one flaw: the pellet reservoir needs to be manually refilled every few days. Humans being notoriously unreliable creatures, this critical task is sometimes overlooked, which naturally leads to literally chilling results.
With automatic fill systems expensive and difficult to install, [g3gg0] wanted to find some kind of way for the heater to notify its caretakers about any potential fault conditions. Not just the fact that it was out of fuel (though that would naturally be the most common alert), but any other issue which would potentially keep the heater from doing it’s job. In short, the heater was going to get a one-way ticket to the Internet of Things.
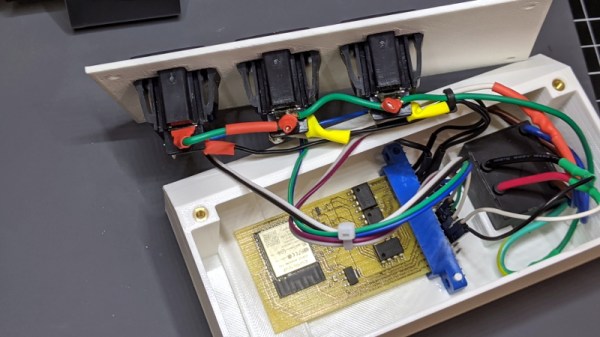
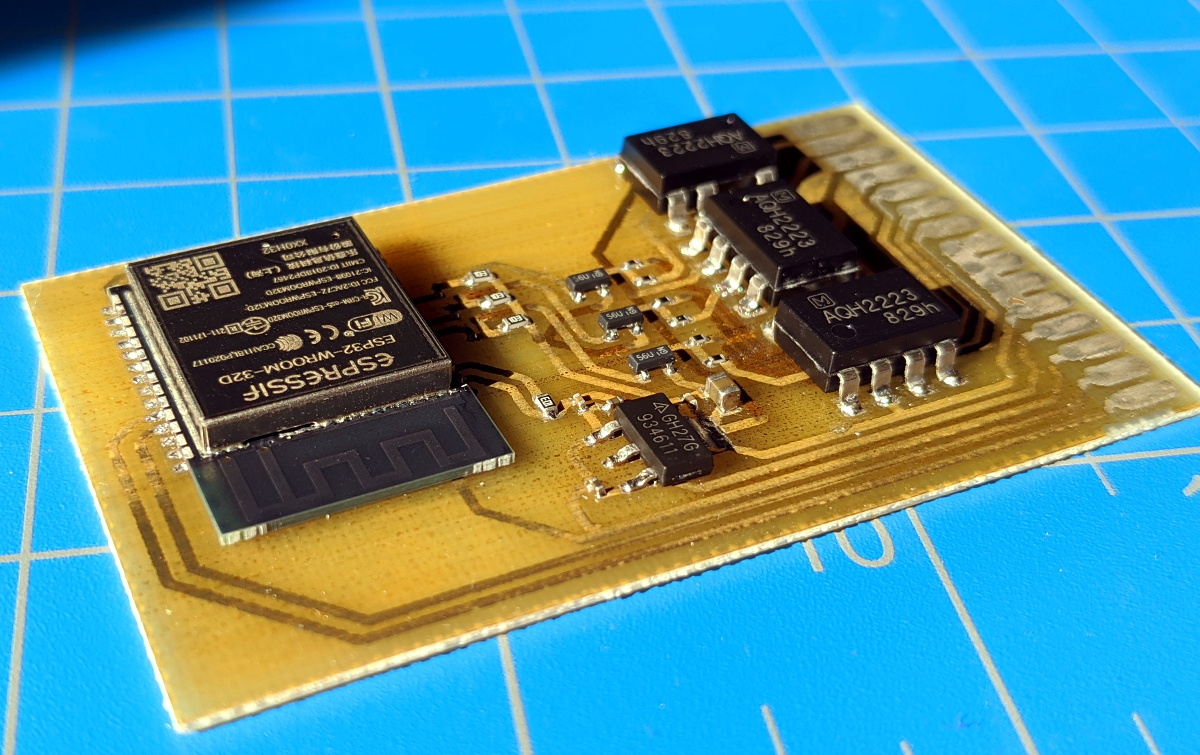
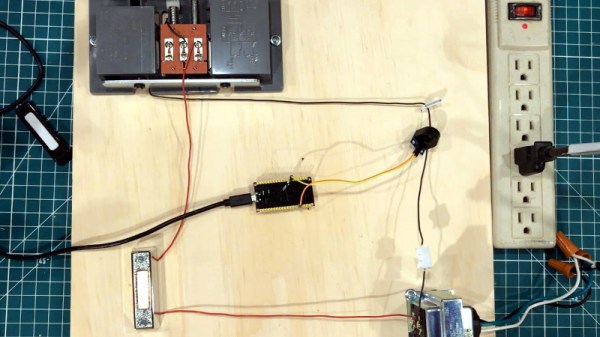
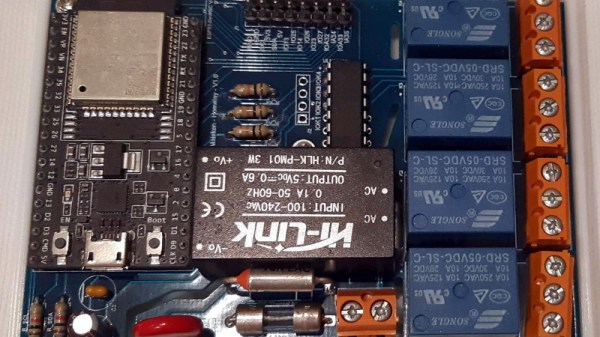
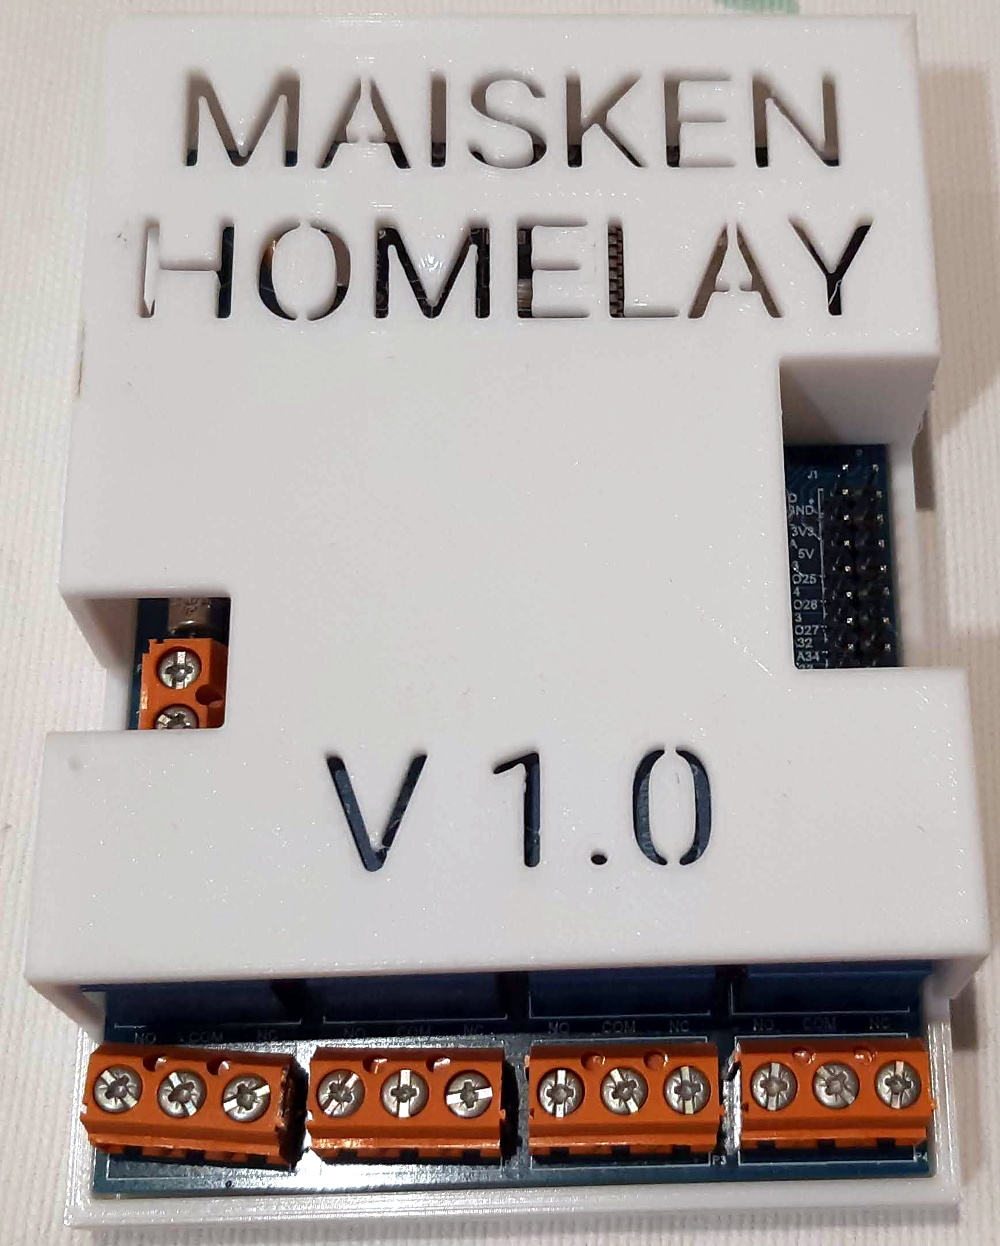
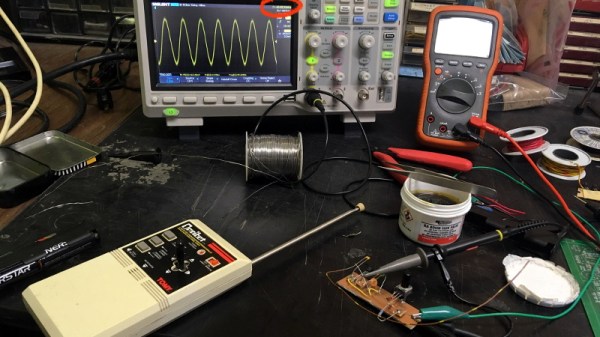
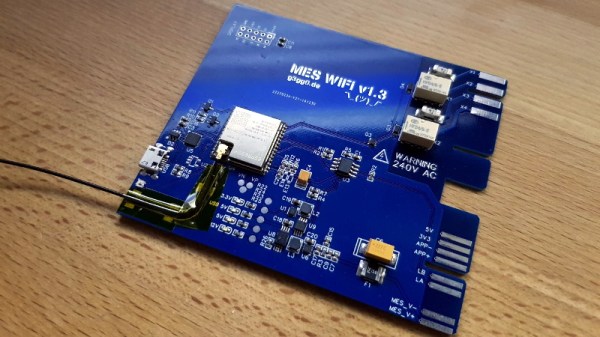
As it turns out, this task was not quite as difficult as you might expect. The Windhager heater already had upgrade bays where the user could insert additional modules and sensors, as well as a rudimentary data bus over RS-485. All [g3gg0] had to do was tap into this bus, decode what the packets contained, and use the information to generate alerts over the network. The ESP32 was more than up to the task, it just needed a custom PCB and 3D printed enclosure that would allow it to slot into the heater like an official expansion module.
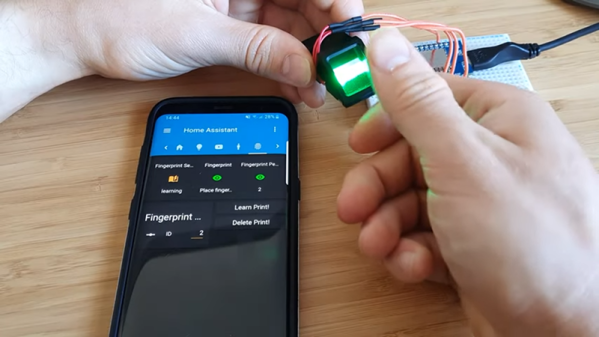
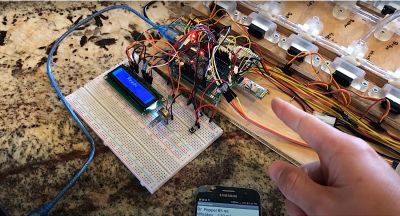
When an interesting message flashes across the bus, the ESP32 captures it and relays the appropriate message to an MQTT broker. From there, the automation possibilities are nearly endless. In this case, the heater’s status information is being visualized with tools like Grafana, and important alerts are sent out to mobile devices with PushingBox. With a setup like this, the Windhager will never go hungry again.
Continue reading “Heater Joins The Internet Of Things With ESP32 Board”