The 2019 Hackaday Prize, which was announced last week, is very much on everyone’s mind, so much so that we’ve already gotten a great response with a lot of really promising early entries. As much as we love that, the Prize isn’t the only show in town, and we’d be remiss to not call attention to our other ongoing contest: The Flexible PCB Contest.
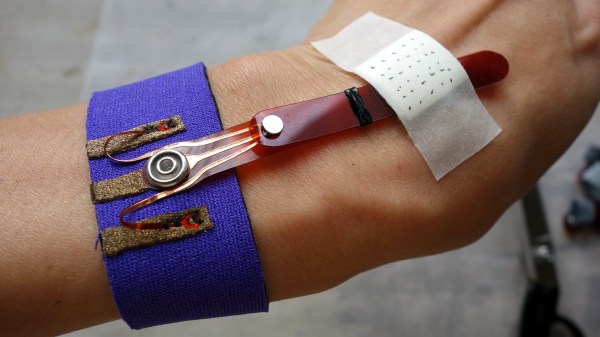
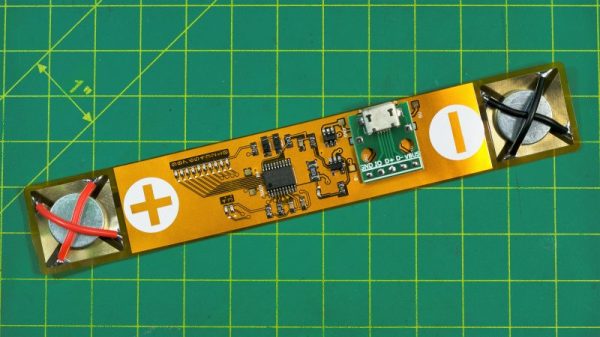
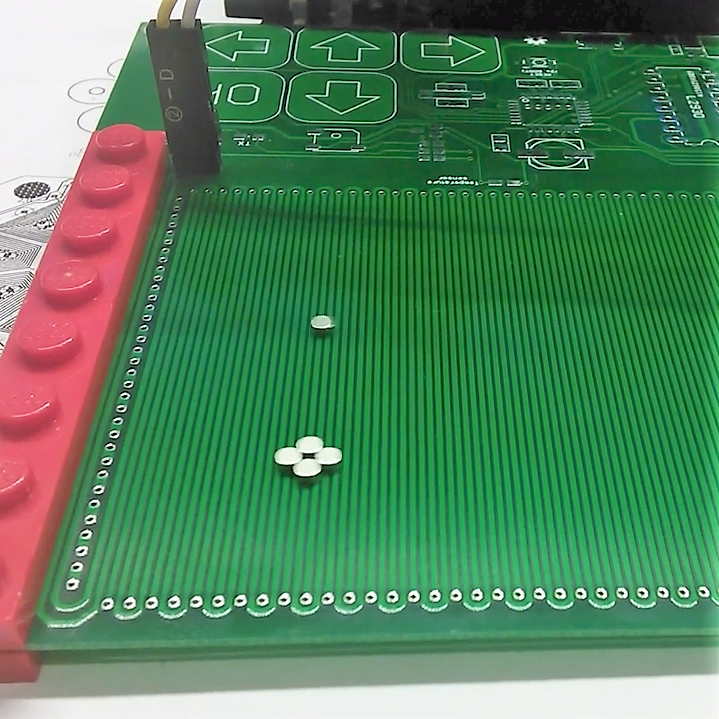
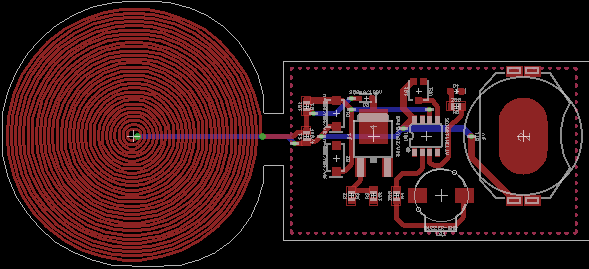
The idea of the Flexible PCB Contest is simple: design something that needs a flexible PCB. That’s it. Whether it’s a wearable, a sensor, or a mechanism that needs to transmit power and control between two or more moving elements, if a flexible PCB solves a problem, we want to know about it.
We’ve teamed up with Digi-Key for this contest, and 60 winners will receive free fabrication of three copies of their flexible PCB design, manufactured through the expertise of OSH Park. And here’s the beauty part: all you need is an idea! No prototype is necessary. Just come up with an idea and let us know about it. Maybe you have a full schematic, or just a simple Fritzing project. Heck, even a block diagram will do. Whatever your idea is for a flexible PCB project, we want to see it.
To get the creative juices going, here’s a look at a few of the current entries

The Flexible PCB Contest goes through May 29, so you’ve got plenty of time to get an idea together.