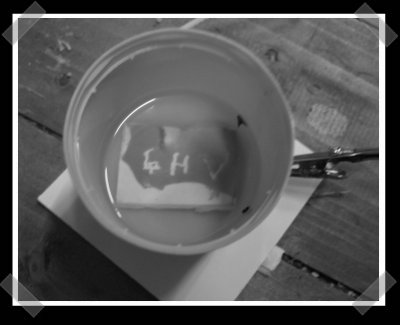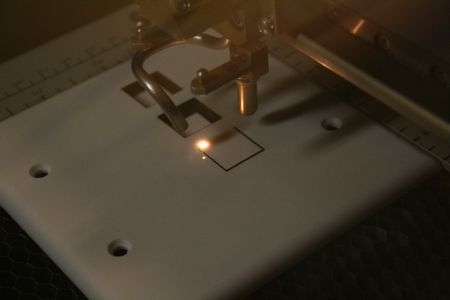
[andre] sent in his first attempt at using a HD-DVD laser diode to expose photosensitive resist to create PC boards. We’ve been meaning to give this a shot with the ol’ Epilog laser cutter. For the test, he coated the board with some resist and hand exposed it with the laser. Finally, he etched it with some sodium hydroxide.
laser539 Articles
Laser Tattoo

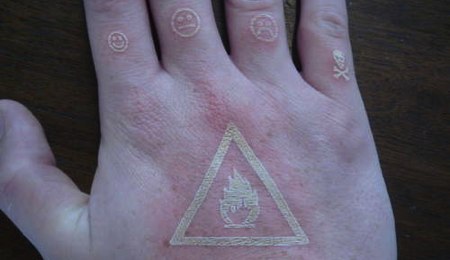
We’re amazed we didn’t stumble across this ill advised burnination sooner. Earlier in the week [tetranitrate], of LED chess set fame, posted his experiences using a laser cutter to scarify his own skin. It’s very painful, not to mention the discomfort of smelling your own burning flesh. He’s using an Epilog with a magnet over the safety switch. To get the positioning right, a layer of painters tape was put down and then etched. For a less painful version, you could try Bre’s fingernail calendar from last Fall. Video of multiple tattoos embedded after the break.
Laser Surveillance Defeater

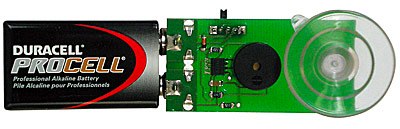
Imagine our chagrin when we first laid eyes on this “laser surveillance defeater.” It’s supposedly built to the security requirements of federal agencies. We don’t believe most government issue devices have exposed circuit boards or 9V batteries dangling from them. Laser surveillance works by bouncing the beam off of a room’s window. People speaking in the room cause the window to vibrate, which modulates the reflected laser beam. This device looks like it’s just a piezo buzzer meant to vibrate in vocal ranges. A quick search didn’t turn up any DIY projects, but it looks simple enough. Shomer-Tec would love you to purchase one for every window at $69 each. A small price to pay when you’re taking on people willing to spend $20.
[via Gizmodo]
How-To: Make An RGB Combination Door Lock (Part 2)

In part 1 we showed you how to build your own prototype RGB keypad. Today we’ll show off some new ideas we worked on to create the project and turn it from prototype to fully functional battle station er door lock.
Continue reading “How-To: Make An RGB Combination Door Lock (Part 2)”
Laser Insect Photography Rig

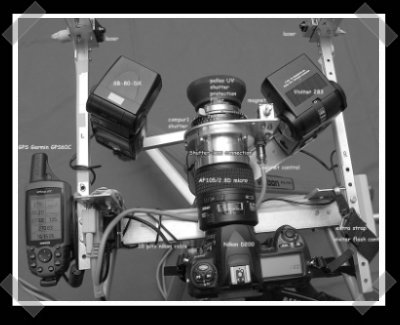
[Marc] sent in this awesome insect photography rig. The camera is manually pre-focused and set for a 30 second exposure at ISO100. The aluminum cylinder in front of the lens is an external shutter mounted with a custom turned lens adapter. It’s used because the built in shutter is too slow for insect capture. The camera/shutter is triggered by a pair of lasers with photo detectors. When both beams are broken, the insect should be in front of the lens. A Garmin GPS provides position information that’s tagged on the image by the Nikon D200. A large photo of the rig is here, while a more detailed writeup on building it is here.
Update: It looks like we covered a previous version of this rig, but the old links are down and we didn’t have a shot of the setup. Oh, and I forgot to mention [Marc] new control box for running this rig.
Laser Based Night Light

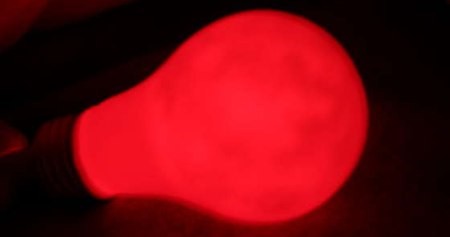
[the4est] put together this quick how to for making a laser based light bulb night light. First, you need to break out the black glass base of the bulb and remove the filament. Scrub the inside of the bulb and pour in the paraffin. Once it sets, you can break the glass, leaving a solid wax bulb. Hollow out the inside, insert a laser pointer, and you’ll have fine glowing night light.
HP Color LaserJet 2600n Teardown

In the ongoing quest to find parts for new projects by scavenging old devices, the curiously sane and benevolent team at Evil Mad Scientist Laboratories took apart an HP Color LaserJet 2600n. They wanted to see what makes it tick and what parts can be culled from it for later use.