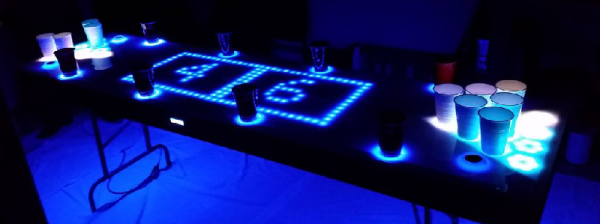
If there’s one game that deserves to be overengineered with hundreds of LEDs, sensors, and electronic modules, it’s beer pong. [Jeff] has created the most ostentatious beer pong table we’ve ever seen. It’s just shy of playing beer pong on a single gigantic LED display, and boy, does it look good.
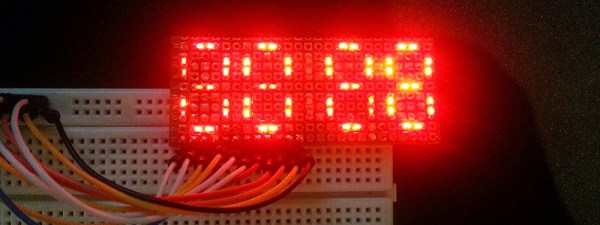
The table includes a 32×12 grid of LEDs in the center of the table, with 10 pods for Solo cups at each end of the table. These pods have 20 RGB LEDs each and infrared sensors that react to a cup being placed on them. The outer edge of the table has 12 LED rings for spectators, giving this beer pong table 1122 total LEDs on 608 individual channels.
With that many LEDs, how to drive all of them becomes very important. There’s a very large custom board in this table with a PIC24 microcontroller, TLC5955 PWM drivers, and enough IDC headers to seriously reconsider using IDC headers.
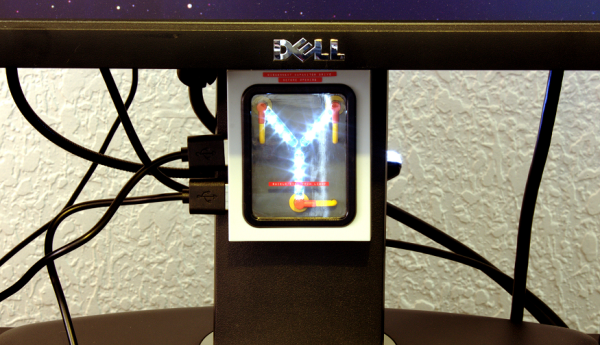
Put enough LEDs on something and it’s bound to be cool, but [Jeff] is taking this several steps further with some interesting features. There’s a Bluetooth module for controlling the table with a phone, a VU meter to give the table some audio-based visualizations, and air baths for cleaning the balls; drop a ball down the ‘in’ hole, and it pops out the ‘out’ hole, good as new. If you’ve ever wondered how much effort can go into building a beer pong table, there you go. Video below.