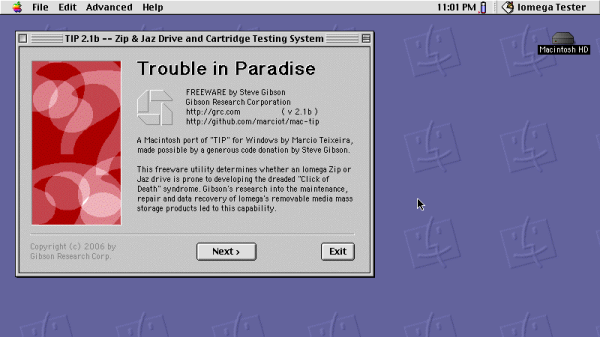
Trouble In Paradise (TIP) was a popular Windows-only tool for troubleshooting Iomega Jaz and Zip drives way back when. The drives have fallen out of favor with PC, but the drives are still highly prized amongst classic Mac collectors, who use the SCSI versions as boot disks for the vintage machines. Thus, [Marcio Luis Teixeira] set about porting the TIP tool to the platform.
It all came about because running the original TIP recovery tool became difficult in the modern era. One must dig up a old Windows 98 machine and SCSI adapters in order to use it with Macintosh-compatible Zip or Jaz drives. This inspired [Marcio] to reach out to the developer, [Steve Gibson], who provided the original x86 assembly code for the tool.
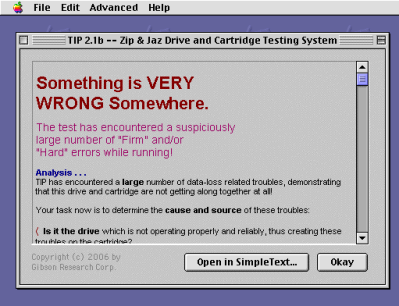
[Marcio] then ported this line-by-line into C and compiled it with a retro Macintosh compiler to get TIP up and running on the classic Mac platform. Now, it’s possible to check and test Zip and Jaz drives and media on your old Mac without having to mess around with a vintage Windows machine.
It took plenty of effort, and the generous donation of code from [Steve Gibson], and all involved should be applauded for their work. It’s not every day we see such an impressive port, but they come along every now and then.
Meanwhile, if you’ve been tinkering on your own projects with Iomega’s classic removable storage, don’t hesitate to let us know! Video after the break.
Continue reading “MAC TIP Diagnoses Your Old Zip And Jaz Drives”