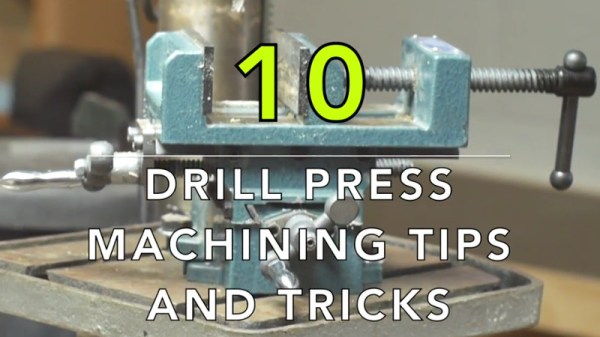
If you’re interested in making things (particularly metal things), you’re on a road that eventually leads to machine tools. Machine tools have a special place in history, because they are basically the difference between subsistence farming and modern civilization. A bold statement, I realize — but the ability to make very precise things is what gave us the industrial revolution, and everything that snowballed afterward. If you want to build a modern life filled with jet airplanes and inexpensive chocolate, start here.
Precision is more than just a desirable property. It’s a product. It has value, there is competition to create it, and our ability to create it as a species has improved over time. When your “precision product” is in the centimeter range, congratulations — you can make catapults and portcullises. Once you get into the millimeter range, guess what? You can make fine millwork in fancy houses, and indoor plumbing. Once you get sub-millimeter, now things get really interesting. It’s time for steam engines and automobiles. Once you get into the micrometer range, well, now we’re talking artificial heart valves and spaceships. Much like materials science, the ability to create precision is the unsung foundation and driving force of our standard of living.
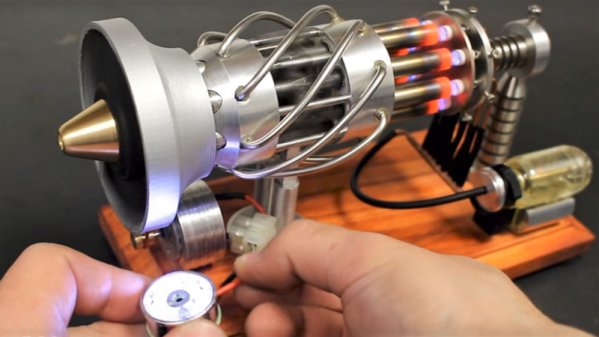
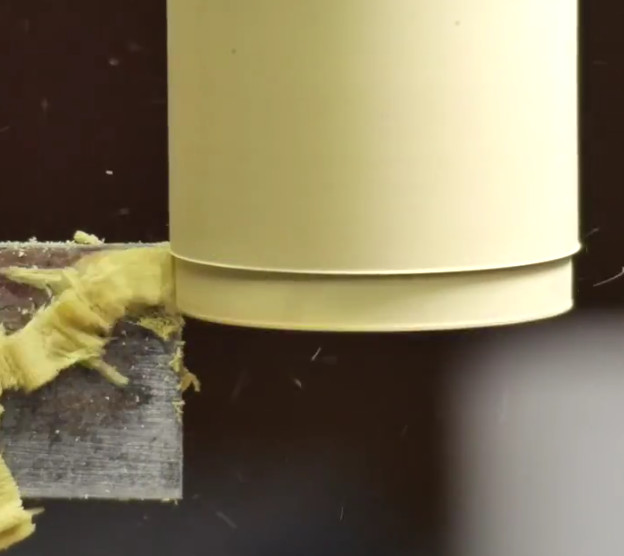
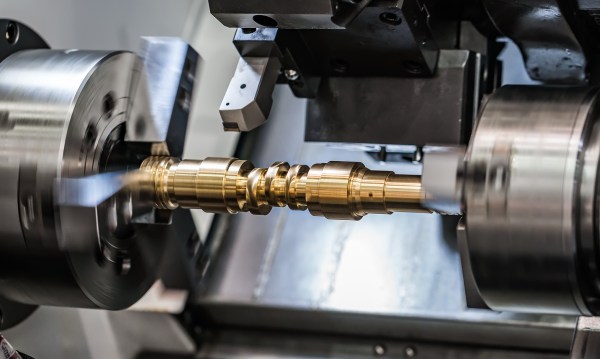
Okay, so assuming I’ve sold you on the value of this product called “precision”, how do we make it? Machine tools are how humans currently get there, despite the dreams of the 3D printer crowd. Yes, drizzled plastic is great and the future is bright, but for right now, subtractive manufacturing is where it’s at when something has to be perfect.
Continue reading “The Precision Upon Which Civilizations Are Built”