Back in August we covered a unique modification for the Nintendo Game Boy Advance SP which replaced the handheld’s rear panel with an expanded version that had enough internal volume for an upgraded battery, a Bluetooth audio transmitter, and support for both Qi wireless and USB-C charging. The downside was that getting the 10 mm 3D printed “backpack” installed wasn’t exactly the most user-friendly operation.
But today we’re happy to report that the dream team behind the so-called THICC BOI SP have not only made some huge improvements to the mod, but that they intend to release it as a commercial kit in the next few months. The trick to making this considerable upgrade a bit more forgiving is the use of a bespoke flat flex cable that easily allows the user to solder up all the necessary test points and connections, as well as a custom PCB that pulls together all the hardware required.
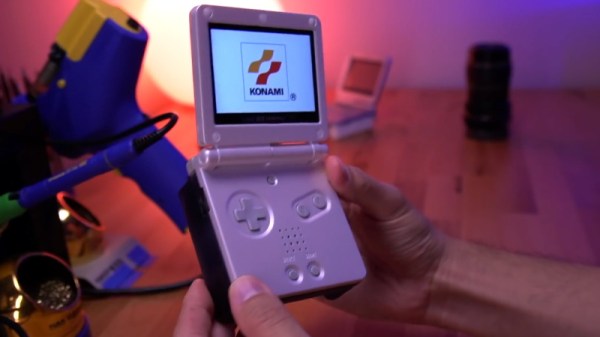
In the video below, [Tito] of Macho Nacho Productions goes over the latest version of the mod he’s been working on with [Kyle] and [Helder], and provides a complete step-by-step installation tutorial to give viewers an idea of what they’ll be in for once the kit goes on sale. While it’s still a fairly involved modification, the new design is surprisingly approachable. As we’ve seen with previous console modifications, the use of flat flex technology means the installation shouldn’t pose much of a challenge for anyone with soldering experience.

Some may be put off by the fact that the replacement rear panel is even thicker this time around, but hopefully the unprecedented runtime made possible by the monstrous 4,500 mAh LiPo battery pack hiding inside the retrofit unit will help ease any discomfort (physical or otherwise) you may have from carrying around the chunkier case. Even with power-hungry accouterments like an aftermarket IPS display and a flash cart, the new battery can keep your SP running for nearly 20 hours. If you still haven’t beaten Metroid: Zero Mission by then, it’s time to take a break and reflect on your life anyway.
According to [Tito], the logistical challenges and considerable upfront costs involved in getting the new rear panels injection molded in ABS is the major roadblock holding the release of the kit back right now. The current prototypes, which appear to have been 3D printed in resin, simply don’t match the look and feel of the GBA SP’s original case well enough to be a viable option. A crowd funding campaign should get them over that initial hump, and we’ll be keeping an eye out for more updates as things move along towards production.
The previous version of this mod was impressive enough as a one-off project, but we’re excited to see the team taking the next steps towards making this compelling evolution of the GBA more widely available. It’s a fantastic example of what’s possible for small teams, or even individuals, when you leverage all the tools in the modern hardware hacking arsenal.
Continue reading “THICC GBA SP Mod Gets Easy Install Ahead Of Release”