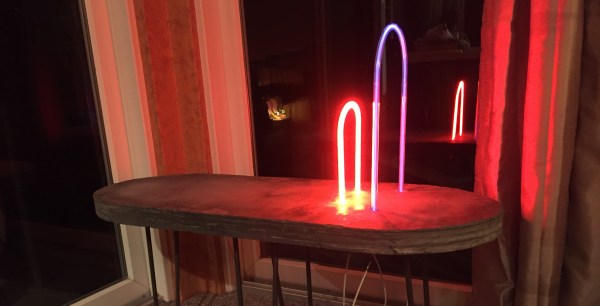
The people who make neon signs are a vibrant community with glass bending and high voltage electronics. There is a need, though, to sequence these neon signs, and it seems like MIDI is the way to do it. That’s what [david] is doing for his entry to the Hackaday Prize, and the results already look great.
The idea for this project is to transmit MIDI data to a controller that activates neon tubes accordingly. As for why [david] chose MIDI over DMX512 or some other protocol, the object here is to sync with music, and if you already have a drum machine sending MIDI out, you might as well just patch into that.
The build uses an Arduino Leonardo with a MIDI shield produced by Olimex. This shield is connected to a neon power supply that has control circuitry to quickly and easily turn neon signs on and off. The end result is a laptop (with the rest of the DJ software) sending a MIDI clock signal to an Akai drum machine. This drum machine outputs MIDI notes to the shield, which is currently set up to control three neon transformers.
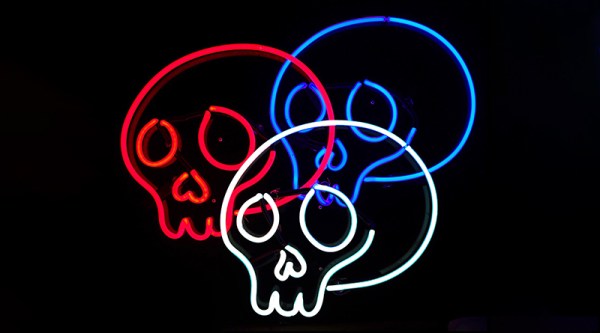
The results look great, with flashing skulls synchronized with bleeps and bloops. This, of course, can be expanded to even more MIDI synced neon signs. You can check out a few videos of the build after the break.
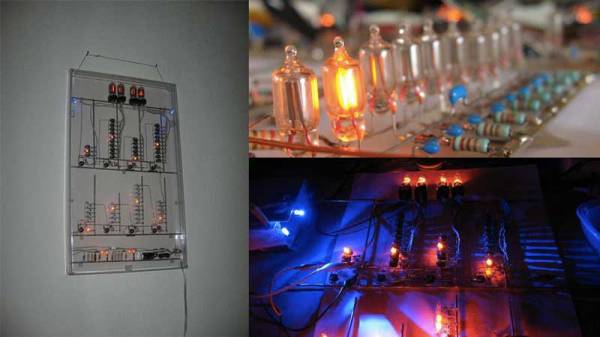
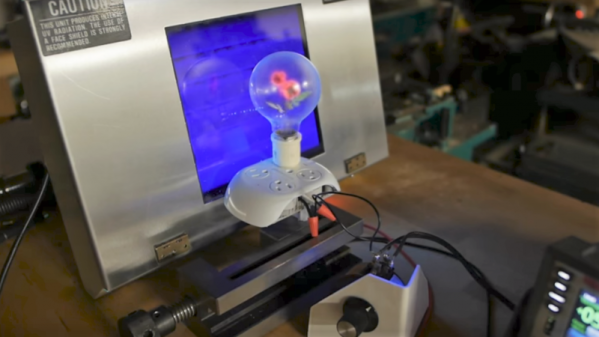
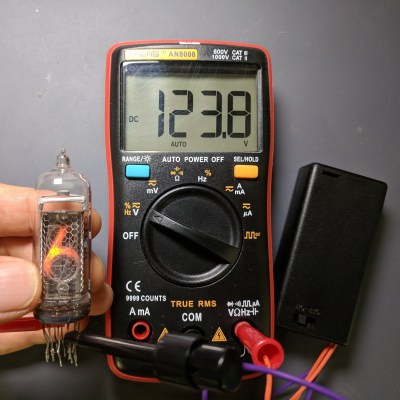 The device’s low current means that nixie and neon elements won’t light up very brightly, but they will light up enough to verify function and operation. [The LED Artist] reports that touching the output terminals of the generator only causes a slight tingling sensation.