Last year, Nintendo has released the Alarmo, a bedside-style alarm clock with a colourful display. Do you own one? You deserve full control over your device, of course. [KernelEquinox] has been reverse-engineering an Alarmo ever since getting one, and there’s no shortage of cool stuff you’ll be able to do with an Alarmo thanks to this work.
Now, just how can you improve upon the Alarmo? Looking through the Alarmo dev community site and threads on the subreddit, there are plenty of ideas, from themes to a ton of possible behaviour tweaks! In particular, Nintendo has already changed Alarmo’s behaviour in a way that is jarring to some users – a third-party development community will help us all make sure our Alarmos work exactly like we expect them to. Want to replace the sound files, tie your Alarmo into your smart home setup, write your apps, tweak the UI or default behaviour, fix a bug that irks you real bad, or access a debug menu? Or, ensure that Alarmo doesn’t contribute to light pollution in your room? All appears to be doable.
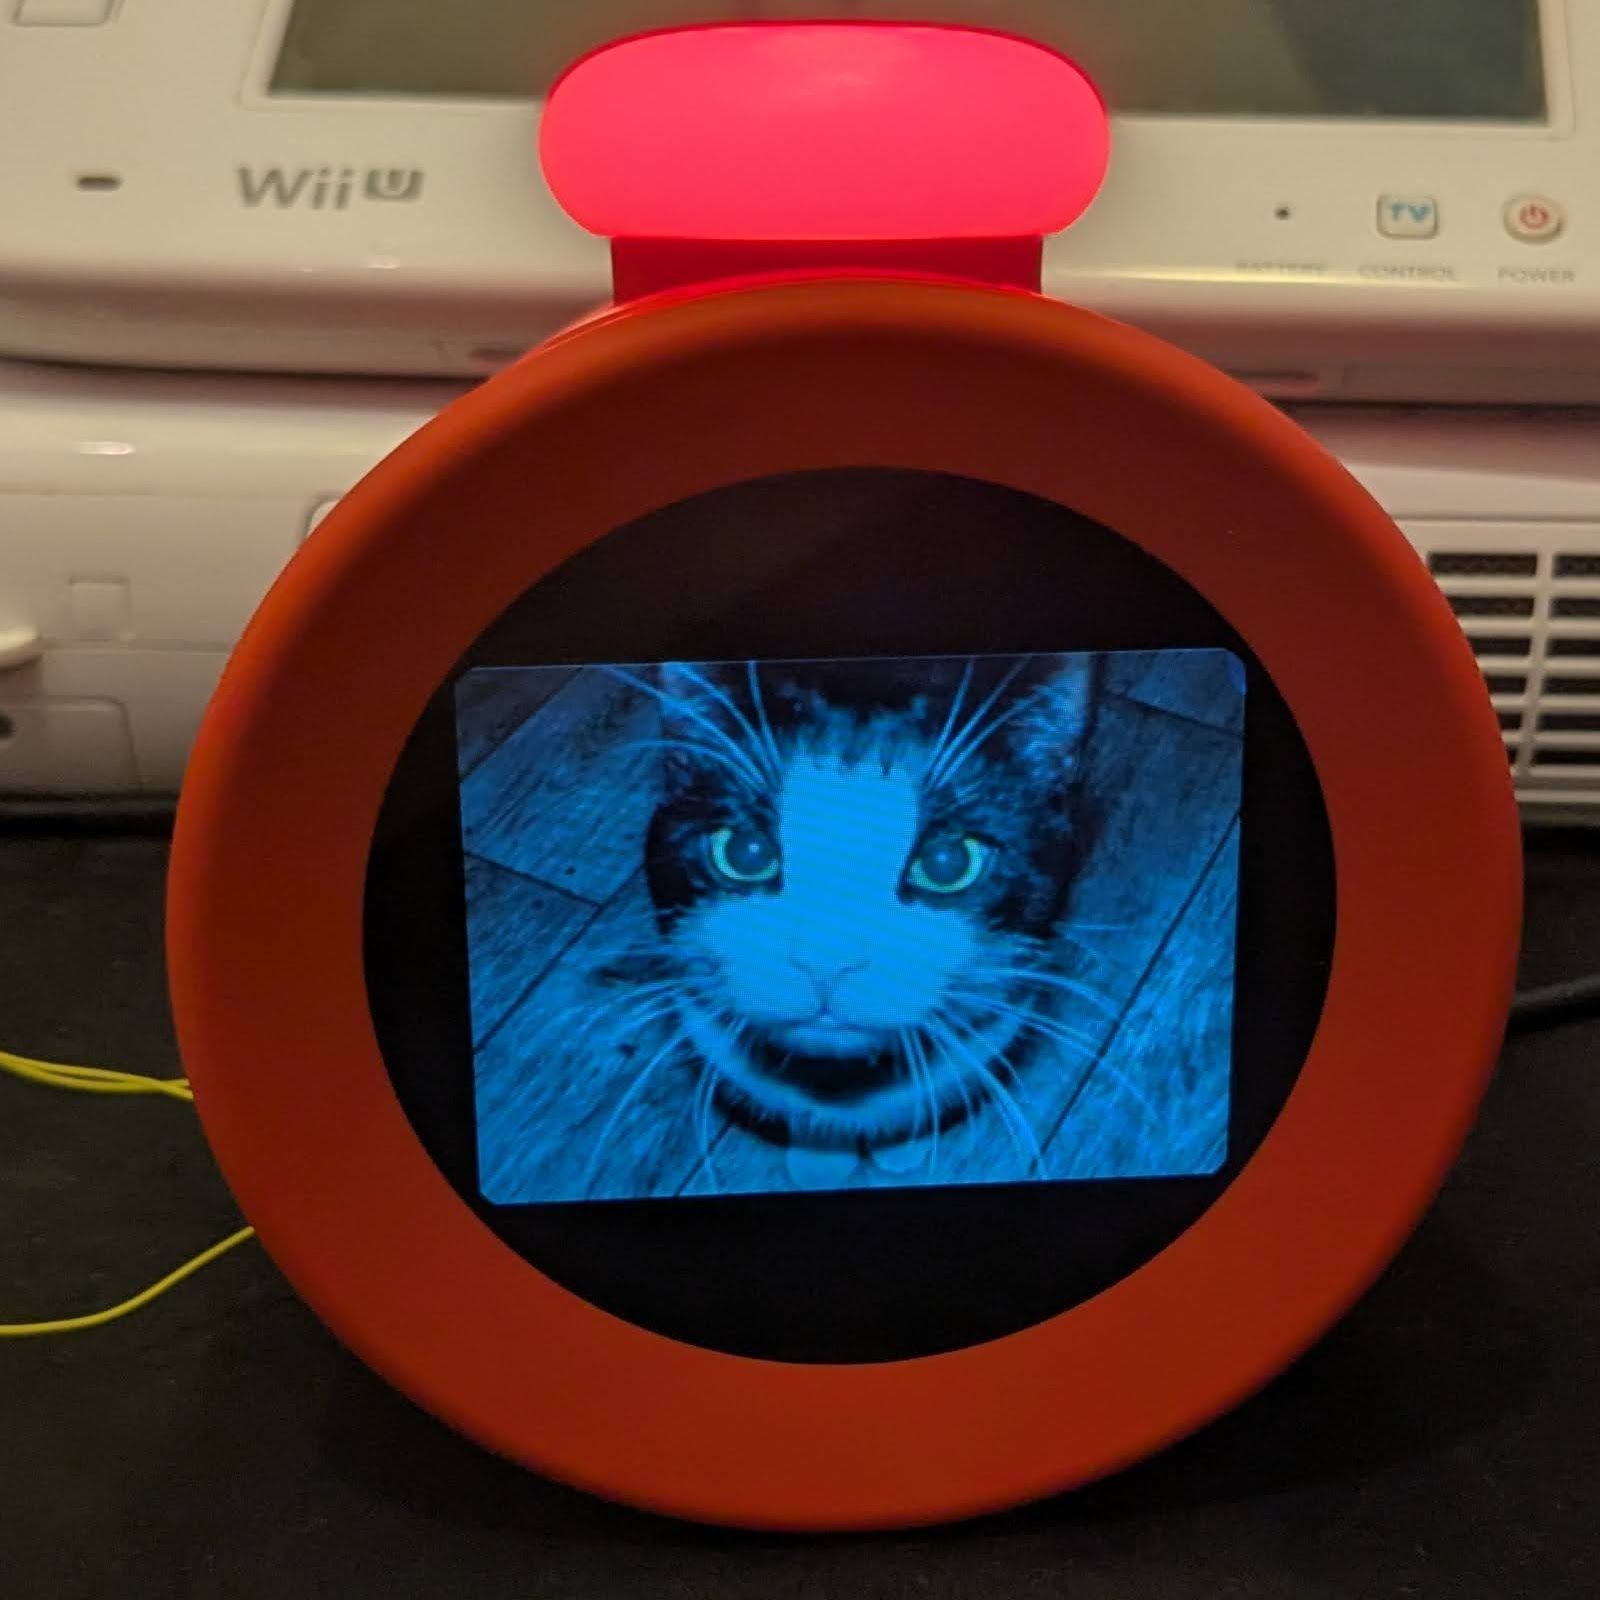
Like the Alarmo, but don’t own one yet? They’re limited-release for now, but it will be more widely available this March; we thank [KernelEquinox] for the work in making Alarmo hacker-friendly. If you’ve forgotten, this project started off thanks to the efforts of [Gary] last year. We covered it back then — cat pictures included!