You know (or maybe you didn’t), I get super excited when y’all use the links at the bottom of this round-up we call Keebin’ to communicate with your old pal Kristina about your various labors of love. So just remember that.
Case in point: I was typing up this very issue when I heard from [Jay Crutti] and [Marcel Erz]. Both are out there making replacement keyboards for TRS-80s — [Jay] for Models 3 and 4, and [Marcel] for the Model 1. Oooh, I said to myself. This is going at the top.
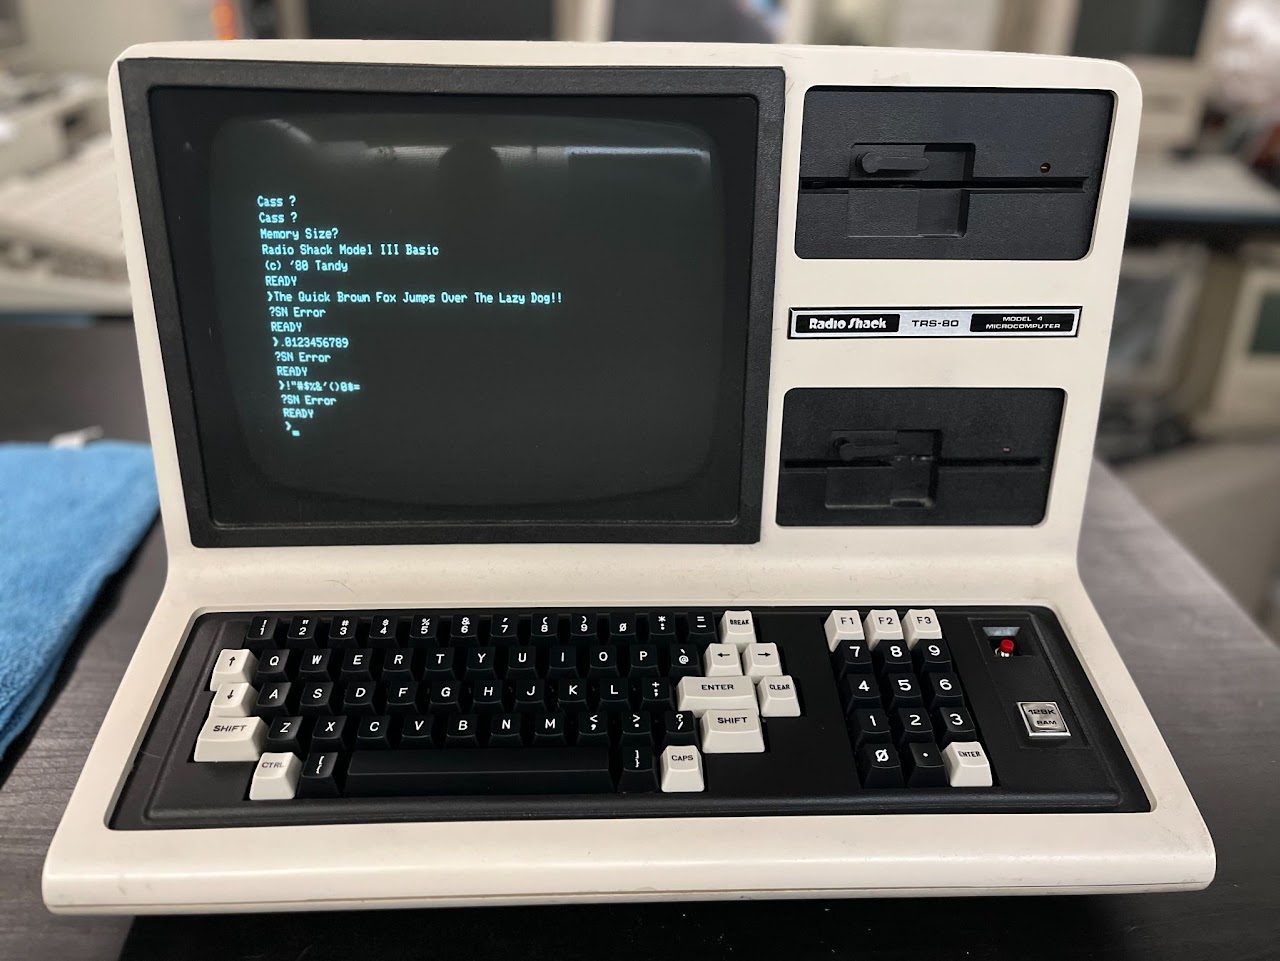
I think the TRS-80 is probably the one I miss the most. If I still had it, you can bet I would be using [Jay] and [Marcel]’s work to build my own replacement keyboard, which the 40-year-old machine would likely need at this point if the Model 4 is any indication with its failing keyboard contacts.
To create the replacements, [Jay] used Keyboard Layout Editor (KLE), Plate & Case Builder, and EasyEDA. Using the schematic from the maintenance manual, he matched the row/column wiring of the original matrix with Cherry MX footprints. Be sure to check out [Jay]’s site for a link to the project files, or to purchase parts or an assembled keyboard. On the hunt for TRS-80 parts in general? Look no further than [Marcel]’s site.
Continue reading “Keebin’ With Kristina: The One With The Hardware-Layered Keyboard”