Homebuilt 30kV High Voltage Power Supply

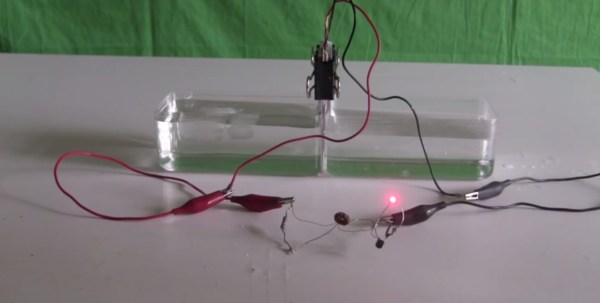
If you have need for 30,000 volts to launch your ionocraft (lifter) or power other DIY projects then shuttle over to RimstarOrg’s YouTube channel and checkout [Steven Dufresne’s] homebuilt 30kV power supply. The construction details that [Steven] includes in his videos are always amazing, especially for visual learners. If you prefer text over video he was kind enough to share a schematic and full write up at rimstar.org.

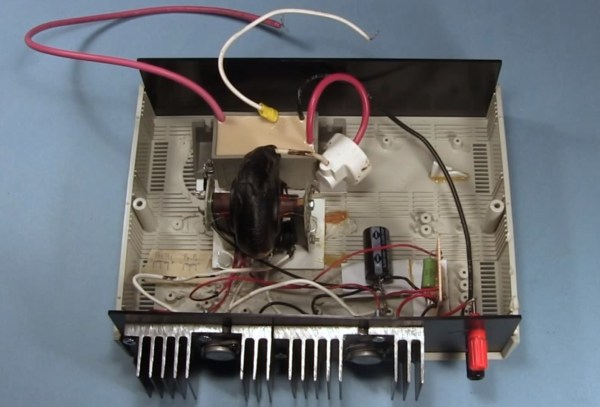
The power supply can be configured for 1.2kV – 4.6kV or 4kV – 30kV at the output while requiring 0-24V DC at the input. In the video [Steven] tries two power supplies. His homemade DC bench power supply at 8V and 2.5A and also a laptop power supply rated at 20V 1.8A DC. A couple of common 2N3055 power transistors, proper wattage resistors, a flyback transformer and a high voltage tripler is about all you’ll need to scrounge up. The flyback transformer can be found in old CRT type televisions, and he does go into details on rewinding the primary for this build. The high voltage tripler [Steven] references might be a bit harder to source. He lists a few alternates for the tripler but even those are scarce: NTE 521, Siemens 76-1 N094, 1895-641-045. There are lots of voltage multiplier details in the wild, but keep in mind this tripler needs to operate up to 30kV.

Join us after the break to watch the video and for a little advice from Mr. Safety.

Continue reading “Homebuilt 30kV High Voltage Power Supply”

Disabling Under/over Voltage Protection On ATX Power Supplies

voltage

[C] just recently put together a RepRap. Not wanting to spend the money on a dedicated power supply, he looked around for a cheaper solution and found one in an off-the-shelf ATX computer power supply. These ATX supplies are actually a little finicky when not used in a computer, as [C] found, with voltage drops on the +12 line even when a load is connected to the supply. Undeterred, [C] eventually solved this problem by cutting some traces and grounding a few pins on the protection circuit.

The ATX supply [C] used could supply 25 amps on the 12 volt rail, more than enough for a simple RepRap. There was only one problem: the supply would randomly shut itself off, ruining the print. After a little googling, [C] found some people powering 12 volt amplifiers that were running into the same problem. Their solution was to ground a few pins on the protection circuit. Their supply wasn’t quite like [C]’s so he had to do a little experimentations.

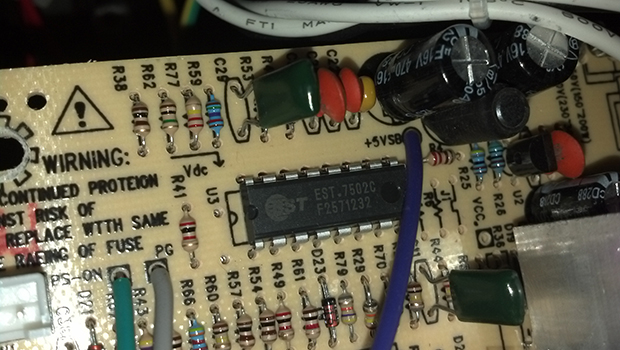
It took a few iterations to get right, but [C] managed to figure out exactly which pins on the “power supply supervisor” IC must be grounded to disable the undervoltage protection. With these pins grounded, the protection circuit of the supply is completely disabled, giving him and uninterrupted 25 amps at 12 volts. If you’re looking for a cheap source of power, it would be hard to go wrong with [C]’s tutorial and his power supply of choice.

DIP Switch Adjusted Voltage Regulator

dip-settable-variable-supply

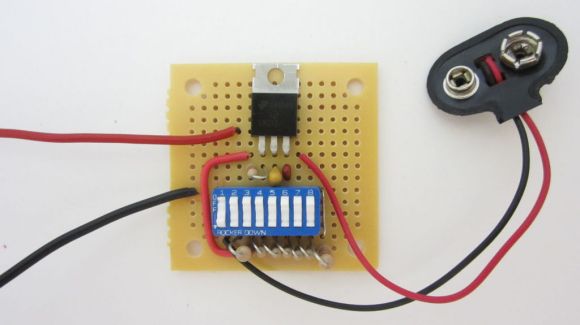
It couldn’t be simpler but you have to admit that a small adjustable portable power supply like this one will be really handy.

The main part of the PSU is an LM317 linear voltage regulator which we’re already familiar with. The output voltage is adjustable based on a voltage divider between two of the pins. The set of eight DIP switches allows you to tweak that voltage divider. Switch number one connects the 9-volt battery connector to the regulator, serving as a power switch. Each of the other seven switches adjusts the output voltage by 1.5 volts. The output of the regulator connects to your target device using alligator clips which are not in frame above.

[Jason] says he takes this with him when thrift store hunting for cheap electronics. It can mimic most combinations of Alkaline cells letting you power up electronic toys to ensure they work. But we would find it equally useful for getting that early prototype away from the bench supply for testing before finalizing a dedicated portable supply.

Continue reading “DIP Switch Adjusted Voltage Regulator”

Apple MagSafe Cord Repair

[Tommy Ward] had a big problem with the cord for his laptop power supply. This thing’s not cheap so he figured out a way to fix the frayed cord on his Apple MagSafe. He asserts that the shortened rubber collar on the plug end of the cord is to blame for this type of damage. We think rough use may have something to do with it too, but having had to repair our own feline-damaged power cords we’re not about to start pointing fingers.

To pull off an appropriate fix [Tommy] pries apart the case housing the power converter. This lets him get at the solder connections of the cord. After removing it from the circuit board he clips off the damaged portion of the cable. To reuse the strain relief grommet he drilled out the old portion of wire and insulation, making room for the undamaged cable to pass through, adding a cable tie on the inside to aide in strain relief. The last part of the fix involves gluing everything back together.

If your power supply problems have to do with the computer connector itself there’s a fix for that too.

DVD Power Supply Repair Tips

bridge-rectifier-repair

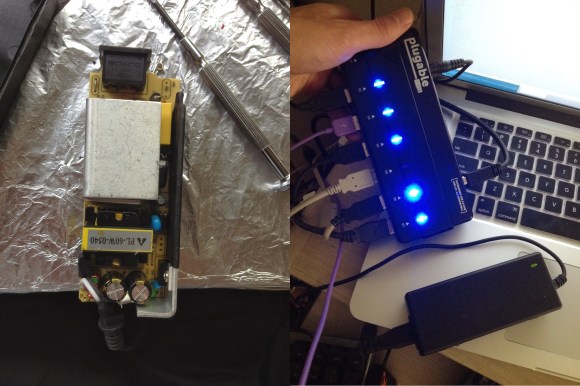
This demonstration fixes the power supply of a DVD player, but the skills transcend this one application. [Alan] walks us through the process of repairing a power supply (translated) on a simple consumer electronics unit.

Obviously this starts by cracking open the dead device and verifying that the culprit is the power supply. [Alan] then removes that board from the chassis and gets down to work with a visual inspection. He’s got several images which illustrate things to look for; blistered electrolytic capacitors, cracked solder joins, scorch marks, etc. In his case there’s obviously a burnt out fuse, but that merely protects the hardware from further damage, it’s not the cause. Next he examines the diodes of the bridge rectifier. These need to be removed from the system to do so, which he accomplishes by clipping one end of each as seen above. He found that two diodes on one side of the bridge had broken down. After replacing them he tries a new fuse which immediately burns out. But a quick swap of the capacitors and he gets the thing back up and running.

We perk up every time we see this type of repair hack. We figure if we can build our own hobby electronics we should be able to fix the cheap devices like this one.

Ammo Box PSU

PAB-PSU-1

Sometimes you need a power supply that can be thrown into the back of a car and taken into the field. [BadWolf] didn’t want to take his bench supply, so he whipped up this very portable power supply made from a computer PSU. To ruggedize his build a little, he put it in a 50 caliber ammo can making it more than able to handle the roughest field work.

While not a proper adjustable power supply, this ammo can is more than capable of delivering a whole lot of current in a number of different voltages. There are a few bells and whistles – a ‘plugged in’ and ‘on’ light, as well as a few very cool looking toggle switches that are sure to arouse the suspicions of unsuspecting bystanders.

[BadWolf] kept all the safety features built-in to the computer PSU, so this ammo box power supply is still protected from short circuits, and over-current, making it much safer than its appearance belies. It’s also a great example of what can be done if you don’t have a proper bench supply, so we’ve got to tip our hat to [BadWolf] for that.

Raspberry Pi Power Controller Adds Shutdown And Startup Functionality

This breadboarded circuit uses a PIC chip to control the Raspberry Pi’s power supply. We first noticed this gap in the RPi features when we built an XBMC setup around the RPi board. It’s not the end of the world, but since installing the Raspberry Pi we have been unplugging it after each use. [Kevin Sangeelee’s] circuit could be the path to automating this process.

This is not really aimed at media applications. The PIC circuit does switch power to the RPi, but the goal was to add a push-button to do so. Other goals of the project include scheduled shutdown and data logging of brownout events on the power rail. As you can see, there’s a coin cell in the mix which keeps time when the system is in power down. The RPi communicates with the PIC via i2c. This facilitates full power-down using the Linux command ‘shudown -h’, as well as the ability to schedule a restart time.

Adding an IR receiver and tweaking the PIC code are all it would take to trigger the power controller from the couch.

[Thanks Donn]