In the years since the Raspberry Pi and other similar inexpensive Linux-capable single board computers came to the market, we have shown you a huge variety of projects using them at the heart of portable computers. These normally take the form of a laptop or tablet project, but today we have one that starts from a completely different perspective.
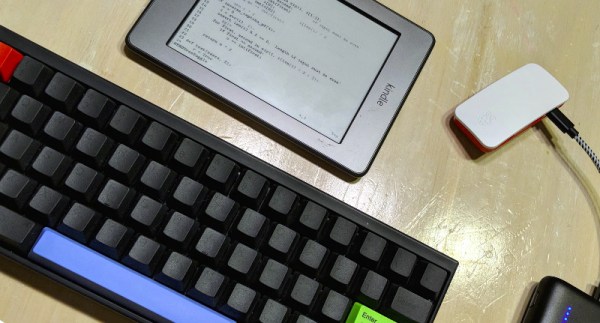
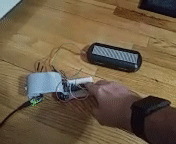
The “Kindleberry Pi Zero W” from [Ben Yarmis] does not attempt to create an enclosure or form factor for a portable computing solution. Instead it’s fair to say that it is more of a software hack than a hardware one, as he’s created something of an ad-hoc portable Raspberry Pi from other off-the-shelf pieces of consumer hardware.
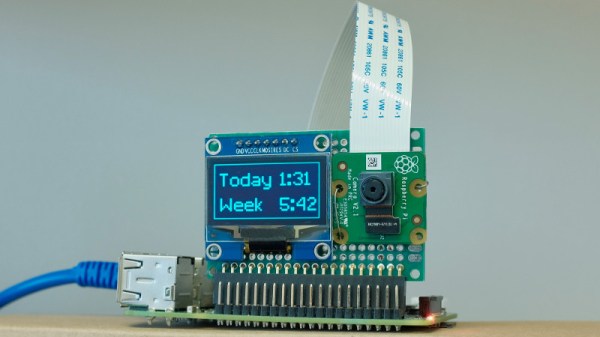
The Zero W is a particularly useful computer for this application because of its tiny size, lowish power consumption, on-board Bluetooth, and wireless networking. He has taken a W and put it in the official Pi case, with a portable battery pack. No other connections, that’s his computer. As an input device he has a Bluetooth keyboard, and his display is a jailbroken Kindle Touch tied to the Pi using his Android phone as a WiFi router. We suspect with a little bit of configuration the Pi could easily serve that function on its own, but the phone also provides an Internet connection.
The result is a minimalist mobile computing platform which probably has a much longer battery life and higher reliability than portable Pi solutions using LCD displays, and certainly takes up less space than many others. Some might complain that there’s no hack in wirelessly connecting such devices, but we’d argue that spotting the possibility when so many others embark on complex builds has an elegance all of its own. It has the disadvantage for some users of providing only a terminal based interface to Raspbian, but of course we’re all seasoned shell veterans for whom that should present no problems, right?
Notable portable Pi solutions we’ve shown you before include this beautiful Psion-inspired project, and this one using the shell of an old laptop.


 [Jolar] was working on