Google’s voice assistant has been around for a while now and when Amazon released its Alexa API and ported the PaaS Cloud code to the Raspberry Pi 2 it was just a matter of time before everyone else jumped on the fast train to maker kingdom. Google just did it in style.
Few know that the Google Assistant API for the Raspberry Pi 3 has been out there for some time now but when they decided to give away a free kit with the May 2017 issues of MagPi magazine, they made an impression on everyone. Unfortunately the world has more makers and hackers and the number of copies of the magazine are limited.
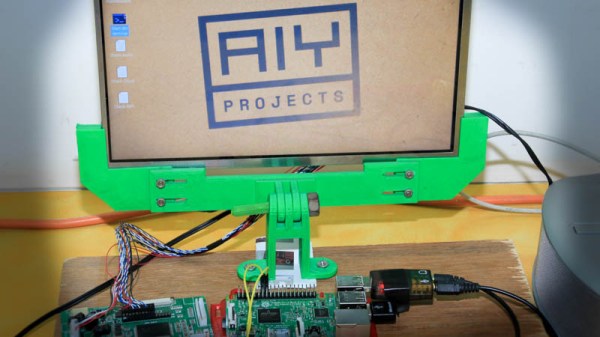
In this writeup, I layout the DIY version of the AIY kit for everyone else who wants to talk to a cardboard box. I take a closer look at the free kit, take it apart, put it together and replace it with DIY magic. To make things more convenient, I also designed an enclosure that you can 3D print to complete the kit. Lets get started.
Continue reading “How To Build Your Own Google AIY Without The Kit”