Fix Old Caps, But Keep That “Can Capacitor” Look

Vintage electronics and capacitor replacements tend to go hand-in-hand. Why? Because electrolytic capacitors just don’t last, not the way most other components do, anyway.

The metal terminal ring and the central plate are kept for re-use, and the metal case re-crimped after the internals of the capacitor are replaced with a modern equivalent.

It’s one thing to swap old caps with modern replacements, but what about electronics where the components are not hidden away, and are an important part of the equipment’s look? [lens42] shares a method for replacing antique can-style capacitors in a way that leaves them looking completely original. All it takes is some careful application of technique.

The first thing to do is carefully file away the crimp of the metal can until one can release the ring and plate that hold the terminals. Once that is off, the internals can be pulled from the metal can for disposal. Since the insides of the old cap won’t be re-used, [lens42] recommends simply drilling a hole, screwing in a lag bolt to use as a handle, and pulling everything out. There’s now plenty of space inside the old can to hold modern replacements for the capacitor, and one can even re-use the original terminals.

That leaves the job of re-crimping the old can around the terminal ring to restore a factory-made appearance. To best do this, [lens42] created a tapered collar. Gently hammering the can forces the bottom into the taper, and the opening gradually crimps around the terminal ring. It’s also possible to carefully hammer the flange directly, but the finish won’t be as nice. This new crimp job may not look exactly the same as before, but once the cap is re-installed into the original equipment, it won’t be possible to tell it has been modified in any way.

If this sounds a bit intimidating, don’t worry. [lens42] provides plenty of pictures. And if this kind of thing is up your alley, you may want to check out the Caps Wiki, an effort to centralize and share details about tech repair, especially for vintage electronics.

Adding A Battery To Extend Speaker Life

Perhaps the weakest point in modern electronics when it comes to user servicability is the lifecycle of the batteries included from the manufacturer. Without easily replaceable batteries, many consumer goods end up in the landfill when they’re otherwise working perfectly. If you’d like to get more out of your devices than the manufacturer intends, you might have to go to great lengths like [Théo] did with his JBL speaker.

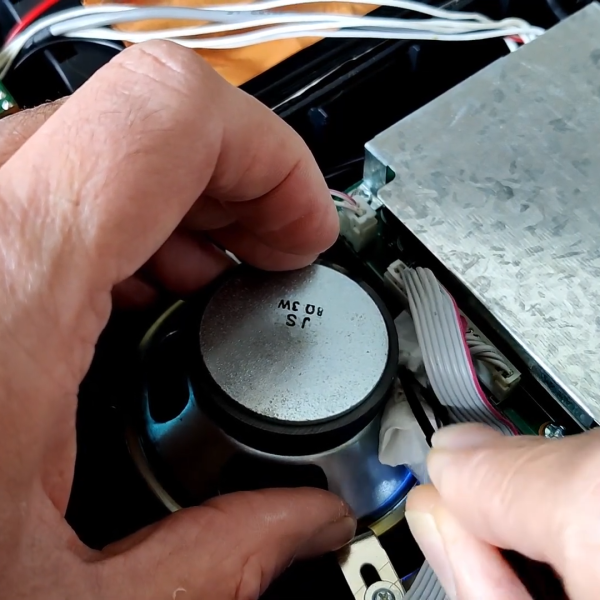
This was a Bluetooth device produced by JBL nearly a decade ago, and while the original device boasted several hours of battery life, after so many years of service, it was lucky to get a half hour before the battery died. To replace it, [Théo] removed the original battery and extended the case to be able to hold a larger cell phone battery. He also decided to use the original battery management circuit from the speaker with the new battery after verifying the voltage and chemistry were close enough to the original.

Since the phone battery is a proprietary Samsung device, [Théo] also decided to build a version that uses standard 18650 cells instead, although he prefers the slimmer design with the phone battery for his use case.  Straightforward as this build may be, it does go a long way to demonstrate the principle that if you can’t fix your devices, you don’t really own them.

Don’t Miss Your Last Chance To Enter The Hack It Back Challenge

While the 2022 Hackaday Prize as a whole winds its way through a good chunk of the year, each individual challenge that makes up the competition only sticks around for a limited time. As hard as it might be to believe, our time with theHack it Back challenge is nearly at a close, with just a few days left to enter your project before the July 24th deadline.

Each challenge in this year’s Hackaday Prize has been designed around the core themes of sustainability, resiliency, and circularity — and for the Hack it Back phase of the competition we asked hackers to essentially keep as much hardware out of the landfill as possible. That could mean making a simple fix that puts a piece of equipment back into service, or it might be a be complete rebuild of an older device to bring it up to modern standards. These are the kind of projects Hackaday was built on, so turning it into an official challenge this year made perfect sense. Continue reading “Don’t Miss Your Last Chance To Enter The Hack It Back Challenge”

Restoring $5 Busted Synthesizer Made Easy, Thanks To Thermal

[D. Scott Williamson] paid $5 for a Roland JV-30 synthesizer at a garage sale. Score! There was only one catch: it didn’t work and didn’t include the power supply. Luckily, restoring it was made easier by breaking out a thermal camera.

As mentioned, the keyboard was missing a 9 VDC power supply (rated 800 mA) with a center-negative barrel connector. Slightly oddball, but nothing an enterprising hacker can’t deal with. After supplying power with a bench supply, not only did the keyboard not come to life, but the power supply clamped the current draw at 1.5 A! Something was definitely not right.

This shorted glass-bodied diode might look normal to the naked eye, but thermal imaging makes it clear something’s amiss.

Inside, there was no visible (or olfactory) sign of damage, but looking closer revealed that a little SMT capacitor by the power connector was cracked in two. Fixing that didn’t bring the keyboard to life, so it was time to break out the thermal imager. Something was soaking up all that current, and it’s a fair bet that something is getting hot in the process.

The culprit? The reverse polarity protection diode was shorted, probably as a result of damage by an inappropriate power supply or a surge of some kind. Replacing it resulted in a working keyboard! Not bad at all for $5, a diode, an SMT cap, and a little workbench time. The finishing touch was replacing a missing slider knob, which took some work in OpenSCAD and a 3D printer. Overall, not bad!

Thermal imaging used to be the stuff of staggering price tags, but it’s downright accessible these days, and makes it easy to spot things that are hot when they shouldn’t be. And if a thermal camera’s lens isn’t what you think it should be? It’s even possible for a sufficiently motivated and knowledgeable hacker to modify those.

2022 Hackaday Prize: Hack It Back And Make It Yours

The 2022 Hackaday Prize continues to hurtle along, with two of the five Challenges already in the rear-view mirror. While we’re naturally excited about every phase of this year’s contest, we’ve got particularly high hopes for what the community can do with this third Challenge: Hack it Back.

It’s a simple formula: find some outdated and disused piece of gear, spruce it up, and keep it out of the landfill. But extending the lifetime of consumer hardware is only one side of the coin, by upgrading and modifying something instead of buying an off-the-shelf replacement, you also turn the mundane into something unique and personal. But of course, we hardly have to explain the benefits to you fine folk — this is the sort of bespoke engineering we see on a nearly daily basis here at Hackaday. The difference now is that there’s cash prizes on the line.

Custom iPod, some Assembly Required

So if there’s an old iPod collecting dust in your desk, perhaps now is the time to replace its guts with some modern silicon and teach it a few new tricks. Sure a brand-new robotic vacuum might be nice, but you could save yourself some money by picking up a second-hand Roomba and tucking an ESP8266 onboard. Got a nice piece of test equipment that predates the handy data export functions we take for granted these days? You might need to use the nuclear option and skim the desired data right off the unit’s LCD controller. We could spend all day pulling examples from the archives, but you get the picture.

What’s that you say? You aren’t the type to be seduced by shiny new features? Happy to keep things local while others ship it all off to the cloud? You’ll get no complaints from us, and that’s why the Hack it Back Challenge also recognizes repairs that simply put a piece of gear back into service. But don’t be fooled, as fixing something can often be harder than rebuilding it from scratch.

When you’ve got to crack out the x-ray machine to find all the damaged traces on a decades-old PCB, only to then tediously replace them all with microscopic bits of wire, you may find yourself wondering what you’ve done to anger the Keeper of the Magic Smoke. On the other hand, plenty a gadget has been disabled due to nothing more exotic than a single bad solder joint. In either event, there’s a certain sense of satisfaction when you can return a literal piece of history to working condition.

Ready to put your hardware-reviving skills on display? Just head over to Hackaday.io, make a new project page, and get hacking. But don’t wait too long, you’ve only got until July 24th to enter the Hack it Back Challenge and stake your claim on one of the ten $500 awards up for grabs.

Swapped ROM Revives Ailing HP-48S Calculator

Buying broken gear for cheap is time honored hacker tradition, and while we might not always be successful in reviving it, rarely do we come away empty handed. There’s always parts to salvage, and you can’t put a price on the knowledge to be gained when poking around inside an interesting piece of hardware. So we’re not surprised at all to hear that [Tomas Pavlovic] jumped at the chance to grab this faulty HP-48S calculator for a couple bucks.

Luckily for us, the story doesn’t end at the bottom of his parts bin. When he got the HP-48S back home, he immediately set out to see if it could be repaired. After changing out a few choice components and not seeing any result in the device’s behavior, he became suspicious that the problem may be with the firmware; specifically, the soldered-on chip that holds it.

Dumping the original ROM.

After carefully lifting the NEC uPD23C2000GC from its resting place for the last 30 years or so, he wired up an adapter that let him connect the chip to his programmer so its contents could be dumped. Rather than trying to find another ROM chip, he decided to wire in a socket and found a re-writable SST39SF040 that could stand in as a replacement. Flashing a fresh copy of the firmware to the new socketed chip got the calculator up and running again, with the added bonus of allowing [Tomas] to pull the chip and flash a different firmware version should he care to experiment a bit.

Now, we know what you’re thinking. Where was the fix? What exactly brought this piece of 1990s gear back to life? That part, unfortunately, isn’t very clear. You’d think if the original ROM chip was somehow faulty, [Tomas] wouldn’t have been able to so easily pull a valid firmware image from it. That leaves us with some pretty mundane possibilities, such as a bad solder joint on the chip’s pins. If that was indeed the case, this fix could have been as simple as running a hot iron over the pins…but of course, where’s the fun in that?

Update: We heard back from [Tomas], and it turns out that when compared to a known good copy, the dumped firmware did have a few swapped bits. His theory is that the NEC chip is in some weird failure mode where the calculator wouldn’t run, but it was still functional enough to get most of the content off of it. What do you think? Let us know in the comments.

Repairing An HDMI Adapter Doesn’t Go So Well

[Adrian] has a lot of retrocomputers, so he uses an RGB to HDMI converter to drive modern monitors. In particular, he has a box that uses a programmable logic chip to read various RGB signals and ships them to a Raspberry Pi Zero to drive the HDMI output. Sounds great until, of course, something goes wrong.

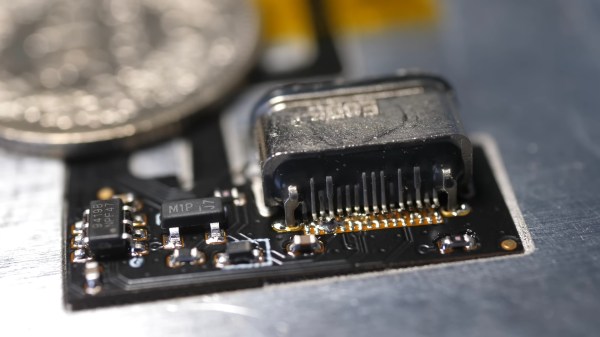
A converter that had worked stopped working due to a bad board with the programmable logic chip on it. Unlike the retrocomputers, this board has little tiny surface mount components. A little analysis suggested that some of the chip pins were not accepting inputs.

Continue reading “Repairing An HDMI Adapter Doesn’t Go So Well”