Although the designation ‘Air Force One’ is now commonly known to refer to the airplane used by the President of the United States, it wasn’t until Eisenhower that the US President would make significant use of a dedicated airplane. He would have a Lockheed VC-121A kitted out to act as his office as commander-in-chief. Called the Columbine II after the Colorado columbine flower, it served a crucial role during the Korean War and would result the coining of the ‘Air Force One’ designation following a near-disaster in 1954.
This involved a mix-up between Eastern Air Lines 8610 and Air Force 8610 (the VC-121A). After the Columbine II was replaced with a VC-121E model (Columbine III), the Columbine II was mistakenly sold to a private owner, and got pretty close to being scrapped.
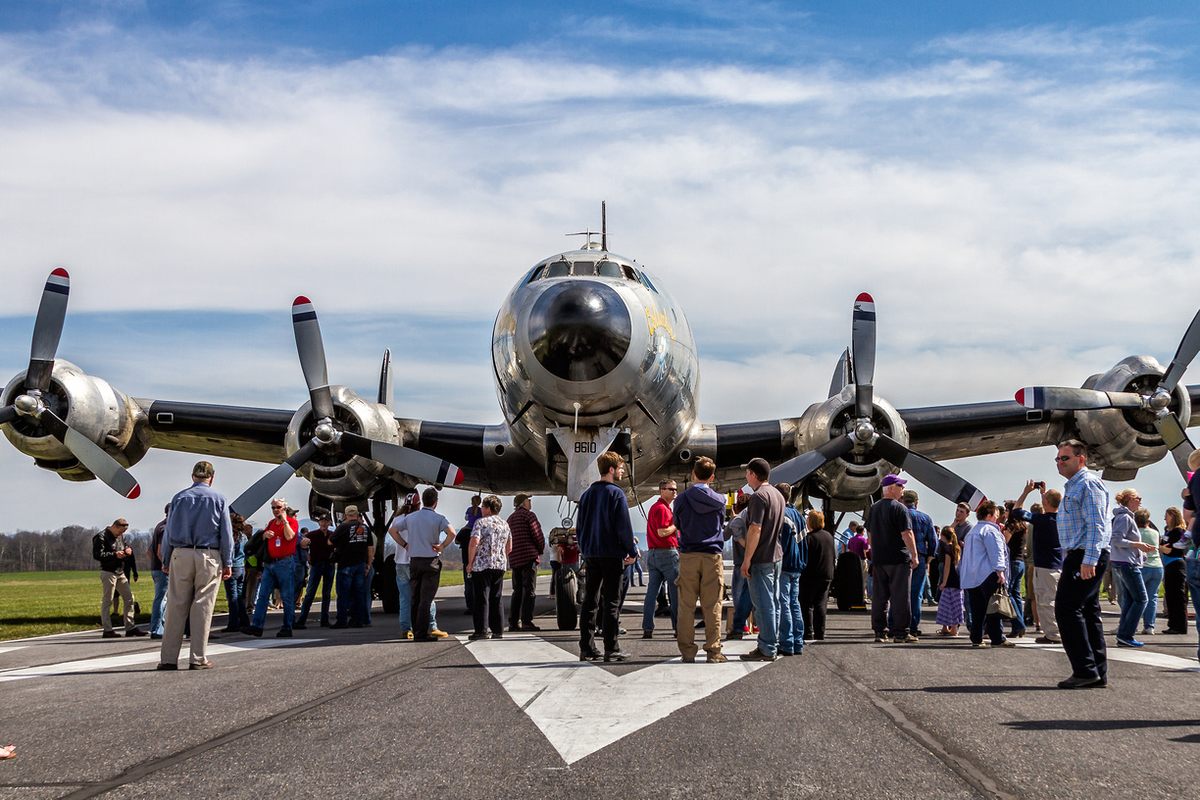
Although nobody is really sure how this mistake happened, it resulted in the private owner stripping the airplane for parts to keep other Lockheed C-121s and compatible airplanes flying. Shortly before scrapping the airplane, he received a call from the Smithsonian Institution, informing him that this particular airplane was Eisenhower’s first presidential airplane and the first ever Air Force One. This led to him instead fixing up the airplane and trying to sell it off. Ultimately the CEO of the airplane maintenance company Dynamic Aviation, [Karl D. Stoltzfus] bought the partially restored airplane after it had spent another few years baking in the unrelenting sun.
Although in a sorry state at this point, [Stoltzfus] put a team led by mechanic [Brian Miklos] to work who got the airplane in a flying condition by 2016 after a year of work, so that they could fly the airplane over to Dynamic Aviation facilities for a complete restoration. At this point the ‘nuts and bolts’ restoration is mostly complete after a lot of improvisation and manufacturing of parts for the 80 year old airplane, with restoration of the Eisenhower-era interior and exterior now in progress. This should take another few years and another $12 million or so, but would result in a fully restored and flight-worthy Columbine II, exactly as it would have looked in 1953, plus a few modern-day safety upgrades.
Although [Stoltzfus] recently passed away unexpectedly before being able to see the final result, his legacy will live on in the restored airplane, which will after so many years be able to meet up again with the Columbine III, which is on display at the National Museum of the USAF.