In 1984, William Gibson’s novel Neuromancer helped kick off the cyberpunk genre that many hackers have been delighting in ever since. Years before Tim Berners-Lee created the World Wide Web, Gibson was imagining worldwide computer networks and omnipresent artificial intelligence. One of his most famous fictional creations is the cyberdeck, a powerful mobile computer that allowed its users to navigate the global net; though today we might just call them smartphones.
 While we might have the functional equivalent in our pockets, hackers like [Tillo] have been working on building cyberdecks that look a bit more in line with what fans of Neuromancer imagined the hardware would be like. His project is hardly the first, but what’s particularly notable here is that he’s trying to make it easier for others to follow in his footsteps.
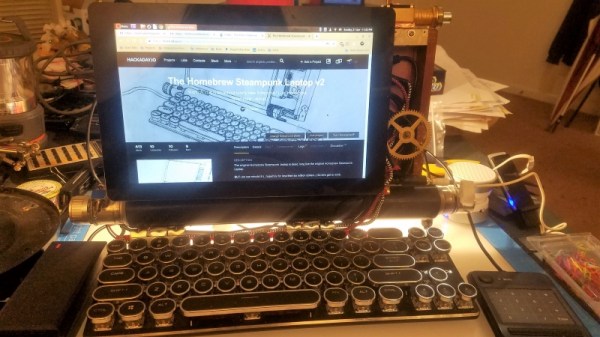
There’s a trend to base DIY cyberdecks on 1980s vintage computer hardware, with the logic being that it would be closer to what Gibson had in mind at the time. Equally important, the brutalist angular designs of some of those early computers not only look a lot cooler than anything we’ve got today, but offer cavernous internal volume ripe for a modern hardware transfusion. Often powered by the Raspberry Pi, featuring a relatively small LCD, and packed full of rechargeable batteries, these cyberdecks make mobile what was once anchored to a desk and television.
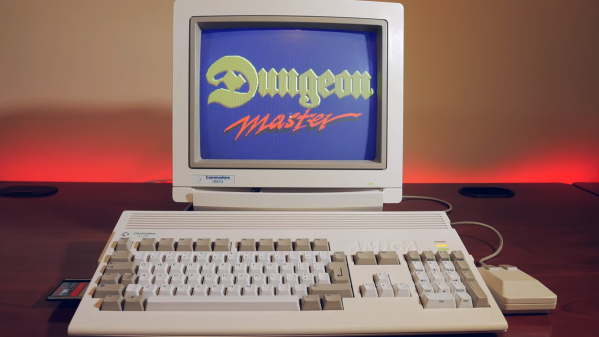
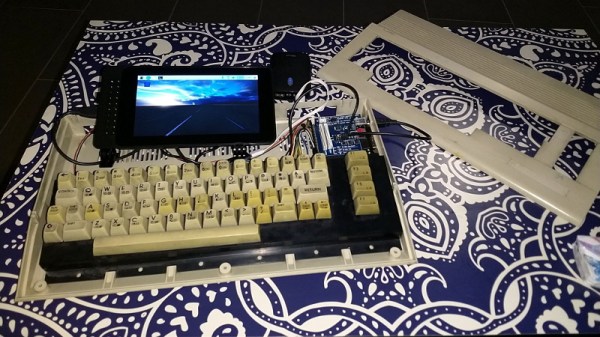
[Tillo] based his cyberdeck on what’s left of a Commodore C64c, reusing the original keyboard for that vintage feel. That meant he needed to adapt the keyboard to something the Raspberry Pi could understand, for which some commercially available options existed already. But why not take the idea farther for those looking to create their own C64c cyberdecks?
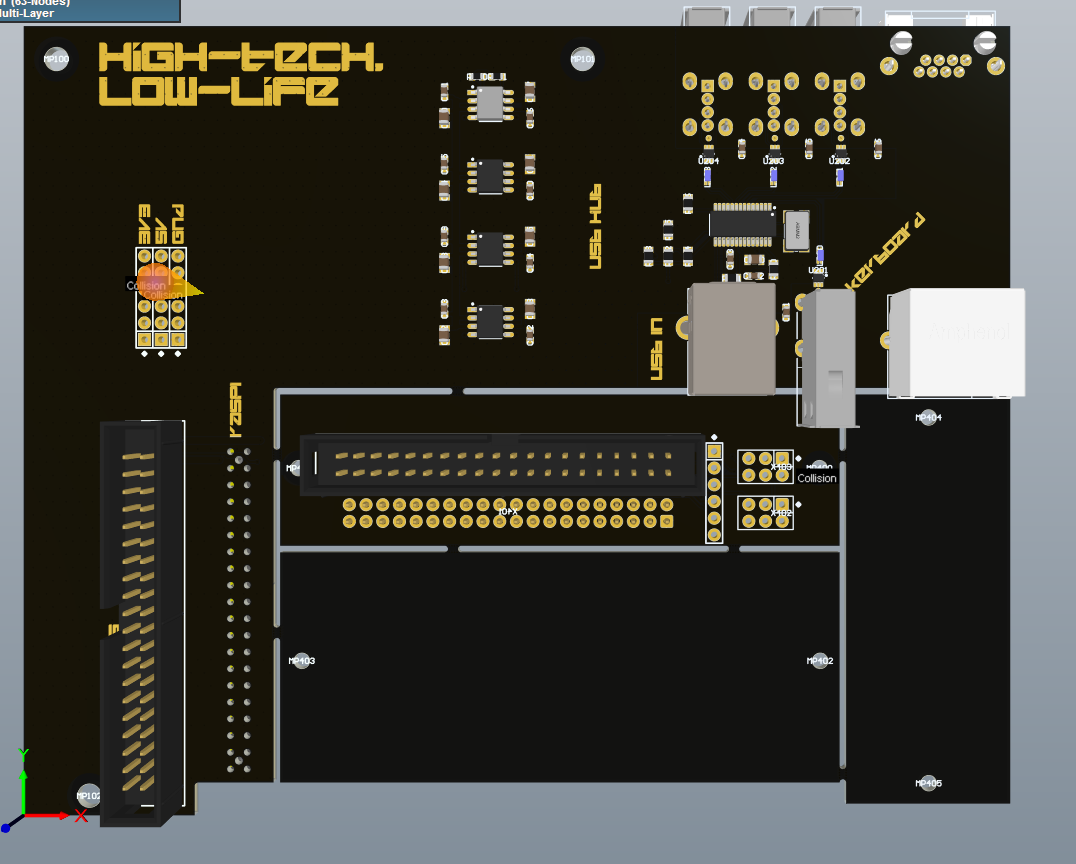
He’s currently working on a new PCB specifically designed for retrofitting one of these classic machines with a Raspberry Pi. The board includes niceties like a USB hub, and should fill out some of those gaping holes left in the case once you remove the original electronics. [Tillo] has already sent the first version of his open source board out for fabrication, so hopefully we’ll get an update soon.
In the meantime, you might want to check out some of the other fantastic cyberdeck builds we’ve covered over the last couple of years.