When fiddling around with old computers, you can occasionally find yourself in a sticky situation. What may be a simple task with today’s hardware and software can be nearly impossible given the limited resources available to machines with 20 or 30 years on the clock. That’s where [bison] recently found himself when he needed to configure a device over serial, but didn’t have any way of installing the appropriate terminal emulator on his Fujitsu Lifebook C34S.
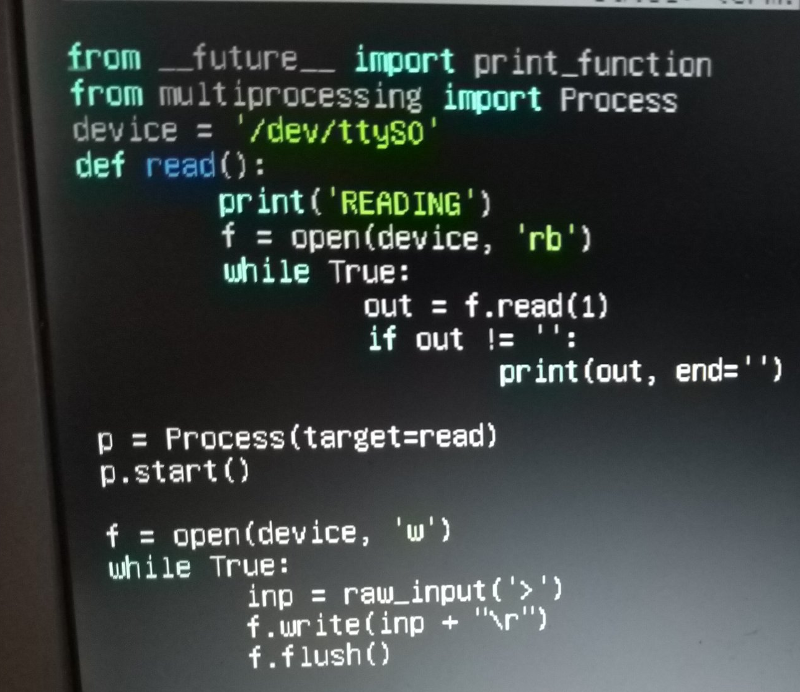 His solution, since he had Python 2.6 installed on the Debian 6 machine, was to write his own minimal serial terminal emulator. He intended for the code to be as terse as possible so it could be quickly typed in, should anyone else ever find themselves in need of talking to a serial device on Linux but can’t get
 screen or minicom installed.
The code is very simple, and even if you never find yourself needing to fire up an impromptu terminal, it offers an interesting example of how straightforward serial communications really are. The code opens up the /dev/ttyS0 device for reading, and after appending the appropriate return character, pushes the user’s keyboard input into it. Keep looping around, and you’ve got yourself an interactive terminal.
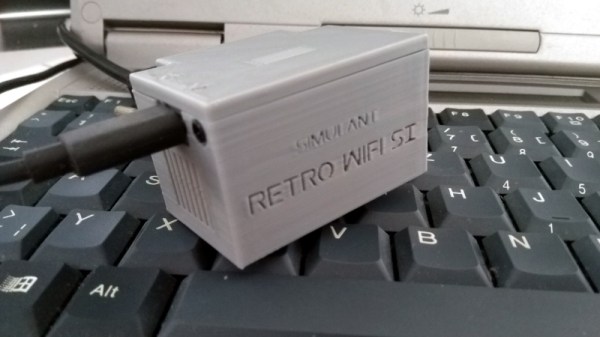
With this program written, [bison] was able to connect the 266 MHz C34S to his Retro WiFi SI, a modem adapter that bridges the gap between a vintage computer and modern wireless network. Gadgets like these allow you to browse BBSes as the creator intended, and can be fashioned with nothing more exotic than an ESP8266 running some open source code.