Did you ever stop to think how unlikely the discovery of soldering is? It’s hard to imagine what sequence of events led to it; after all, metals heated to just the right temperature while applying an alloy of lead and tin in the right proportions in the presence of a proper fluxing agent doesn’t seem like something that would happen by accident.
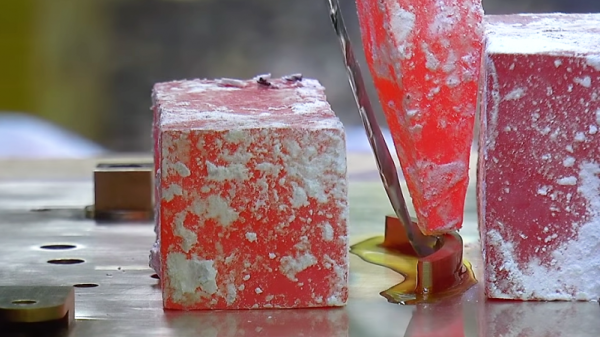
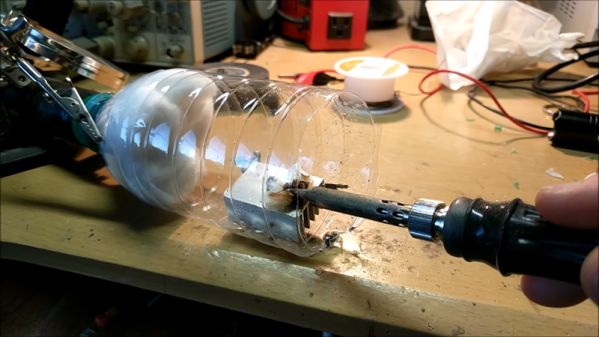
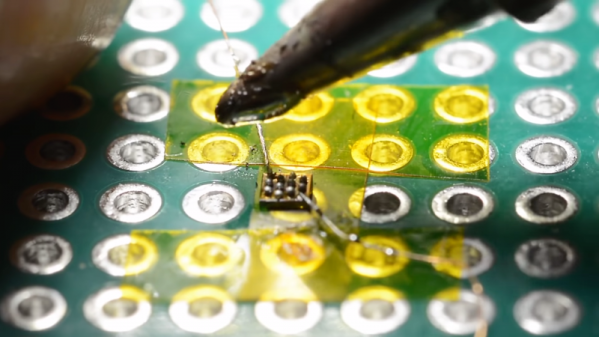
Luckily, [Chris] at Clickspring is currently in the business of recreating the tools and technologies that would have been used in ancient times, and he’s made a wonderful video on precision soft soldering the old-fashioned way. The video below is part of a side series he’s been working on while he builds a replica of the Antikythera mechanism, that curious analog astronomical computer of antiquity. Many parts in the mechanism were soldered, and [Chris] explores plausible methods using tools and materials known to have been available at the time the mechanism was constructed (reported by different historians as any time between 205 BC and 70 BC or so). His irons are forged copper blocks, his heat source is a charcoal fire, and his solder is a 60:40 mix of lead and tin, just as we use today. He vividly demonstrates how important both surface prep and flux are, and shows both active and passive fluxes. He settled on rosin for the final joints, which turned out silky smooth and perfect; we suspect it took quite a bit of practice to get the technique down, but as always, [Chris] makes it look easy.
If you’d like to dig a bit deeper into modern techniques, we’ve covered the physics of solder and fluxes in some depth. And if you need more of those sweet, sweet Clickspring videos, we’ve got you covered there as well.

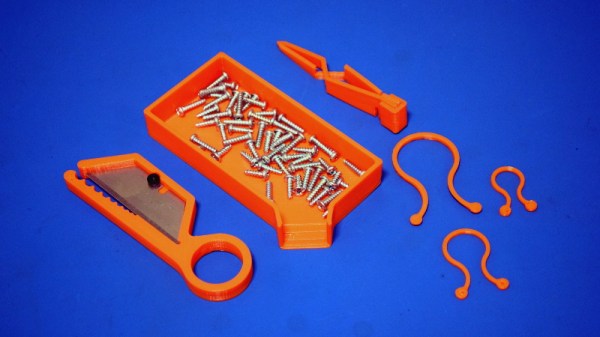
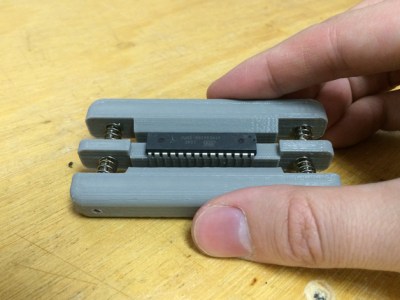 Fresh from the factory Dual Inline Package (DIP) chips come with their legs splayed every so slightly apart — enough to not fit into the carefully designed footprints on a circuit board. You may be used to imprecisely bending them by hand on the surface of the bench. [Marco] is more refined and shows off a neat little spring loaded tool that just takes a couple of squeezes to neatly bend both sides of the DIP, leaving every leg the perfect angle. Shown here is
 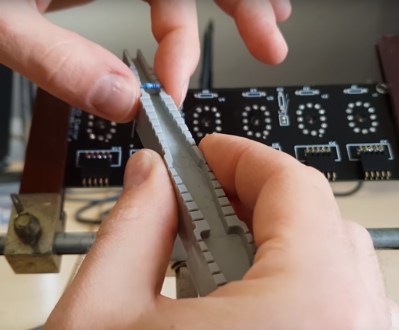 Another tool which caught our eye is the one he uses for bending the metal film resistor leads: the “Biegelehre” or lead bending tool. You can see that [Marco’s] tool has an angled trench to account for different resistor body widths, with stepped edges for standard PCB footprint spacing. We bet you frequently use the same resistor bodies so 3D printing is made easier by