In our occasional series charting audio and Hi-Fi technology we have passed at a technical level the main components of a home audio set-up. In our last outing when we looked at cabling we left you with a promise of covering instrumentation, but now it’s time instead for a short digression into another topic: stereo. It’s a word so tied-in with Hi-Fi that “a stereo” is an alternative word for almost any music system, but what does it really mean? What makes a stereo recording, and how does it arrive at your ears?
From West London Trains, To 3D Audio
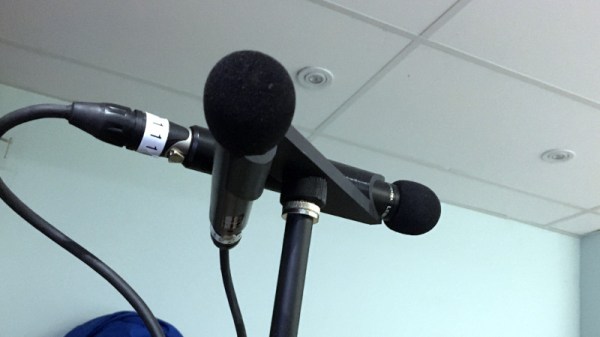
As most of you will know, a mono recording uses a single microphone and a single channel while a stereo one uses two microphones recording simultaneously a left and right channel. These are then played back through a pair of speakers, and the result is a sense of spatial field for the listener. Instruments appear to come from their relative positions when recorded, and the sense of being in the performance is enhanced.
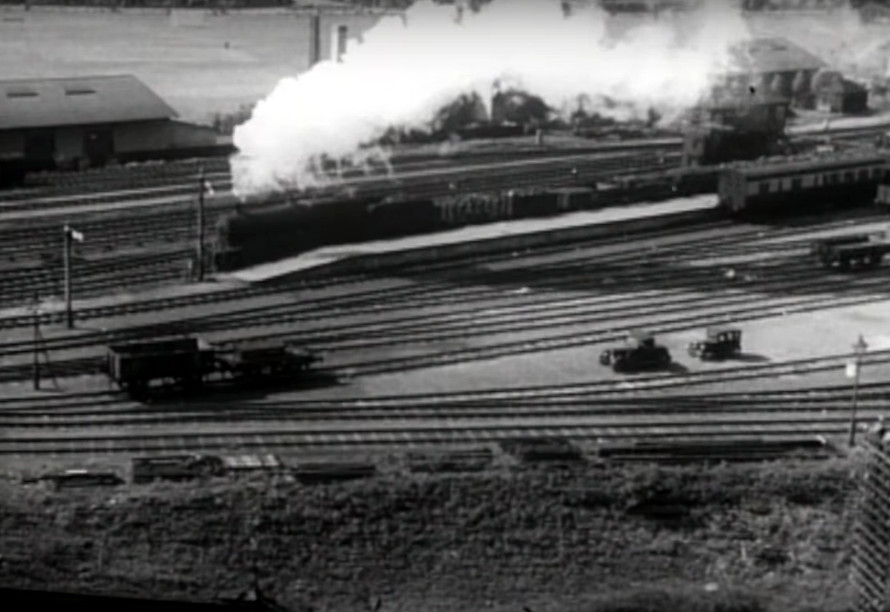
Stereo recording as we know it was first perfected as one of the many inventions credited to Alan Blumlein, then working for EMI in London. We have one of his stereo demonstration films in “Trains at Hayes“, filmed from the EMI laboratories overlooking the Great Western Railway, and featuring a series of steam-hauled trains crossing the field of view with a corresponding stereo sound field. His work laid down the fundamentals of stereo recording, including microphone configurations and what would become the standard for stereo audio recording on disk with the channels on the opposite sides of a 45 degree groove. Continue reading “Know Audio: Stereo”