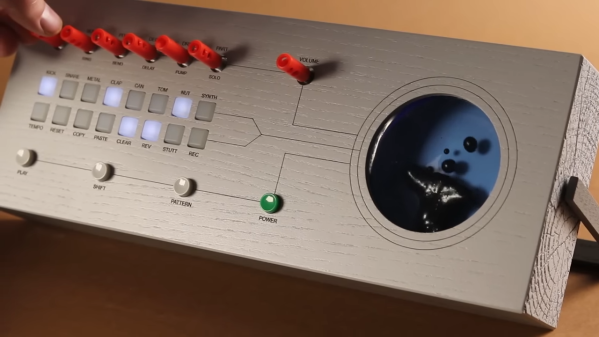
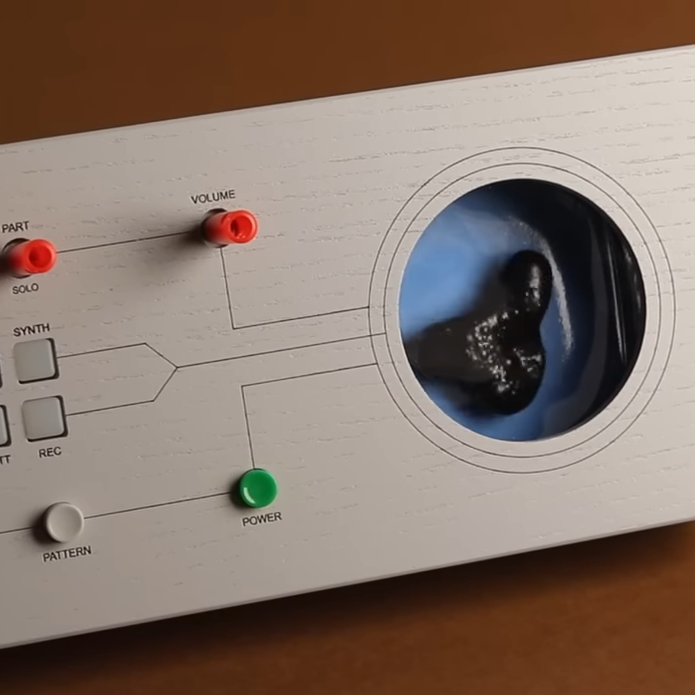
[Love Hultén]’s work often incorporates reactive sound elements, and his Ferrofluid drum synth is no exception. Sadly there are no real build details but have no fear: we’ve gathered plenty of DIY insights when it comes to ferrofluid-based projects.
First of all, ferrofluid is shockingly expensive stuff. But if you can get your hands on some old VHS tapes and acetone, you can make your own. Second, working with ferrofluid to make reactive elements is harder than it may look. Particularly, making the stuff dance to sound beats isn’t as simple as putting a container of the stuff in front of a speaker coil, but people have discovered a few ways that work more reliably than others.
[Love Hultén]’s drum synth was inspired by this custom Bluetooth speaker with dancing ferrofluid by [Dakd Jung], which drives an electromagnetic coil with frequencies selected from the audio with an MSGEQ7 equalizer. That way, only frequencies that work best for moving the fluid in interesting ways get used for the visualization. The MSGEQ7 spectrum analyzer chip is very useful for music-driven projects, as demonstrated by these sound-reactive LED shades which illustrate the audio element nicely.
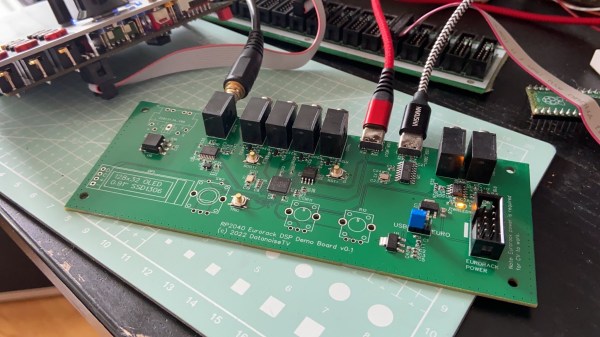
The coils that create the electromagnetic field causing ferrofluid to move can take different forms, but two very interesting ones are this 12-layer PCB coil and for more intricate displays, there’s a 12×21 coil array that creates a dot-matrix-like display.
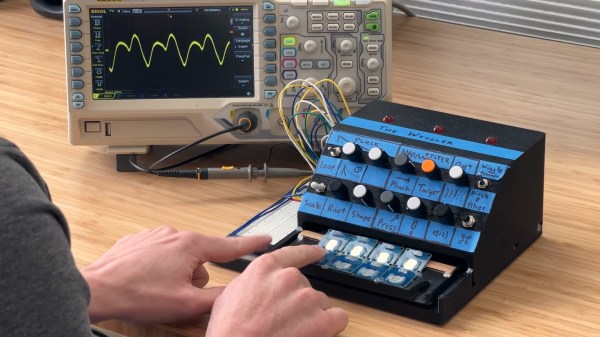
We have one last tip to share about enclosures. Some readers may have noticed that this drum synth project is housed in what looks like a piece of painted lumber. Wood is certainly a versatile material for making custom shapes, and for lettering and labels it turns out that toner transfer works just as well on wood as it does for making custom PCBs.