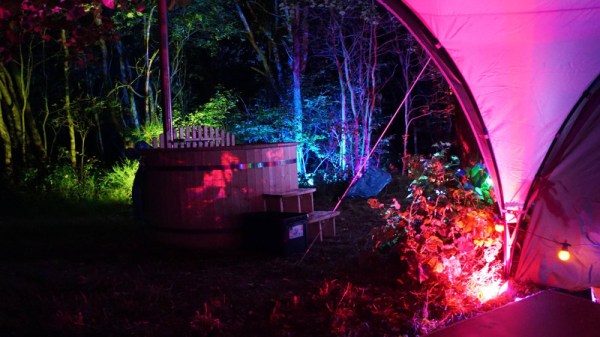
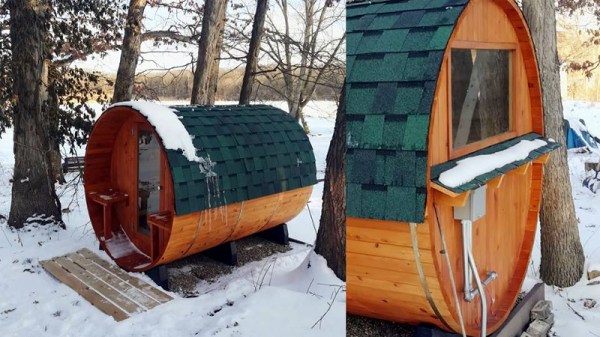
Every hacker camp has its own flavor, and BornHack 2019 in the Danish countryside gave us the opportunity to sample some hacker relaxation, Scandinavian style. Among the attractions was a wood-fired hot tub of gargantuan proportions, in which the tired attendee could rejuvenate themselves at 40 Celcius in the middle of the forest. A wood-fired hot tub is not the easiest of appliances to control, so to tame it [richard42graham] and a group of Danish hackerspace friends took it upon themselves to give it an internet-connected temperature sensor.
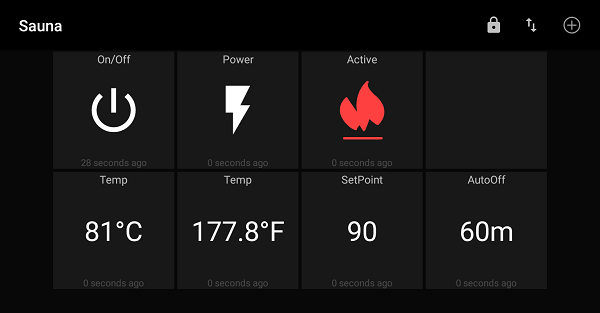
The starting point was a TMP112 temperature sensor and an ESP8266 module, which initially exposed the temperature reading via a web interface, but then collapsed under too much load. The solution was to make the raw data available via MQTT, and from that create a web interface for the event bar, Twitter and IRC bots. There was even an interface to display hot tub temperature on the ubiquitous OHMlights dotted around the camp.
It’s more normal to control a hot tub via an electric heater, but since the wood fire on this one has to be tended by a camp volunteer it made sense to use the IRC system as an alert. It will be back at BornHack 2020, so we’ll have to do our job here at Hackaday and spend a long time lounging in the hot tub in the name of journalistic research to see how well it works.
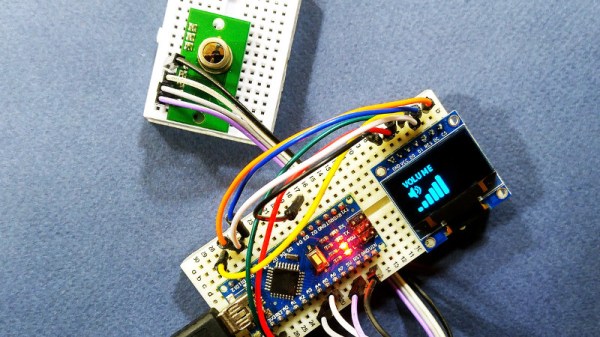
 The project uses the TPA81 8-pixel thermopile array which detects the change in heat levels from 8 adjacent points. An Arduino reads these temperature points over I2C and then a simple thresholding function is used to detect the movement of the fingers. These movements are then used to do a number of things including turn the volume up or down as shown in the image alongside.