Fake That Fireplace Flicker With Flame Bulbs

Ask anyone who’s ever tuned into Fireplace TV on a cold winter’s night — even though you can’t feel the heat or roast a marshmallow with it, fake fire is almost as soothing as the real thing. And if you have kids or pets, it’s a whole lot safer. But why go to the expense of buying a lighted insert when you could just make your own?

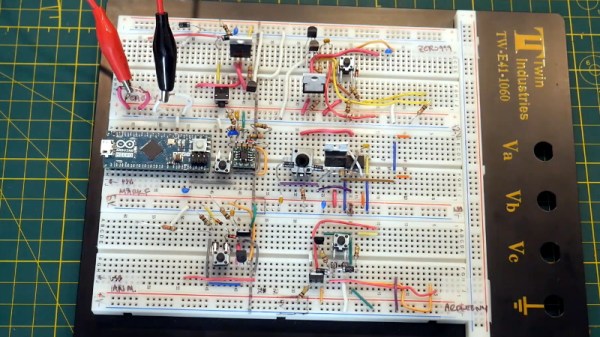
You don’t even need to get fancy with a microcontroller and RGB LEDs, either — just do what [Ham-made] did and dismantle some LED flame bulbs. They already have everything you need, and the flex PCB makes them easy to work with.

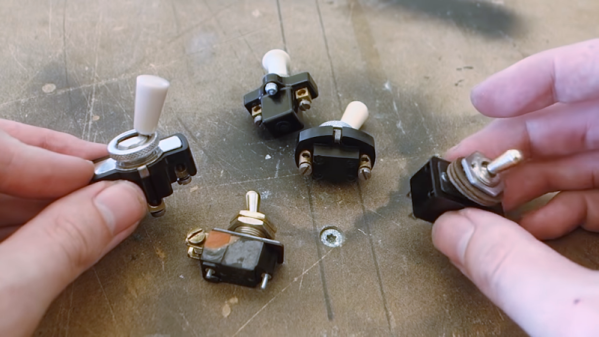
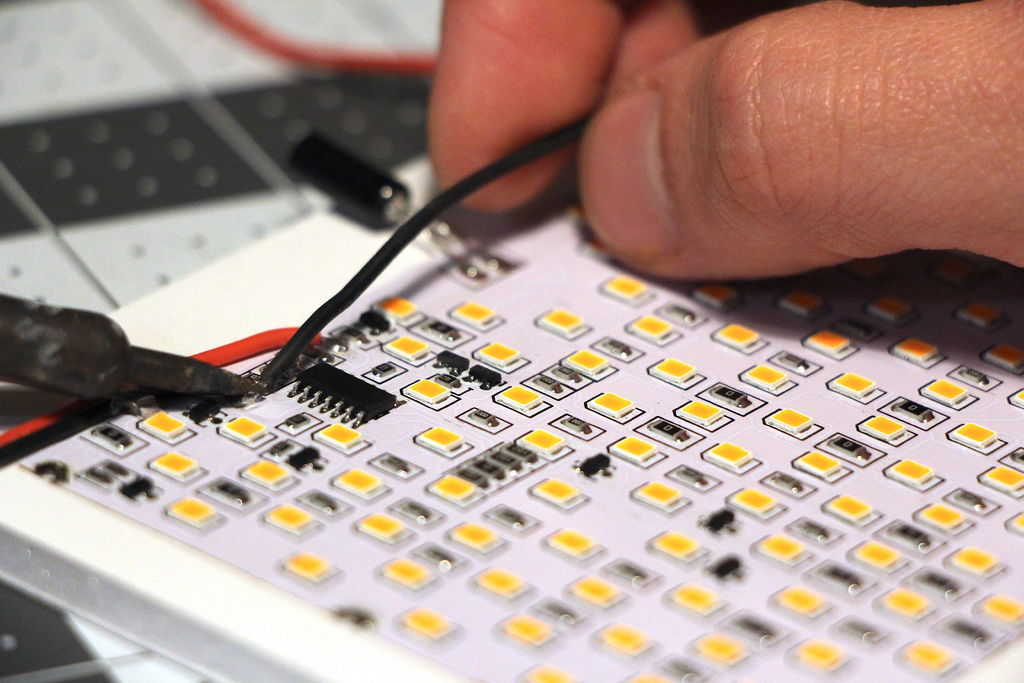
[Ham-made] adhered three bulbs’ worth to a piece of foam board with double-stick tape, soldered all the leads together, and wired in a toggle switch and a 2xAA battery pack. The bulbs each had a tilt switch so that the “flames” flow upward regardless of orientation, but [Ham-made] removed those to avoid flickering connectivity and fights with the toggle switch.

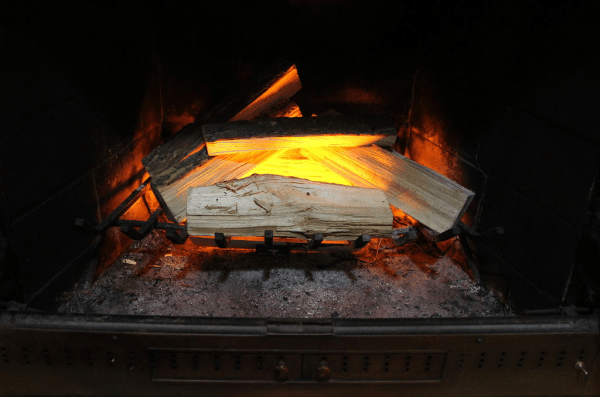
Once it was all wired up, [Ham-made] hot-glued some magnets to the foam board and attached it to the underside of the grate to keep it safe from the logs and the ash pit, while still allowing the glow to emanate from the right spot for realism. The only thing missing are the crackles and pops, and [Ham-made] is burning to hear your implementation ideas.

[Ham-made] wasn’t using his fireplace in the traditional way because the house is smallish and centrally heated. But if you rely on yours to keep you warm and cozy, why not make it voice-activated?

TI-99/4A KSP Controller Has A Handle On Vintage NASA Styling

[MelkorsGreatestHits] had an extra USB MAME board burning a hole in his parts bin, so he turned it into fuel for this far-out Kerbal Space Program controller. Cool your jets — no fully-functioning TI-99/4As were harmed in the making of this baby. Besides, this is a KAL 9000 from Kexas Instruments. See the badges?

After donating the usable parts deemed unnecessary for space exploration, [MelkorsGreatestHits] had even more room inside the case for the throng of toggles that make this controller so touchable. We love the two tiers of toggles here — the important ones are separated with 3D-printed Space Shuttle-style switch guards, and the super-important toggles have flip-up covers to protect them from errant flicks of the hand. The vintage embosser labels are an impressive touch, and make us wish we had one that stamps vertically.

[MelkorsGreatestHits] modeled the combo throttle/roll handle and the joystick after the Apollo 11 command module controls. Unfortunately, the MAME board didn’t like his 3-axis analog joystick, so both are 2-axis and give WASD control. Good enough to get to the Mün!

We’ve seen more than a few KSP controllers around here, but none so overdone as this wonderful stand-up command station.

Via r/DIY

Hackaday Podcast 040: 3D Printed Everything, Strength V Toughness, Blades Of Fiber, And What Can’t Coffee Do?

Hackaday Editors Mike Szczys and Elliot Williams opine on the coolest hacks we saw this week. This episode is heavy with 3D printing as Prusa released a new, smaller printer, printed gearboxes continue to impress us with their power and design, hoverboards are turned into tanks, and researchers suggest you pour used coffee grounds into your prints. Don’t throw out those “toy” computers, they may be hiding vintage processors. And we have a pair of fantastic articles that cover the rise and fall of forest fire watchtowers, and raise the question of where all those wind turbine blades will go when we’re done with them.

Take a look at the links below if you want to follow along, and as always tell us what you think about this episode in the comments!

Take a look at the links below if you want to follow along, and as always, tell us what you think about this episode in the comments!

Direct download (60 MB or so.)

Continue reading “Hackaday Podcast 040: 3D Printed Everything, Strength V Toughness, Blades Of Fiber, And What Can’t Coffee Do?”

Turning Old Toggle Switches Into Retro-Tech Showpieces

While those of us in the hacking community usually focus on making new things, there’s plenty to be said for restoring old stuff. Finding a piece of hardware and making it look and work like new can be immensely satisfying, and dozens of YouTube channels and blogs exist merely to feed the need for more restoration content.

The aptly named [Switch and Lever] has been riding the retro wave for a while, and his video on restoring and repairing vintage toggle switches shows that he has picked up a trick or two worth sharing. The switches are all flea market finds, chunky beasts that have all seen better days. But old parts were built to last, and they proved sturdy enough to withstand the first step in any restoration: disassembly. Most of the switches were easily pried open, but a couple needed rivets drilled out first. The ensuing cleaning and polishing steps were pretty basic, although we liked the tips about the micromesh abrasives and the polishing compound. Another great tip was using phenolic resin PCBs as repair material for broken Bakelite bodies; they’re chemically similar, and while they may not match the original exactly, they make for a great repair when teamed up with CA glue and baking soda as a filler.

3D-printed repairs would work too, but there’s something satisfying about keeping things historically consistent. Celebrating engineering history is really what restorations like these are all about, after all. And even if you’re building something new, you can make it look retro cool with these acid-etched brass plaques that [Switch and Lever] also makes.

Continue reading “Turning Old Toggle Switches Into Retro-Tech Showpieces”

Ditch The Switch: A Soft Latching Circuit Roundup

For some of us, there are few sounds more satisfying than the deep resonant “thunk” of a high quality toggle switch slamming into position. There isn’t an overabundance of visceral experiences when working with electronics, so we like to savor them when we get the chance. But of course there’s no accounting for taste, and we suppose there are even situations where a heavy physical switch might not be the best solution. So what do you do?

Enter the latching power circuit, often referred to as a “soft” switch. [Chris Chimienti] has recently put together a fascinating video which walks the viewer through five different circuits which can be used to add one of these so-called soft power switches to your project. Each circuit is explained, diagramed, annotated, and eventually even demonstrated on a physical breadboard. The only thing you’ve got to do is pick which one you like the most.

There’s actually a number of very good reasons to abandon the classic toggle switch for one of these circuits. But the biggest one, somewhat counterintuitively, is cost. Even “cheap” toggle switches are likely to be one of the most expensive components in your bill of materials, especially at low volume. By comparison, the couple of transistors and a handful of passive components it will take to build out one of these latching circuits will only cost you a couple of cents.

Even if you aren’t in the market for a new way to turn off your projects, this roundup of circuits is a fantastic reminder of how powerful discrete components can be. In an age where most projects seem assembled from pre-fabbed modules, it’s occasionally refreshing to get back to basics.

Continue reading “Ditch The Switch: A Soft Latching Circuit Roundup”