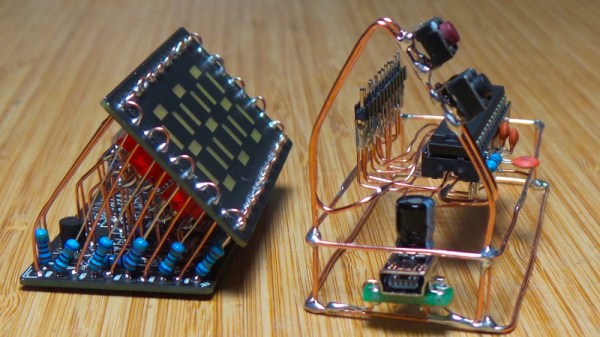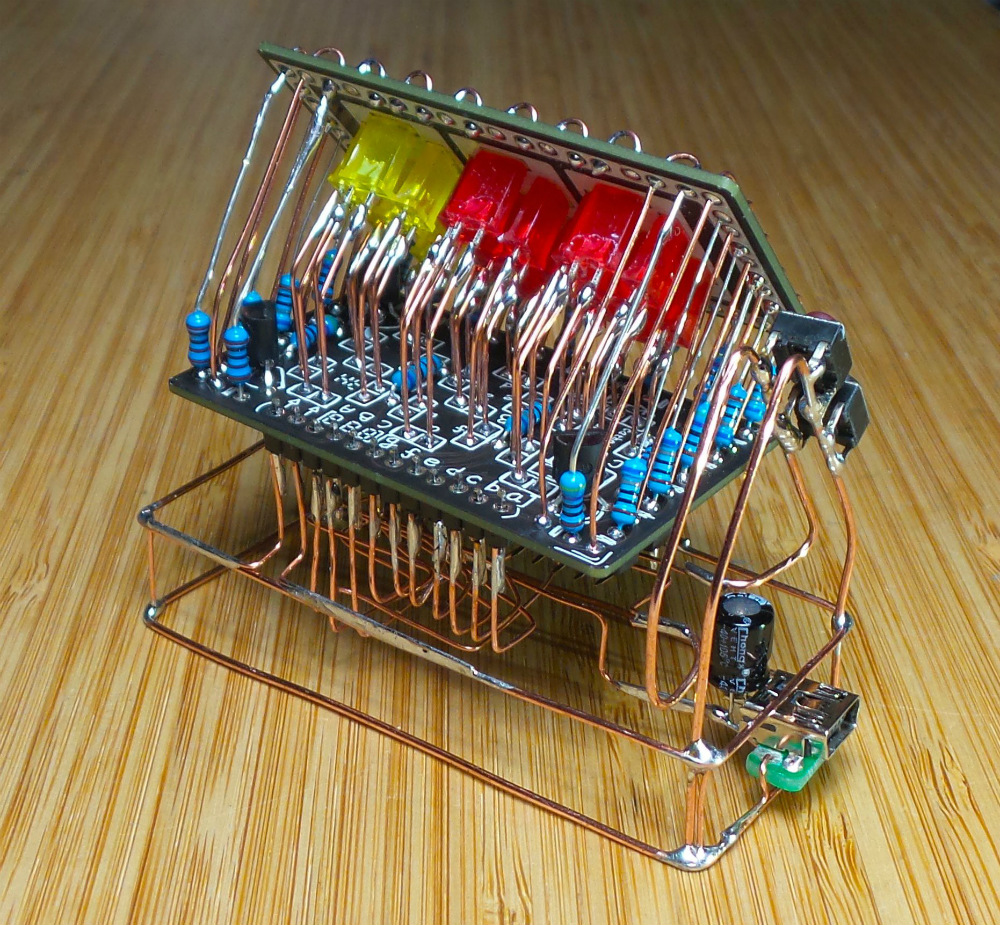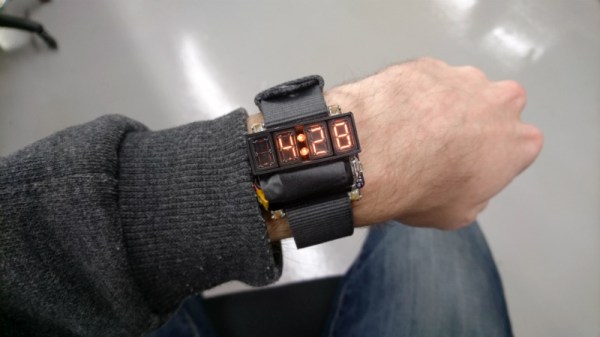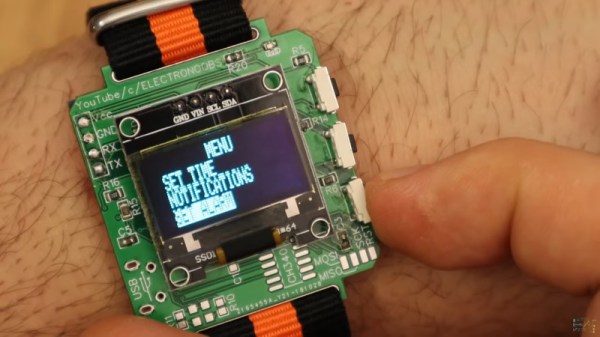
The concept of a smartwatch was thrown around for a long time before the technology truly came to fruition. Through the pursuit of miniaturisation, modern smartwatches are sleek, compact, and remarkably capable for their size. Companies such as Apple and Samsung throw serious money into research and development, but that doesn’t mean you can’t create something of your own. [Electronoobs] has done just that, with this Arduino-based smartwatch build.
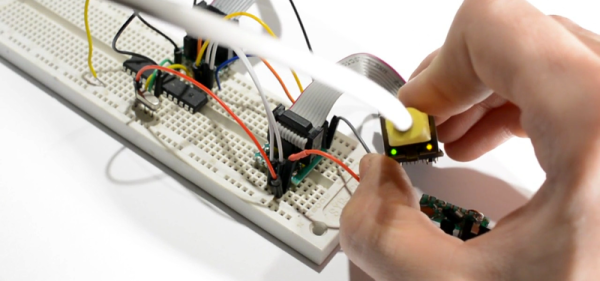
The brain of the watch is that hacker staple, the venerable ATmega328, most well known for its use in the Arduino Uno and Nano platforms. An FTDI module is used for USB communication, making programming the board a snap. Bluetooth communication is handled by another pre-built module, and a smartphone app called Notiduino handles passing notifications over to the watch.
This is a build that doesn’t do anything crazy or difficult to understand, but simply combines useful parts in a very neat and tidy way. The watch is impressively thin and compact for a DIY build, and has a host of useful functions without going overboard.
We’ve seen other DIY builds in this space, too – such as this ESP8266-based smartwatch. Video after the break.
Continue reading “A Smartwatch You Can Easily Build Yourself”