Data retention is a funny thing. Atmel will gladly tell you that the flash memory in an ATmega32A will retain its data for 100 years at room temperature. Microchip says its EEPROMs will retain data for over 200 years. And yet, humanity has barely had a good grasp on electricity for that long. Heck, the silicon chip itself was only invented in 1958. EEPROMs and flash storage are altogether younger themselves.
How can these manufacturers make such wild claims when there’s no way they could have tested their parts for such long periods of time? Are they just betting on the fact you won’t be around to chastise them in 2216 when your project suddenly fails due to bit rot.
Well, actually, there’s a very scientific answer. Enter the practice of accelerated wear testing.
What’s the difference between a 64k ROM in a 28-pin DIP and a 128k ROM in a 32-pin DIP? Aside from the obvious answers of “64k” and “four pins,” it turns out that these two chips have a lot in common, enough so that it only takes a little bodging to make them interchangeable — more or less.
For a variety of reasons revealed in the video below, [Anders Nielsen] use the SST39SF010, a Flash ROM in a 32-pin DIP, in place of the old standby W27C512, an EEPROM in a 28-pin DIP. To deal with those pesky extra pins on the Flash ROM, [Anders] dug into the data sheets and found that thanks to JEDEC standards, almost everything about the pinouts of the two chips is identical. The only real difference is the location of Vcc, plus the presence of a 16th address bus line on the more capacious Flash ROM.
Willing to sacrifice the upper half of the Flash chip’s capacity, [Anders] set about bodging the 32-pin chip to work in a 28-pin socket. The mods include a jumper from pin 32 to pin 30 on the Flash chip, which puts Vcc in the right place, and adding a couple of pull-up resistors for write-enable and A16. Easy enough changes, but unfortunately, [Anders] chose a Flash ROM with heavily oxidized pins, leading to some cold solder joints and intermittent problems while testing. There’s also the fact that not all boards have room for overhanging pins, a problem solved by adding a socket to create a little vertical clearance.
[The Slo Mo Guys] caught something fascinating while filming some firearms at 82,000 frames per second: a visible emission of light immediately preceding a bullet impact. The moment it occurs is pictured above, but if you’d like to jump directly to the point in the video where this occurs, it all starts at [8:18].
The ability to capture ultra-slow motion allows us to see things that would otherwise happen far too quickly to perceive, and there are quite a few visual spectacles in the whole video. We’ll talk a bit about what is involved, and what could be happening.
Spotting something unusual on video replay is what exteme slo-mo filming is all about.
First of all, the clear blocks being shot are ballistic gel. These dense blocks are tough, elastic, and a common sight in firearms testing because they reliably and consistently measure things like bullet deformation, fragmentation, and impact. It’s possible to make homemade ballistic gel with sufficient quantities of gelatin and water, but the clear ones like you see here are oil-based, visually clear, and more stable (they do not shrink due to evaporation).
We’ve seen the diesel effect occur in ballistic gelatin, which is most likely the result of the bullet impact vaporizing small amounts of the (oil-based) gel when the channel forms, and that vaporized material ignites due to a sudden increase in pressure as it contracts.
In the video linked above (and embedded below), there is probably a bit more in the mix. The rifles being tested are large-bore rifles, firing big cartridges with a large amount of gunpowder igniting behind each bullet. The burning powder causes a rapid expansion of hot, pressurized gasses that push the bullet down the barrel at tremendous speed. As the bullet exits, so does a jet of hot gasses. Sometimes, the last bits of burning powder are visible as a brief muzzle flash that accompanies the bullet leaving the barrel.
A large projectile traveling at supersonic velocities results in a large channel and expansion when it hits ballistic gel, but when fired at close range there are hot gasses from the muzzle and any remaining burning gunpowder in the mix, as well. All of which help generate the kind of visual spectacles we see here.
We suspect that the single frame of a flashlight-like emission of light as the flat-nosed bullet strikes the face of the gel is also the result of the diesel effect, but it’s an absolutely remarkable visual and a fascinating thing to capture on film. You can watch the whole thing just below the page break.
If you were a kid anywhere in the last 30 years, it was nearly impossible to avoid at least some exposure to the Pokemon franchise. Whether that’s through games like Red and Blue to Scarlet and Violet, the brief summer everyone played Pokemon Go, or to other media such as the trading card game or anime, it seems to have transcended generations and cultures fairly thoroughly. And, if you’ve consumed all there is of official Pokemon video gaming, you may be surprised to know there are a number of slightly modified games floating around out there that can be translated onto game carts just like their official counterparts.
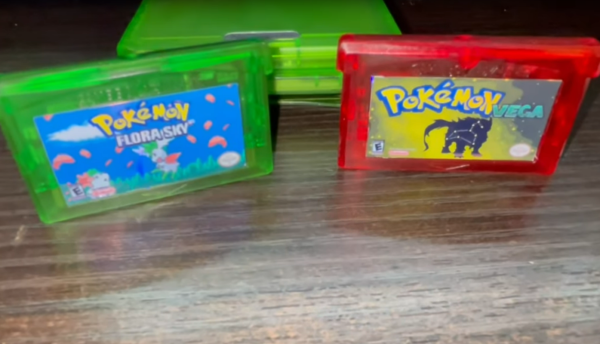
[imablisy] has played a lot of these ROM hack games but always within something like a virtual console or emulator, so he wanted something physical which would work on original hardware of the era. For this he’s making physical copies of Flora Sky and Vega, which are based on Pokemon Emerald and Fire Red originally for the Game Boy Advance. To get the cart he found a bunch of Mother 3 cartridges to use as the donor. From there he backed up his Emerald and Fire Red cartridges, modified the ROMs with the modifications, and then sent those new ROMs to overwrite the data on the Mother 3 cartridges.
A playable cartridge is only half of the build, though. He wants these to look and feel like real Pokemon games, so he added a color-appropriate translucent case and also printed custom holographic labels for each. It might seem straightforward, but from the style of [imablisy]’s video it’s clear he is very familiar with processes like these, from the artwork all the way to the hardware and software side. We’re also pleased no classic hardware was damaged during this build, much like this version of Doom on an NES cart which used a common game for the donor to upset the least number of collectors.
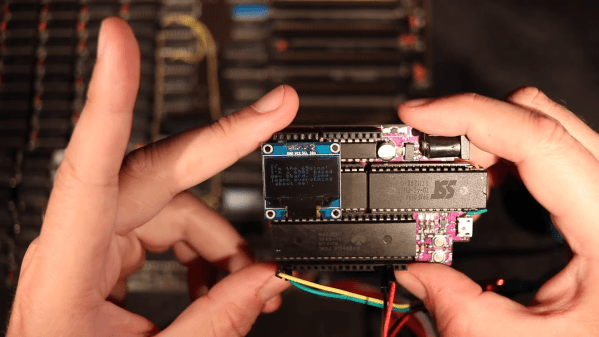
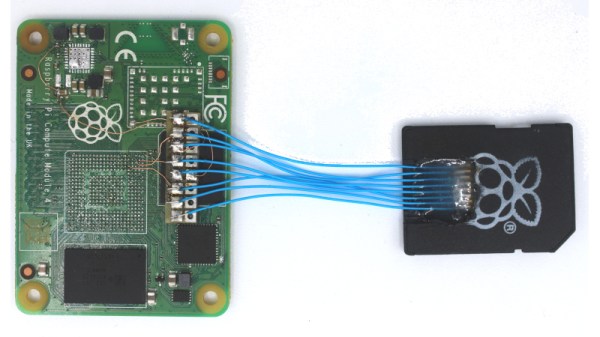
An increasing phenomenon over the years since mobile phones morphed from simply telephones into general purpose pocket computers has been that of the dead device taking with it some treasured digital resource. In most cases this means the device has died, but doesn’t necessarily mean that that the data has completely gone. Inside the device will be an eMMC flash chip, and if that can be read then the data is safe. This applies to some single board computers too, and thus [Jeffmakes]’ adventures in recovering an eMMC from a dead Raspberry Pi CM4 are particularly interesting.
The whole thing relies on the eMMC presenting the same interface as an SD card, so while it comes in a multi-pin BGA package it can be addressed with surprisingly few wires. Using the PCB from another dead CM4 he traced the relevant connections from eMMC to SoC pads, and was thus able with some very fine soldering to construct an interface for an SD card reader. The disk could then be imaged in its entirety.
At some point when developing embedded applications, you’re going to want to store unique values in non-volatile memory, values that can’t be fixed at compilation time. Many microcontrollers have a small amount of EEPROM memory for this very purpose, but it’s usually rather limited if it’s provided at all. Even if you do have a bit of space on an EEPROM at your disposal, actually formatting your values into the memory and dealing with the pesky problem of wear leveling (necessary for parameters that need to change often) can be a bit of a hassle.
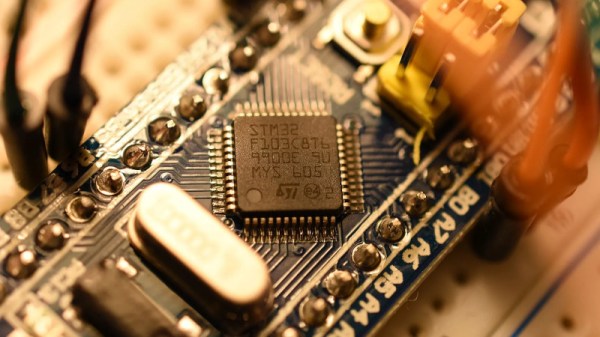
Lucky for us, [Marcelo Barros] decided to share his own implementation, Kved (key/value database) which uses the flash memory instead for such storage. Kved implements a dictionary type data structure, using numeric keys and values, supporting a few integer types. Using the library should be straightforward enough, as [Marcelo] says, all you need are a pair of spare flash sectors and the ability to port the flash the sector read, write, and erase functions. There are plenty of examples of such code available for practically any microcontroller out there, so that should be no barrier. For those who want to play with it right now, the repo currently has ports for the STM32L433RC and STM32F411CE, as well as a simulated version you can compile and run on your computer.
From an implementation perspective, the write algorithm uses a COW (Copy On Write) method. Changed values are invalidated by over-writing the storage location with all-zeros, and re-writing the changed value to a new location, cycling through the unused locations until the sector is full. Data-integrity mechanisms are implemented, preventing corruption of the data structure due to power fail situations, so incorrectly written values will be corrected on start-up and not affect the integrity of the configuration.
Buying broken gear for cheap is time honored hacker tradition, and while we might not always be successful in reviving it, rarely do we come away empty handed. There’s always parts to salvage, and you can’t put a price on the knowledge to be gained when poking around inside an interesting piece of hardware. So we’re not surprised at all to hear that [Tomas Pavlovic] jumped at the chance to grab this faulty HP-48S calculator for a couple bucks.
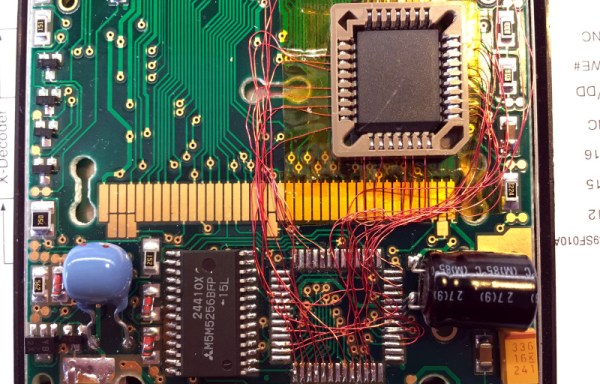
Luckily for us, the story doesn’t end at the bottom of his parts bin. When he got the HP-48S back home, he immediately set out to see if it could be repaired. After changing out a few choice components and not seeing any result in the device’s behavior, he became suspicious that the problem may be with the firmware; specifically, the soldered-on chip that holds it.
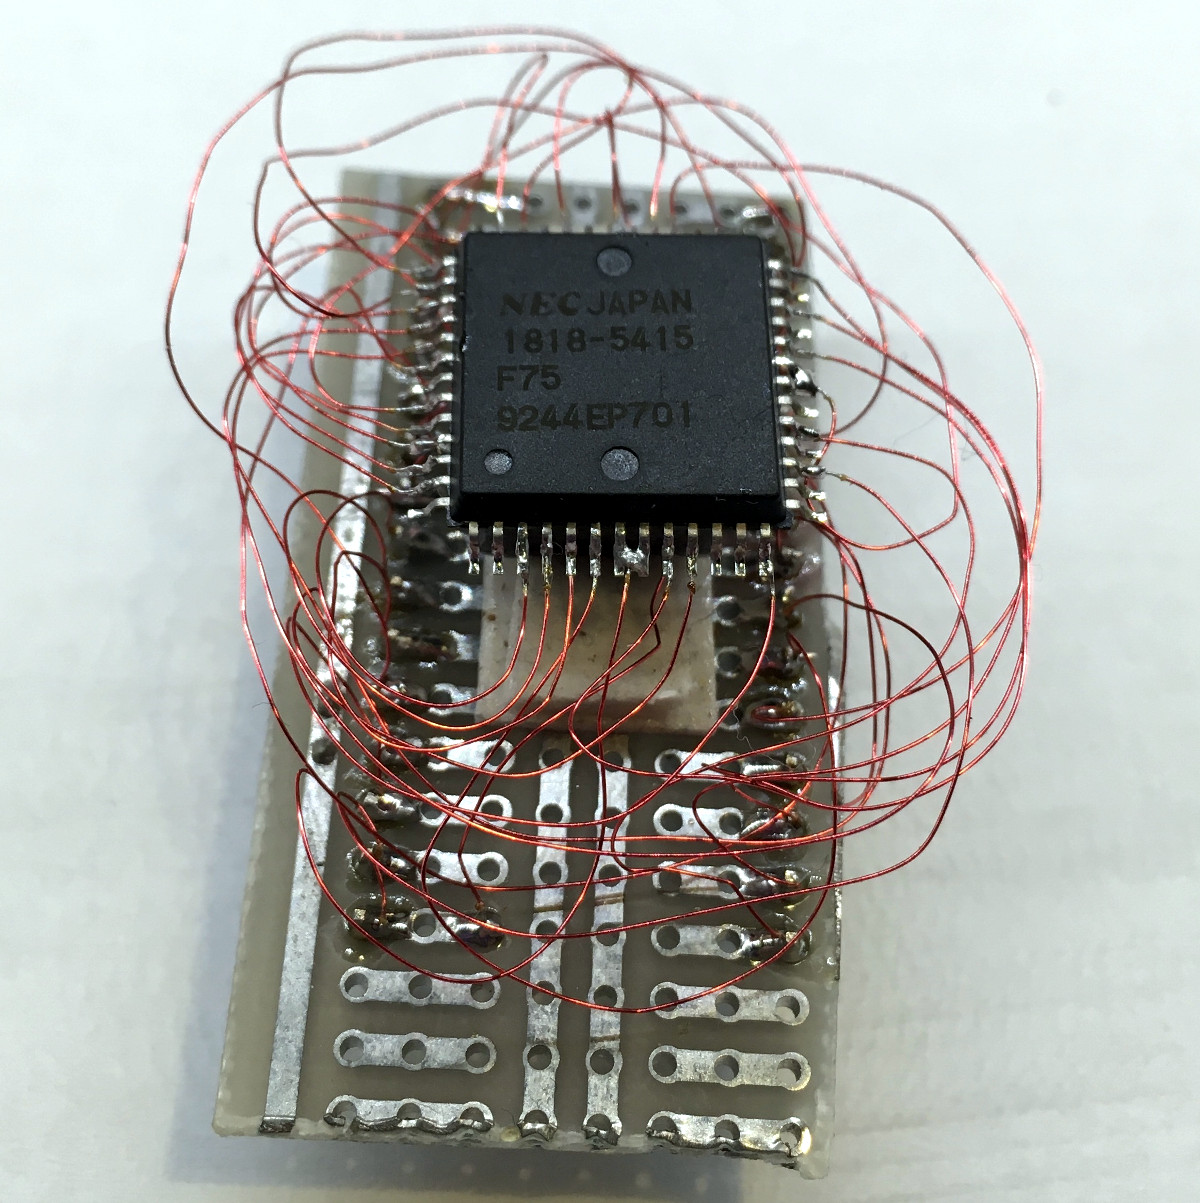
Dumping the original ROM.
After carefully lifting the NEC uPD23C2000GC from its resting place for the last 30 years or so, he wired up an adapter that let him connect the chip to his programmer so its contents could be dumped. Rather than trying to find another ROM chip, he decided to wire in a socket and found a re-writable SST39SF040 that could stand in as a replacement. Flashing a fresh copy of the firmware to the new socketed chip got the calculator up and running again, with the added bonus of allowing [Tomas] to pull the chip and flash a different firmware version should he care to experiment a bit.
Now, we know what you’re thinking. Where was the fix? What exactly brought this piece of 1990s gear back to life? That part, unfortunately, isn’t very clear. You’d think if the original ROM chip was somehow faulty, [Tomas] wouldn’t have been able to so easily pull a valid firmware image from it. That leaves us with some pretty mundane possibilities, such as a bad solder joint on the chip’s pins. If that was indeed the case, this fix could have been as simple as running a hot iron over the pins…but of course, where’s the fun in that?
Update: We heard back from [Tomas], and it turns out that when compared to a known good copy, the dumped firmware did have a few swapped bits. His theory is that the NEC chip is in some weird failure mode where the calculator wouldn’t run, but it was still functional enough to get most of the content off of it. What do you think? Let us know in the comments.